


blog
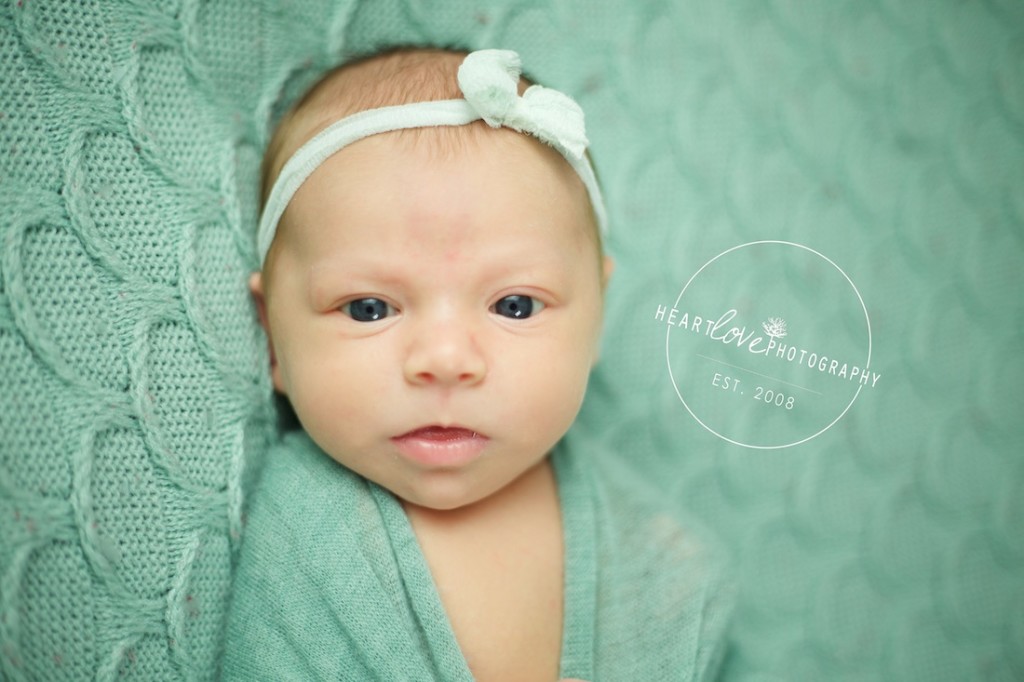
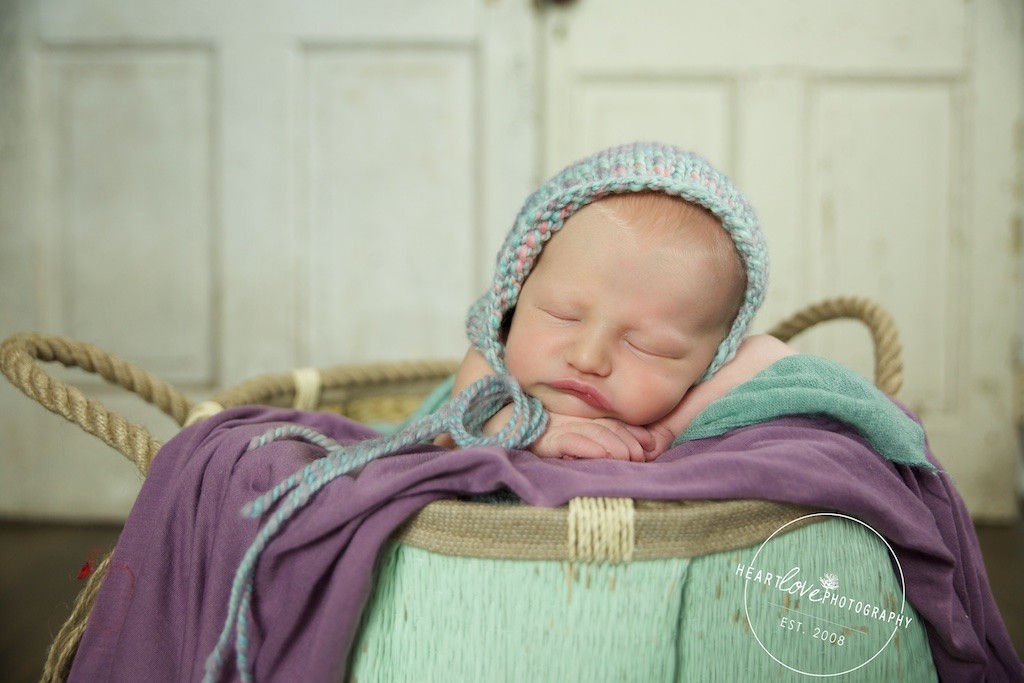
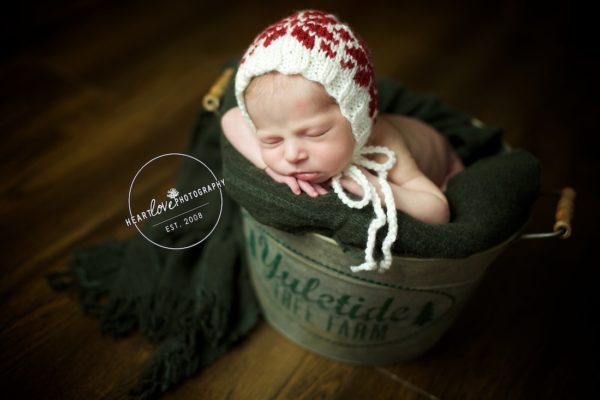
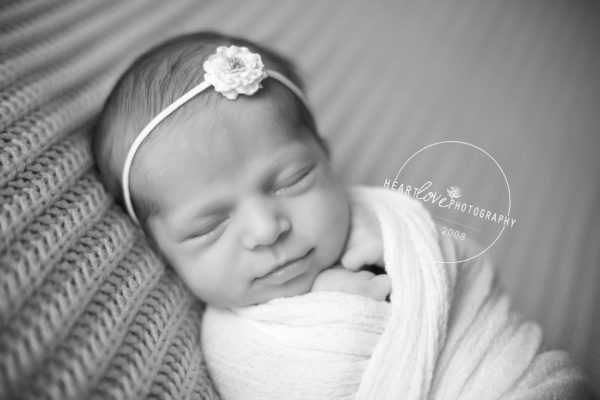
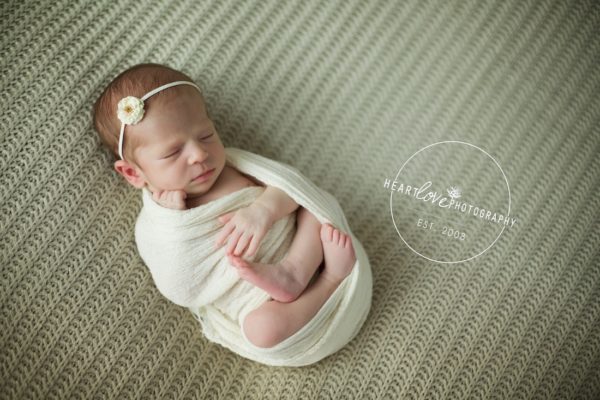
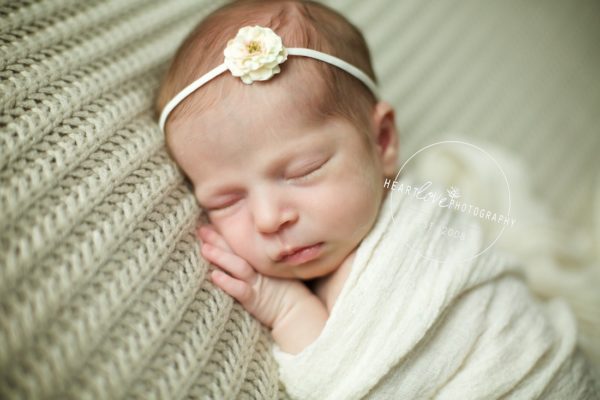
4 weeks new | Baltimore, MD Newborn Photography
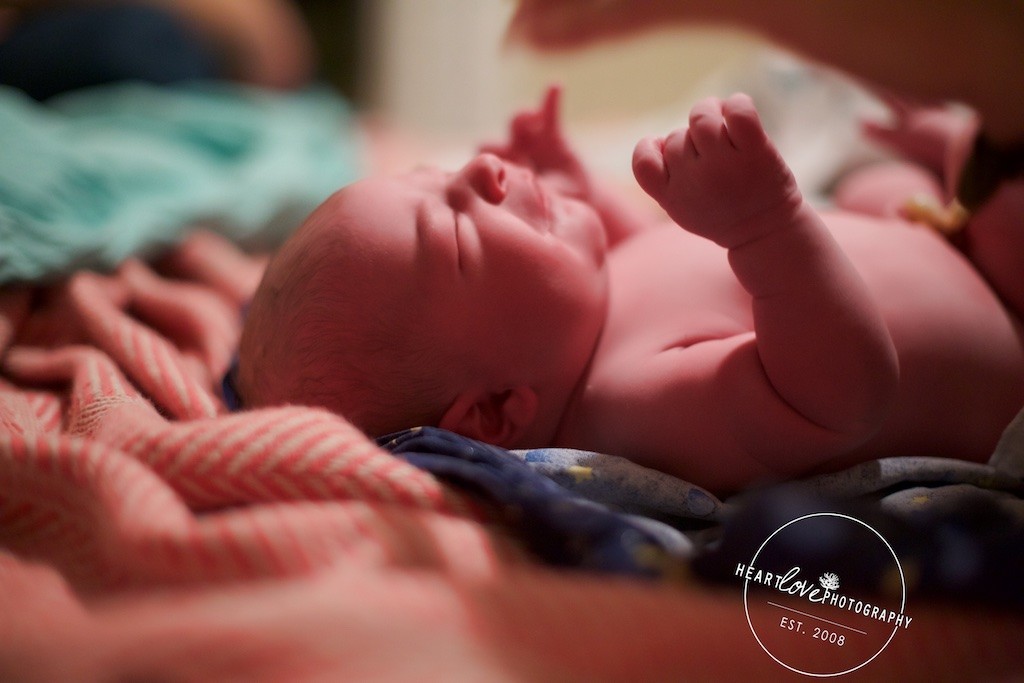
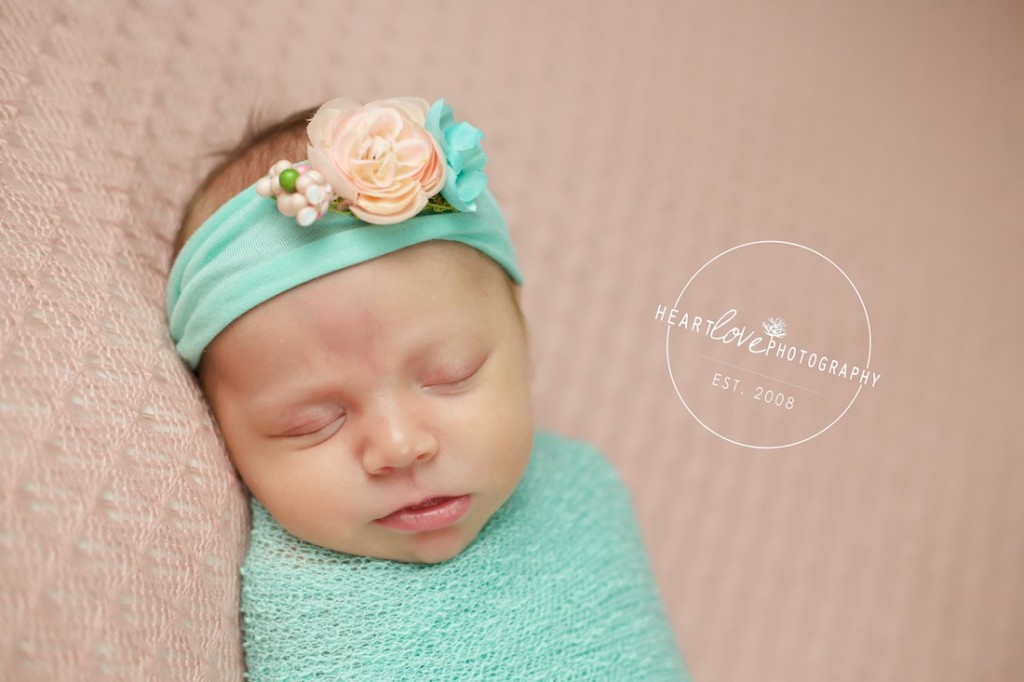
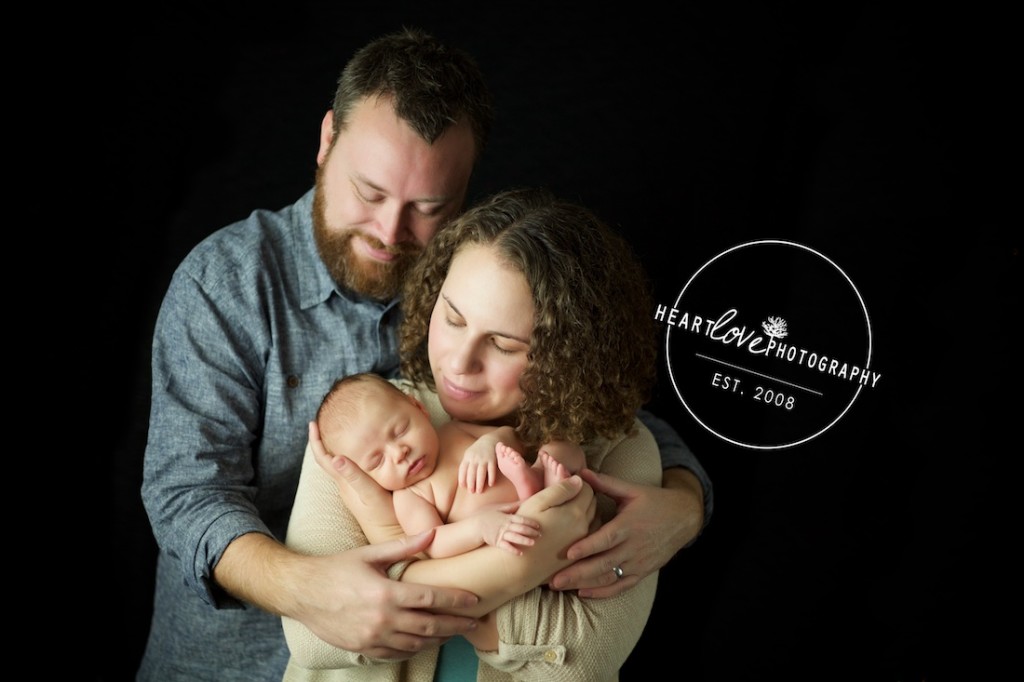
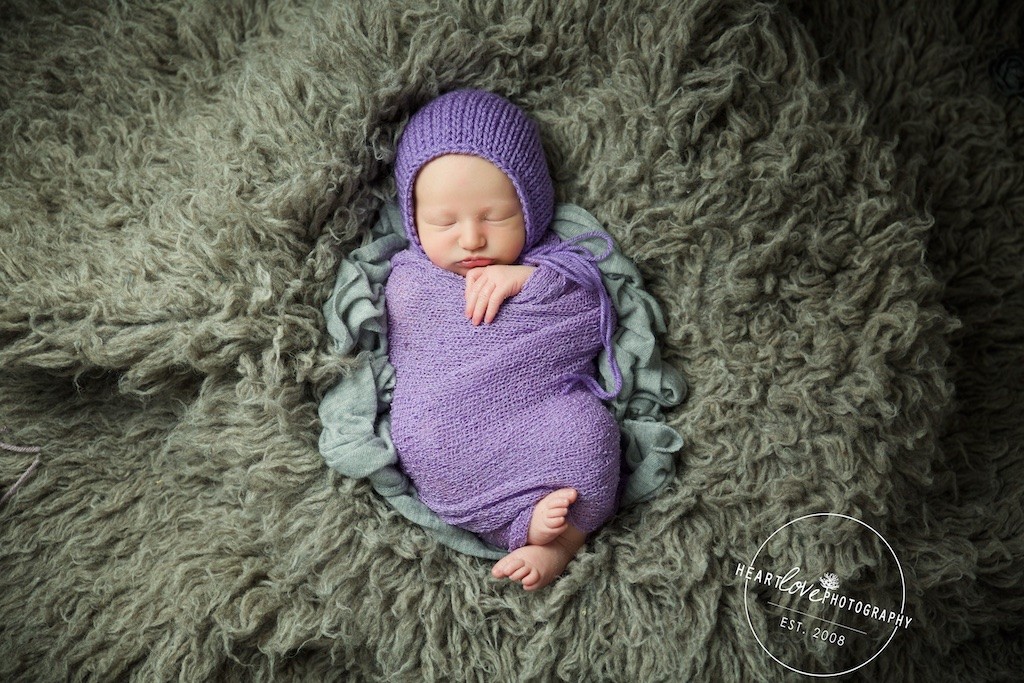
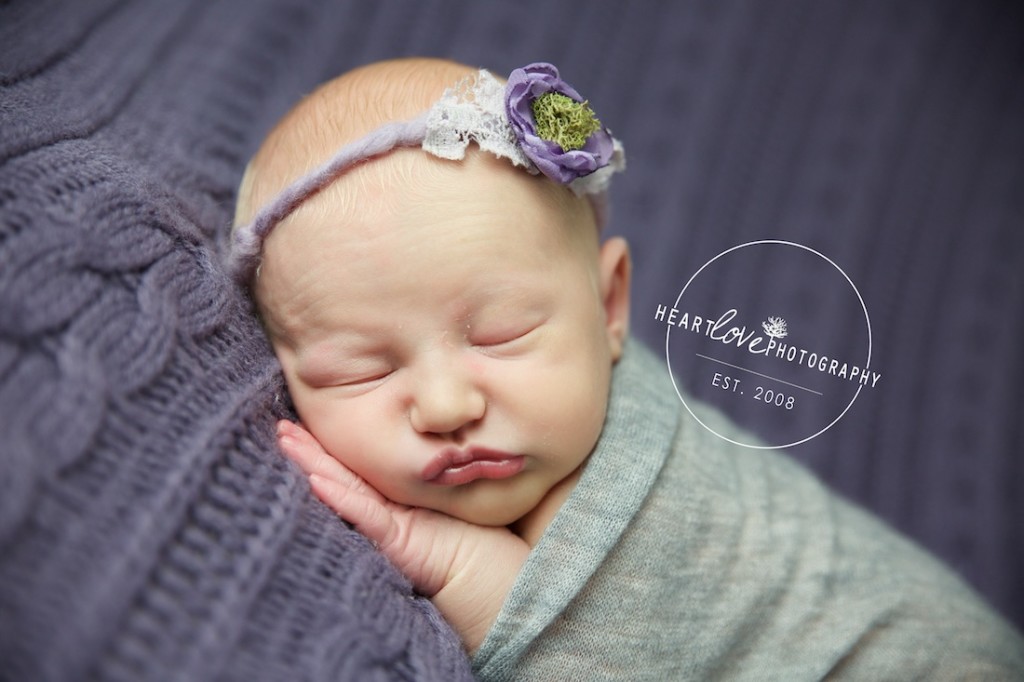
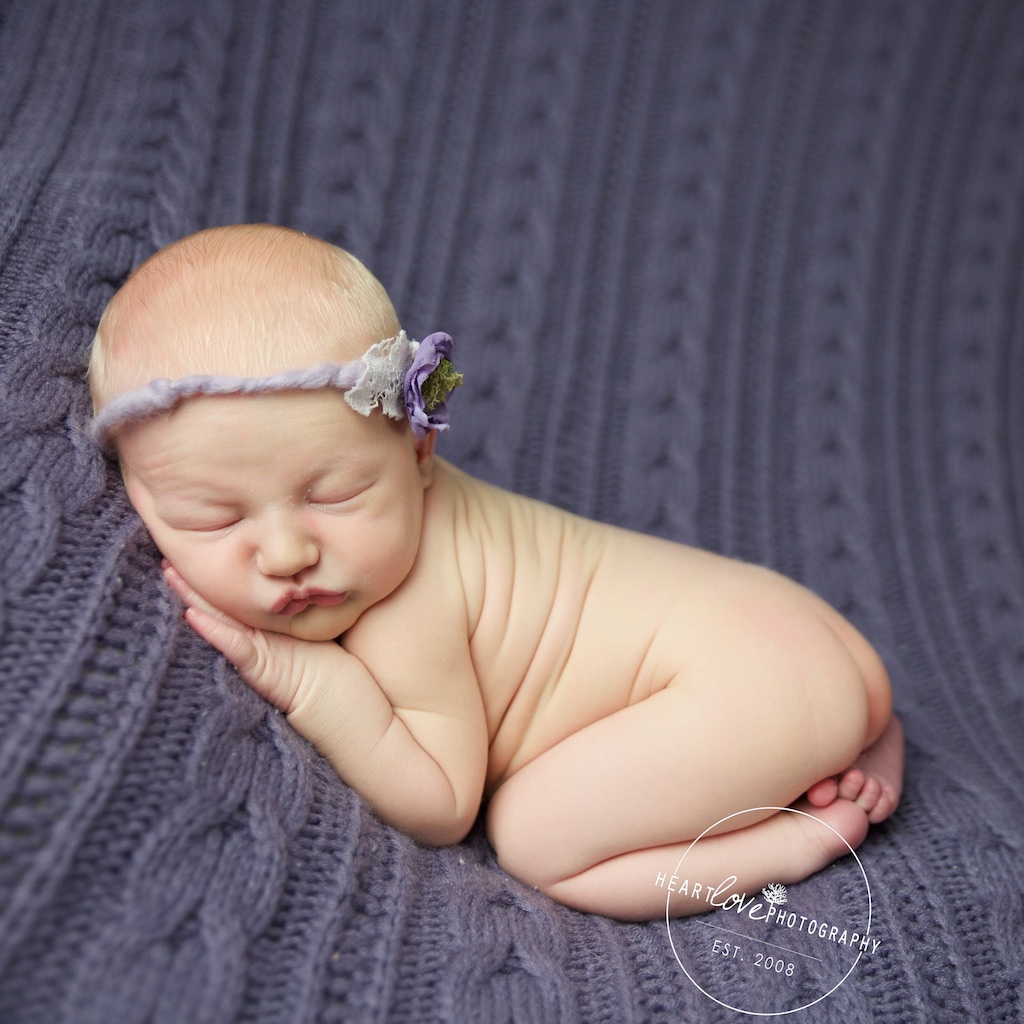
It’s always so much fun to “shop” in the studio for the props, headbands, hats and backdrops for each newborn session. This beautiful 1 month old looked adorable in pink and mint – each of the coordinating sets came from our stash!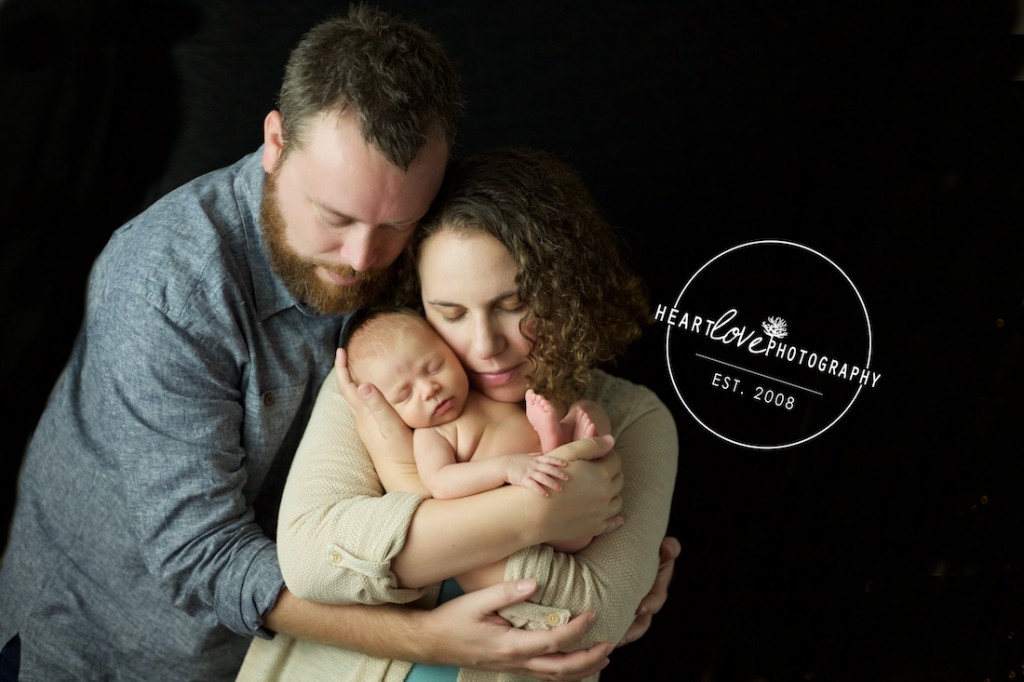 4 weeks old and just so small and sleepy! Those first weeks are so hard and so wonderful!

purple and grey newborn portraits | millersville, md newborn photographer

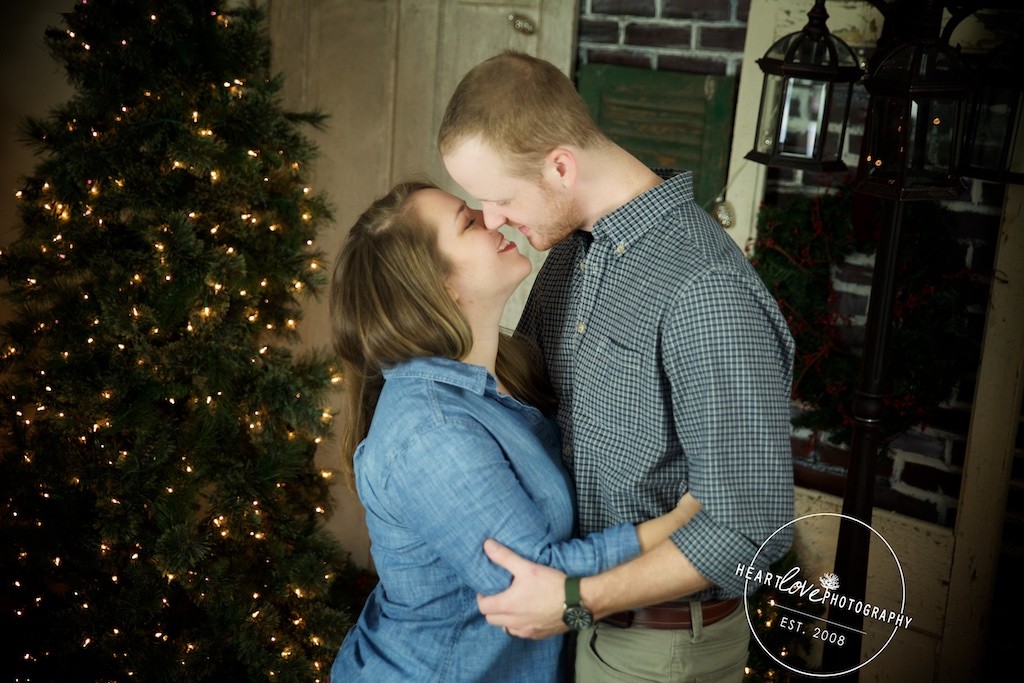
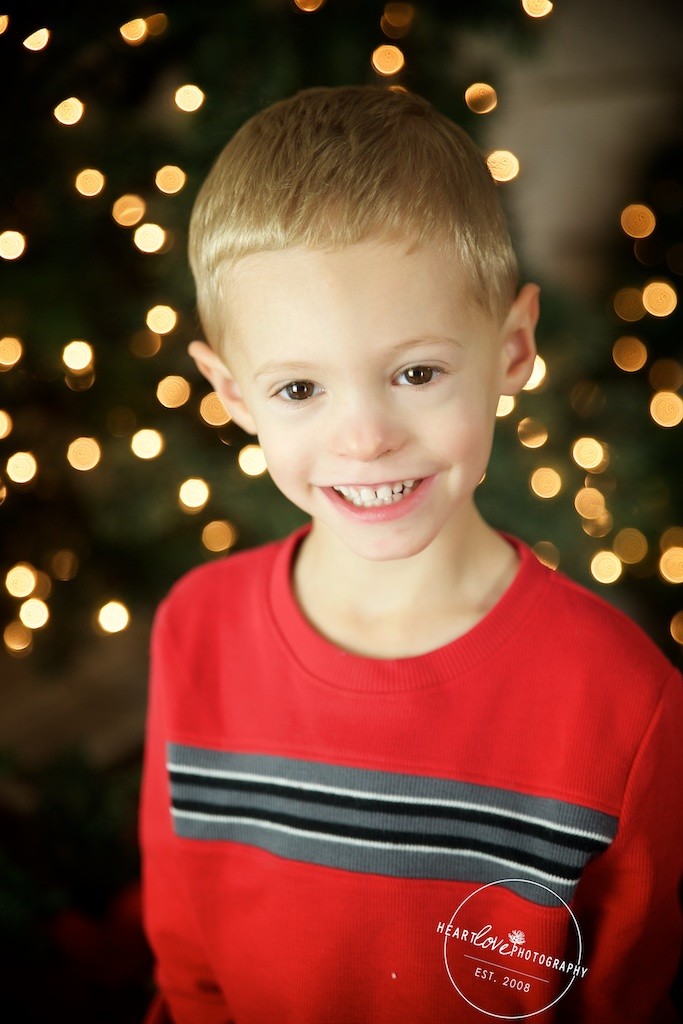
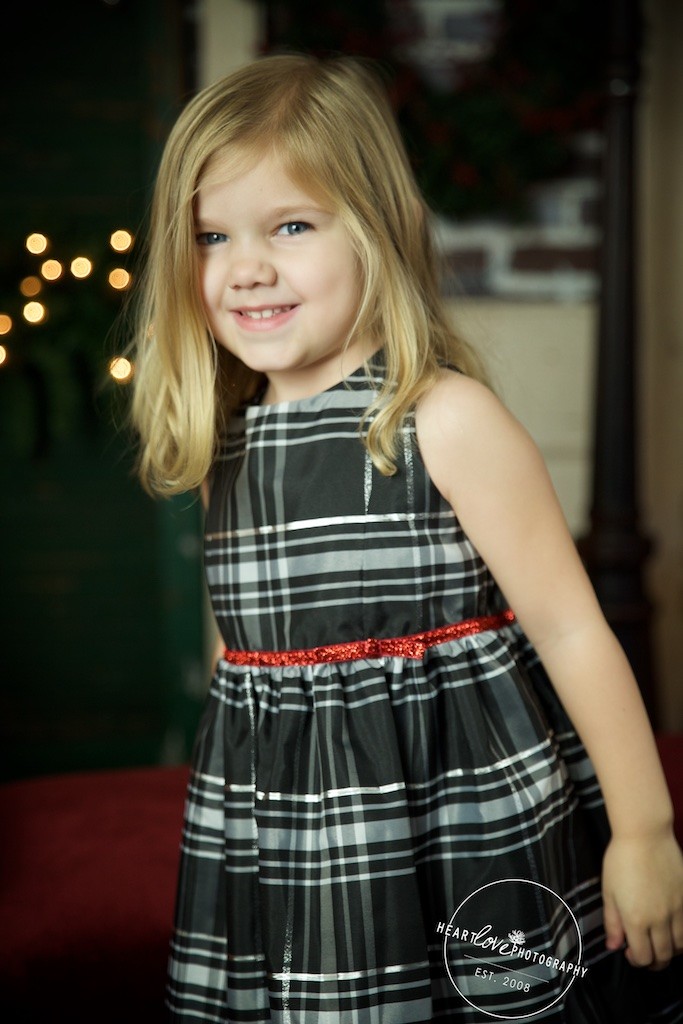
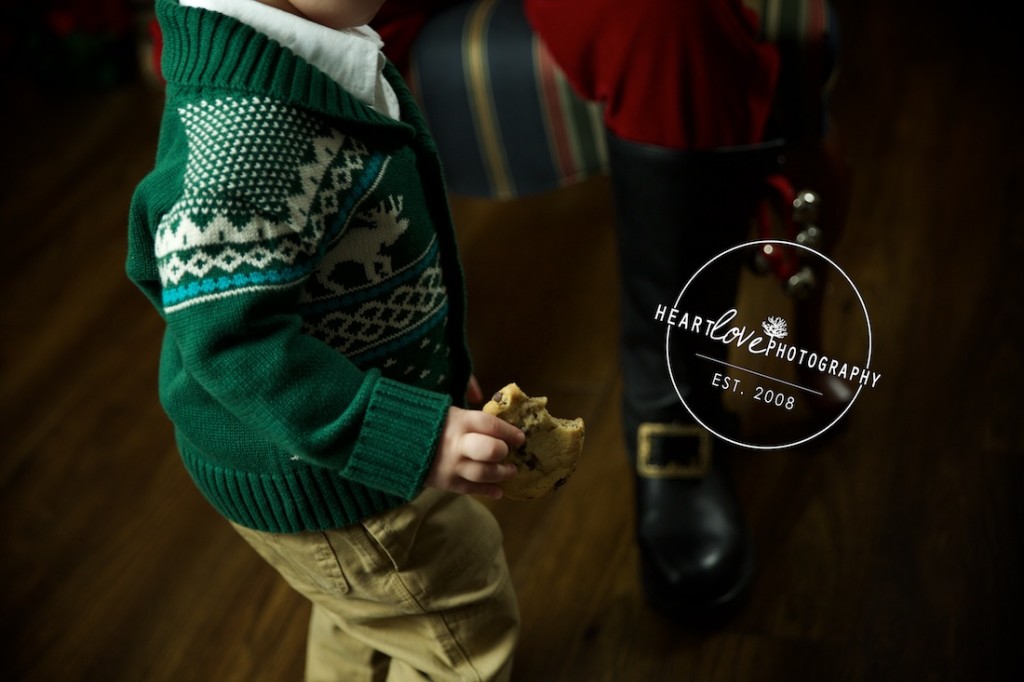
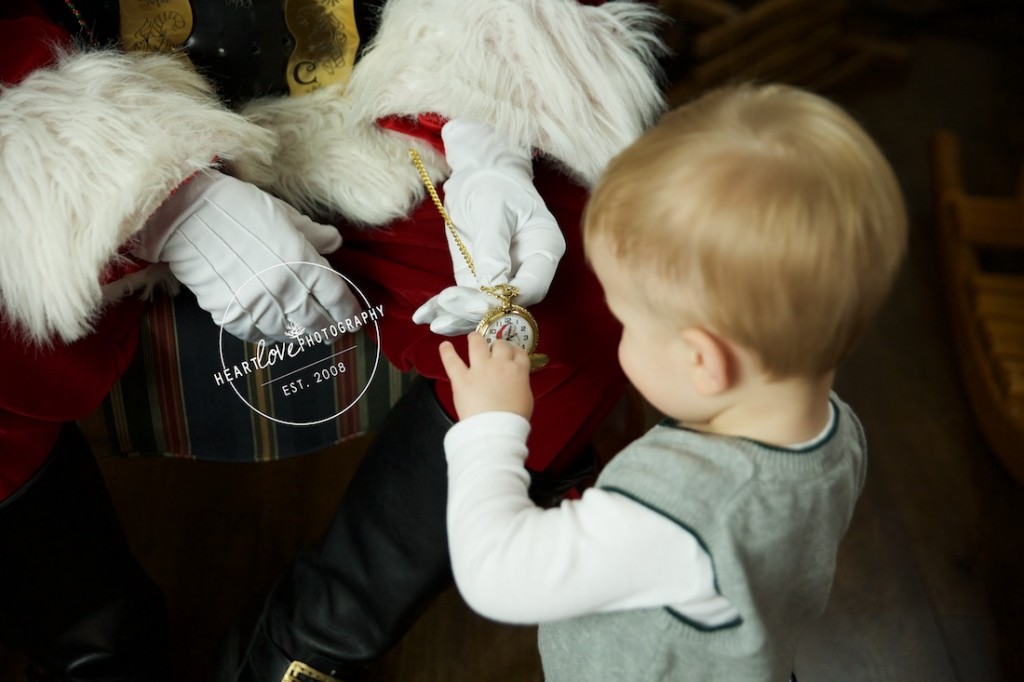
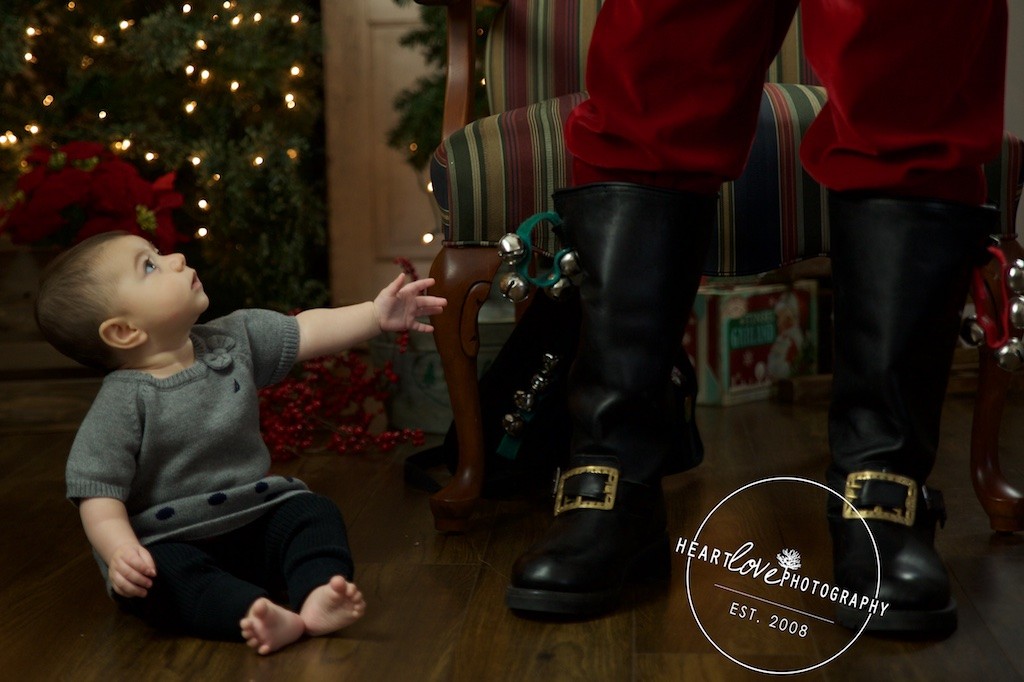
christmas mini sessions 2015 | baltimore baby photographer


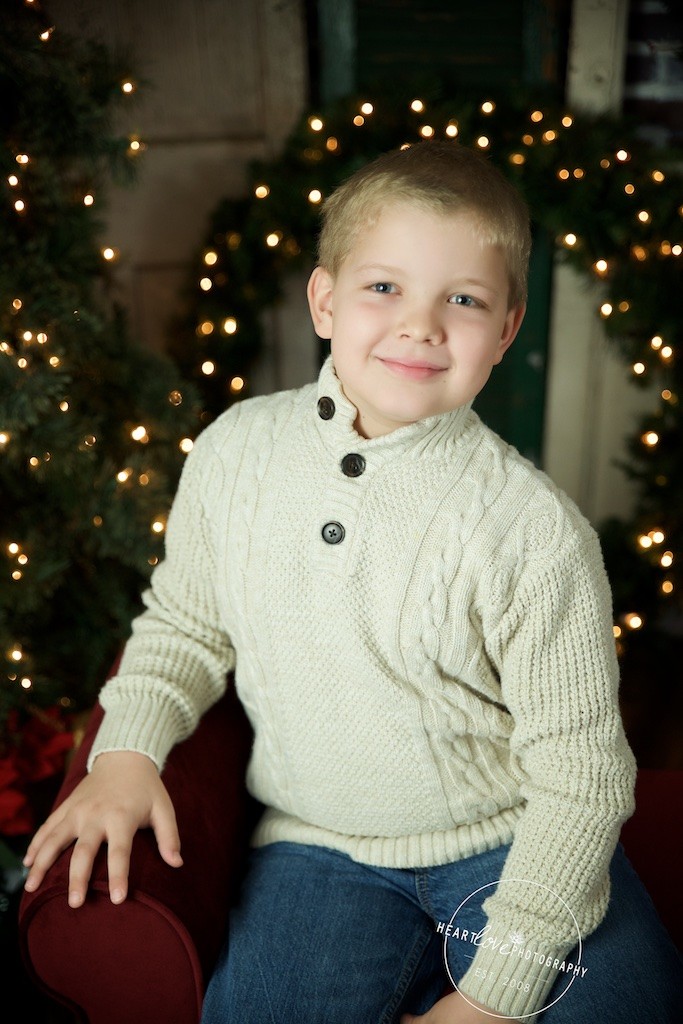


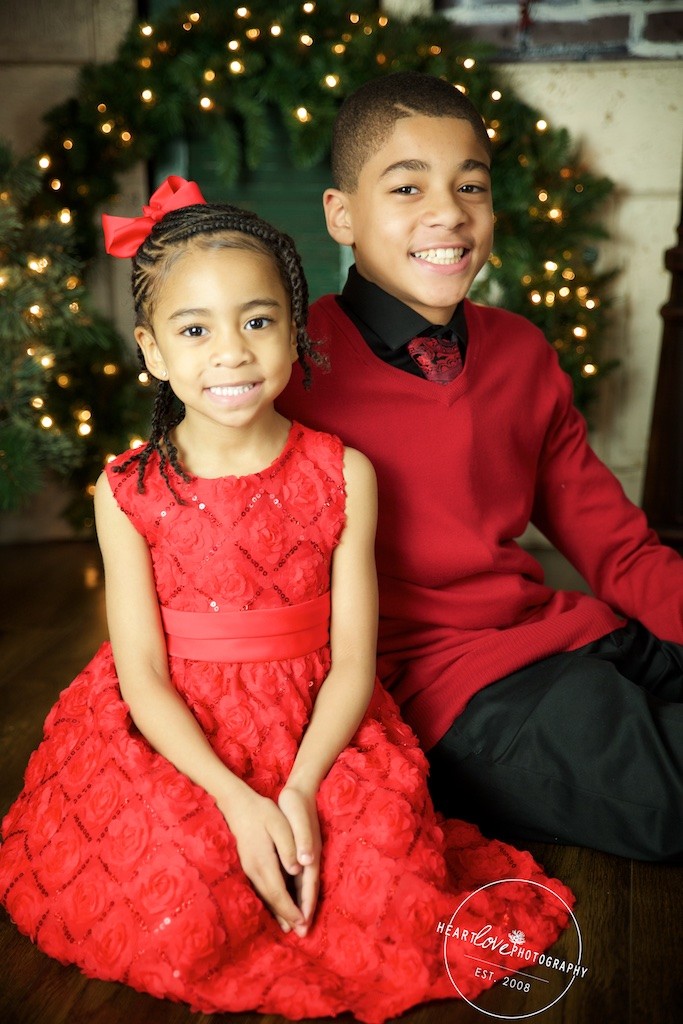


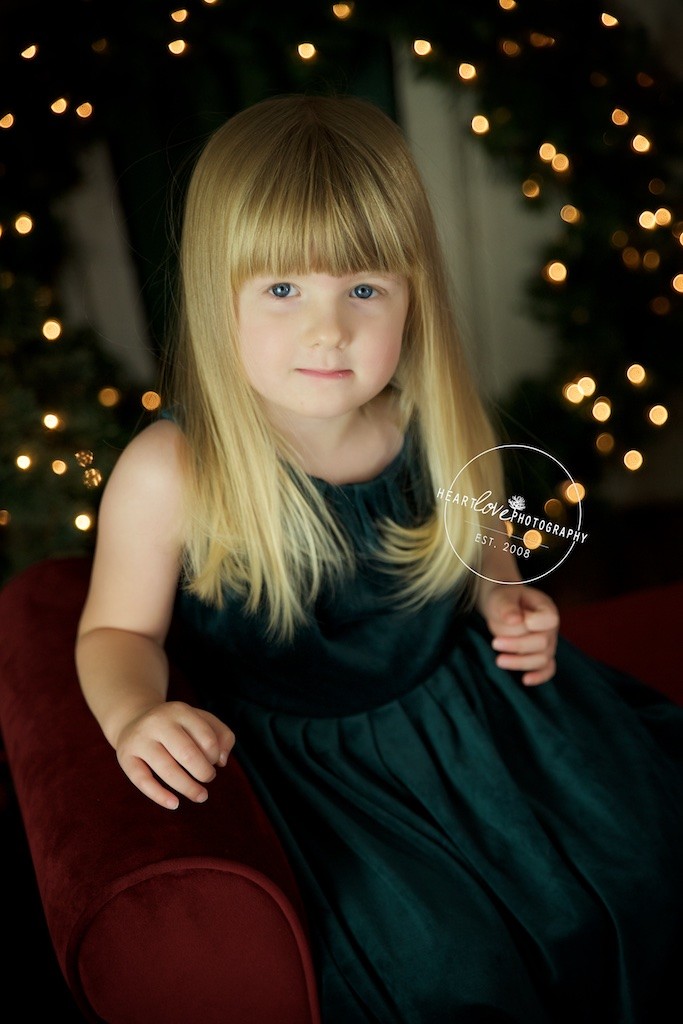

sessions with santa | pasadena, md baby photographer


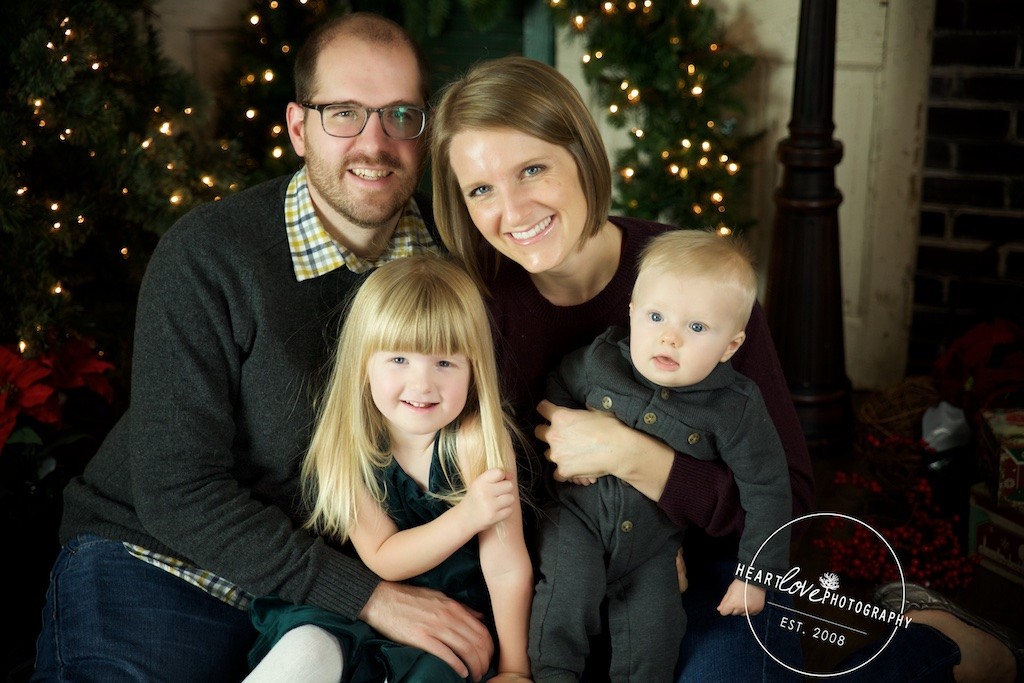
annapolis photographer | winter portraits


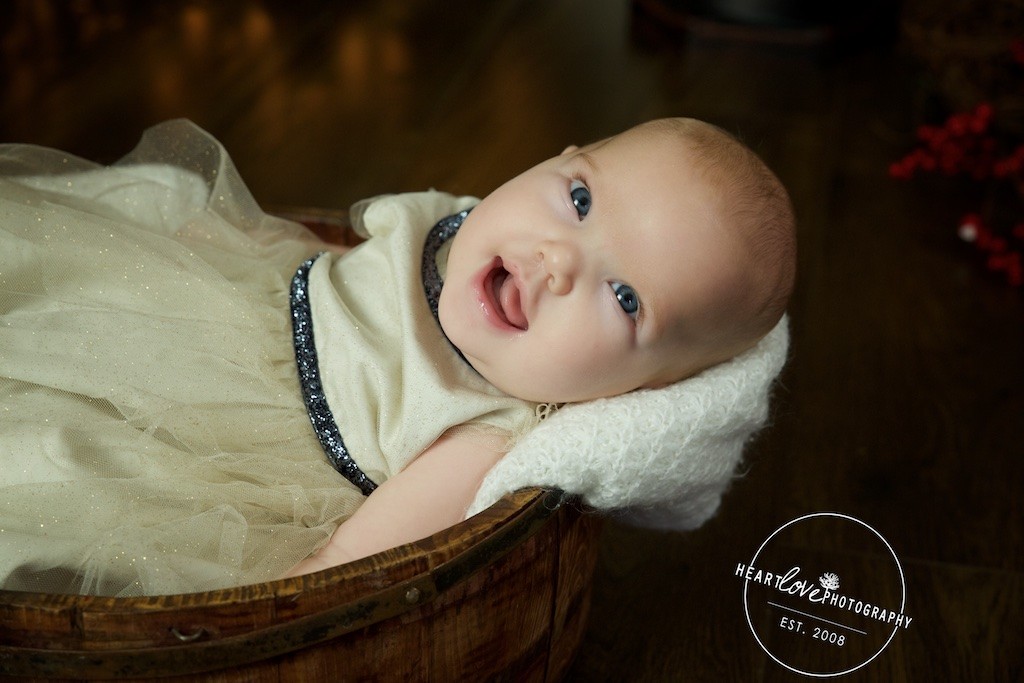
christmas newborn portraits | pasadena, md


 |
|
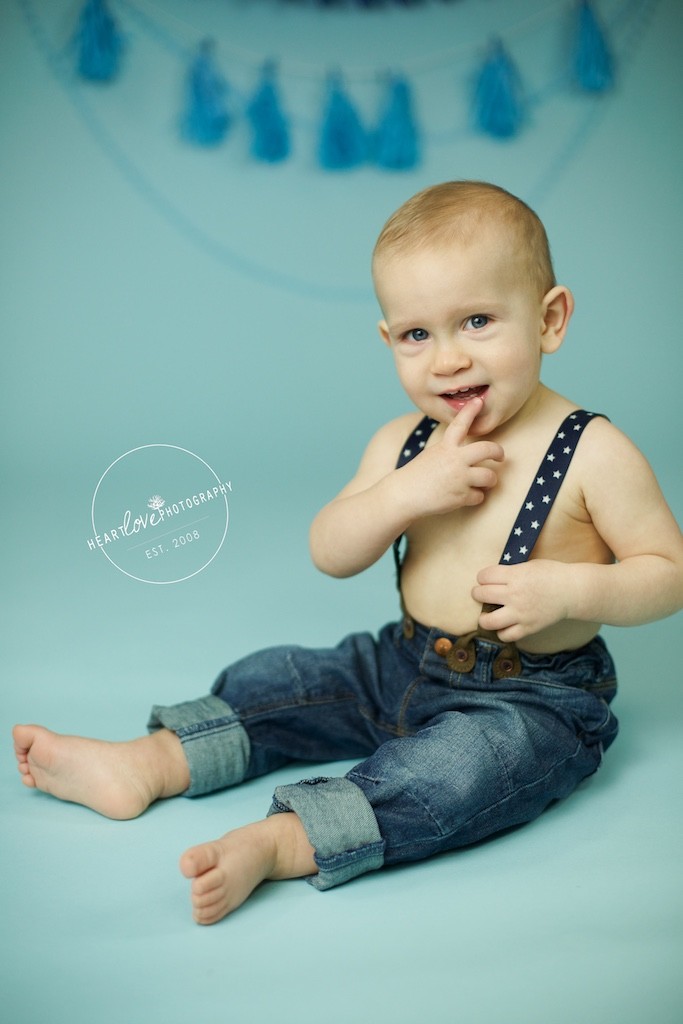
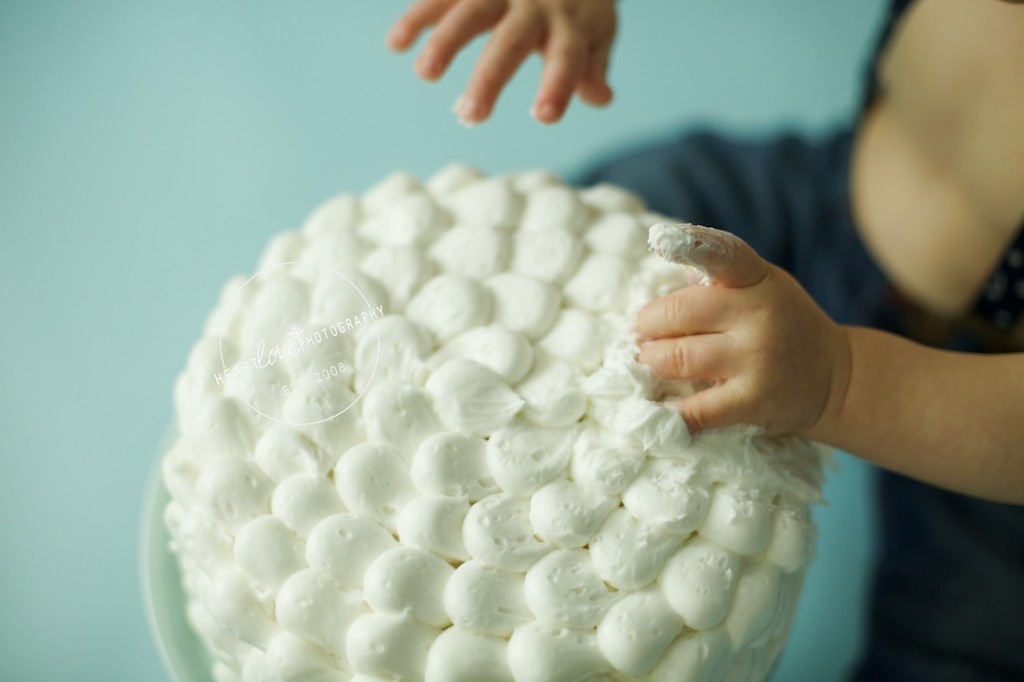
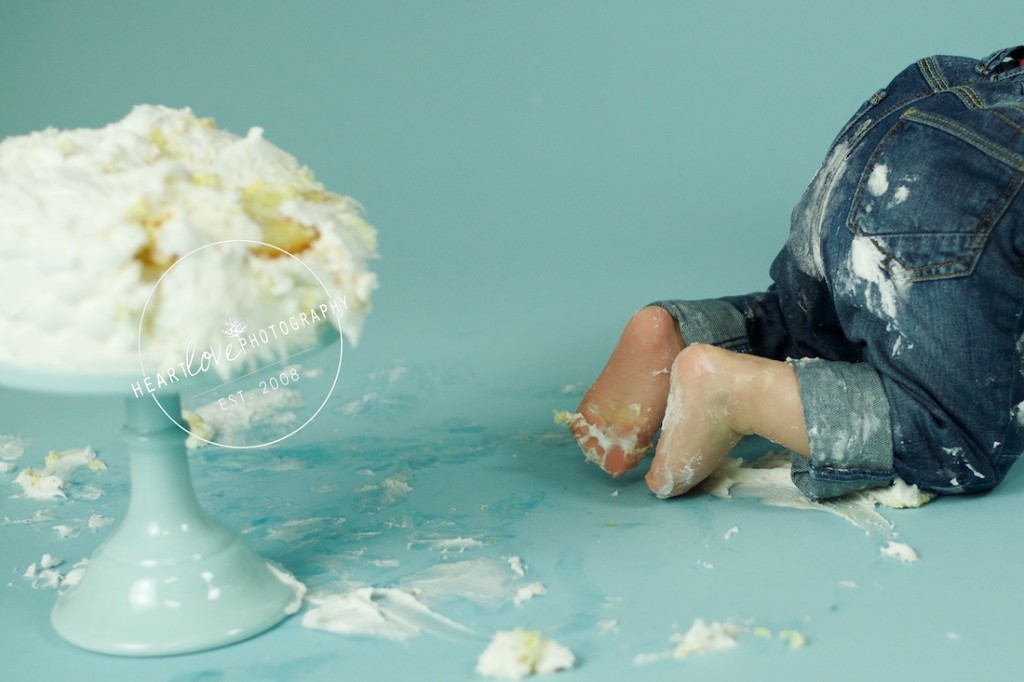
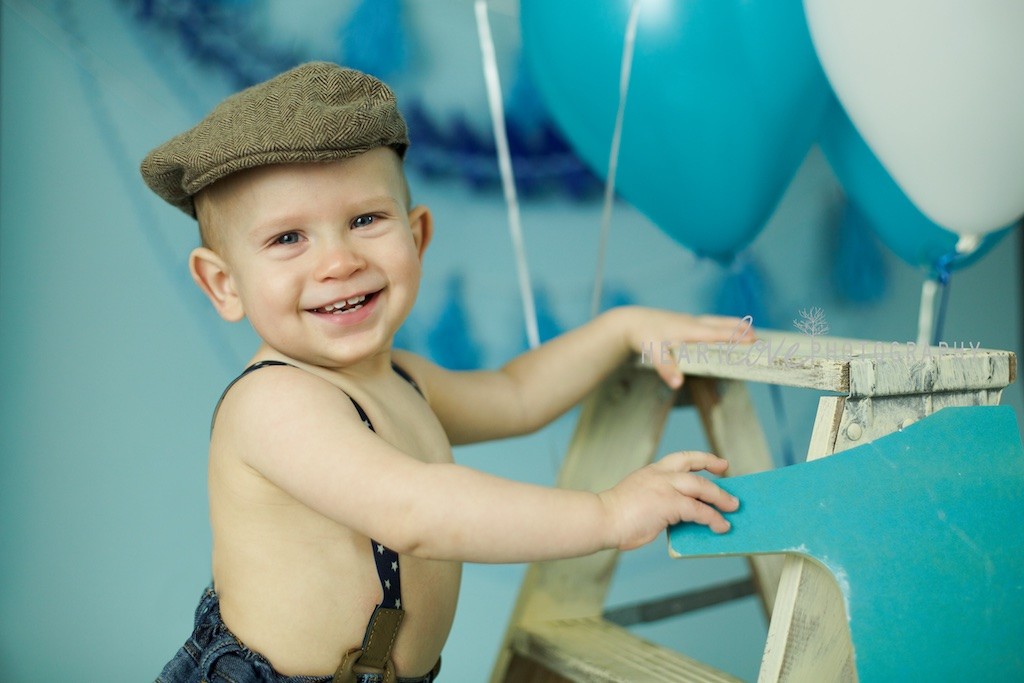
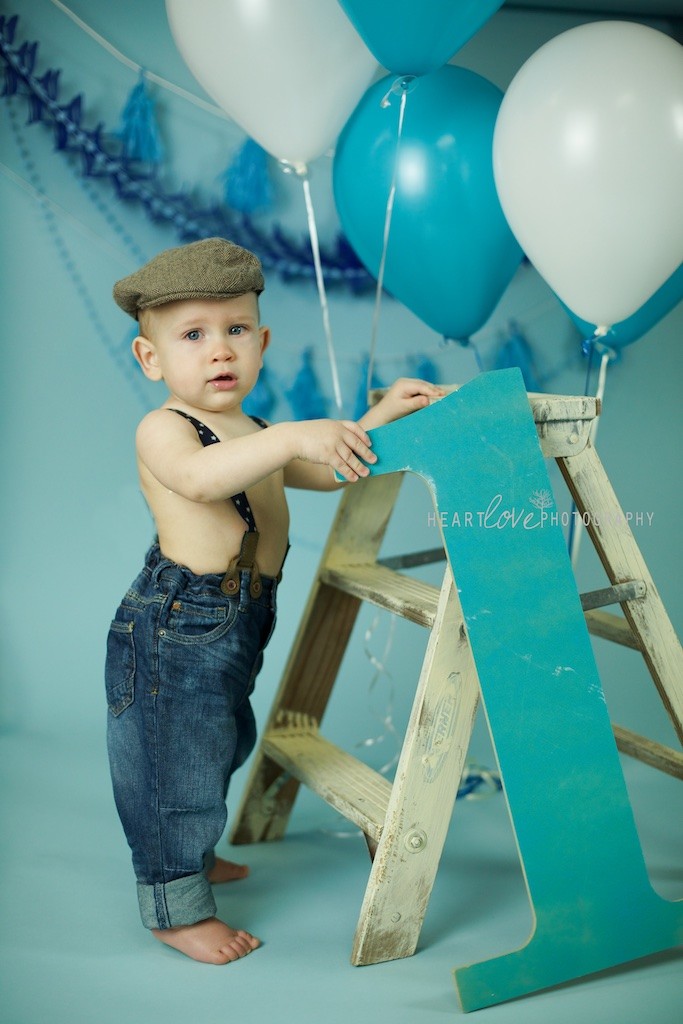
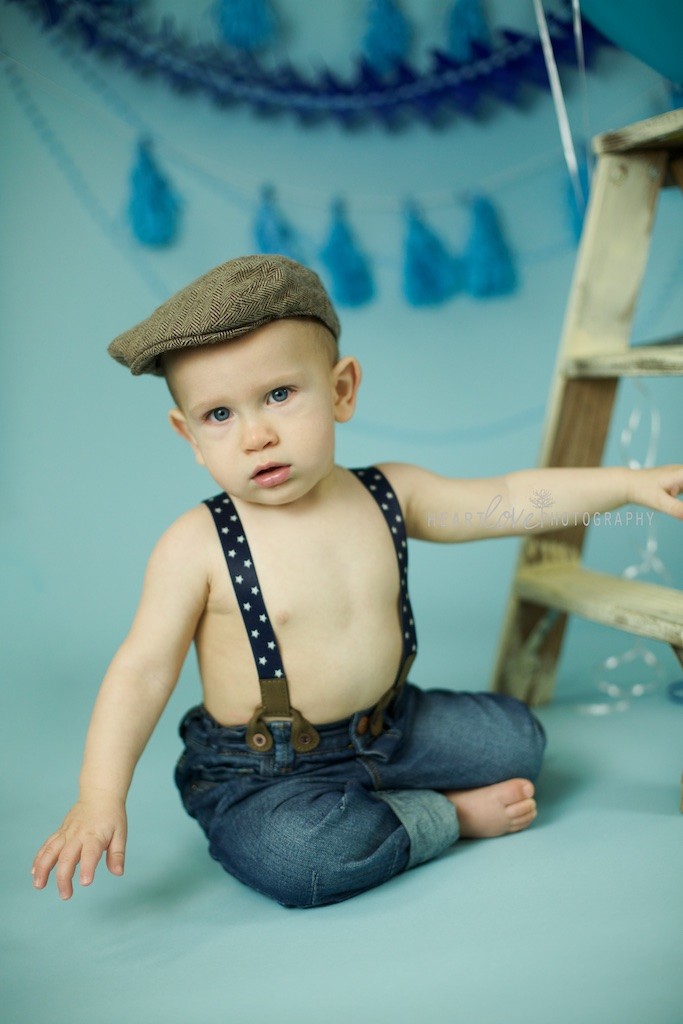
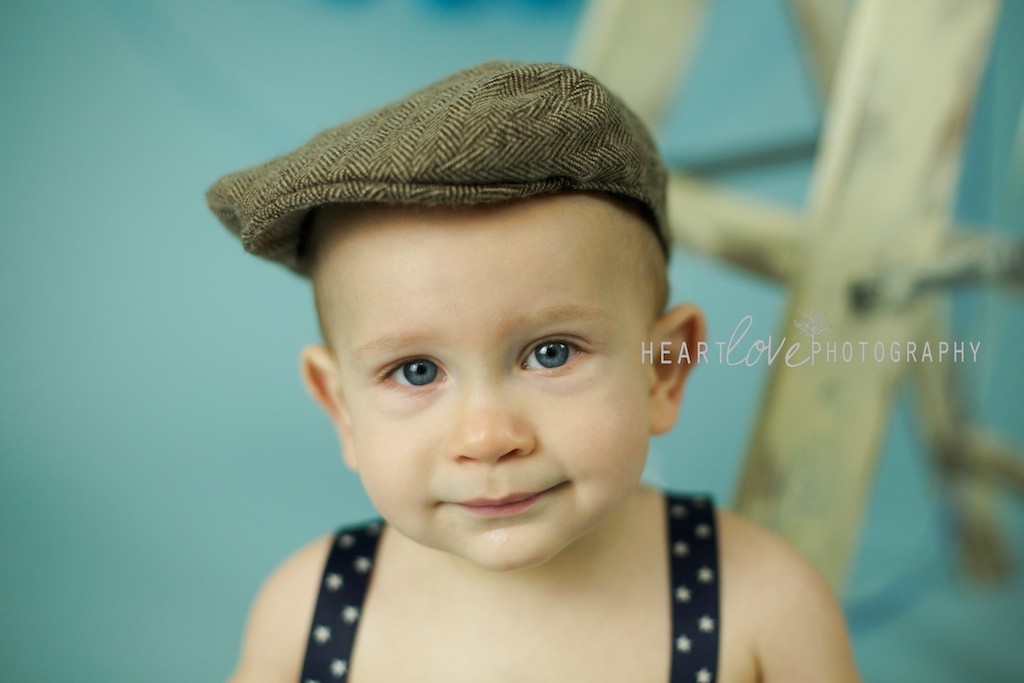
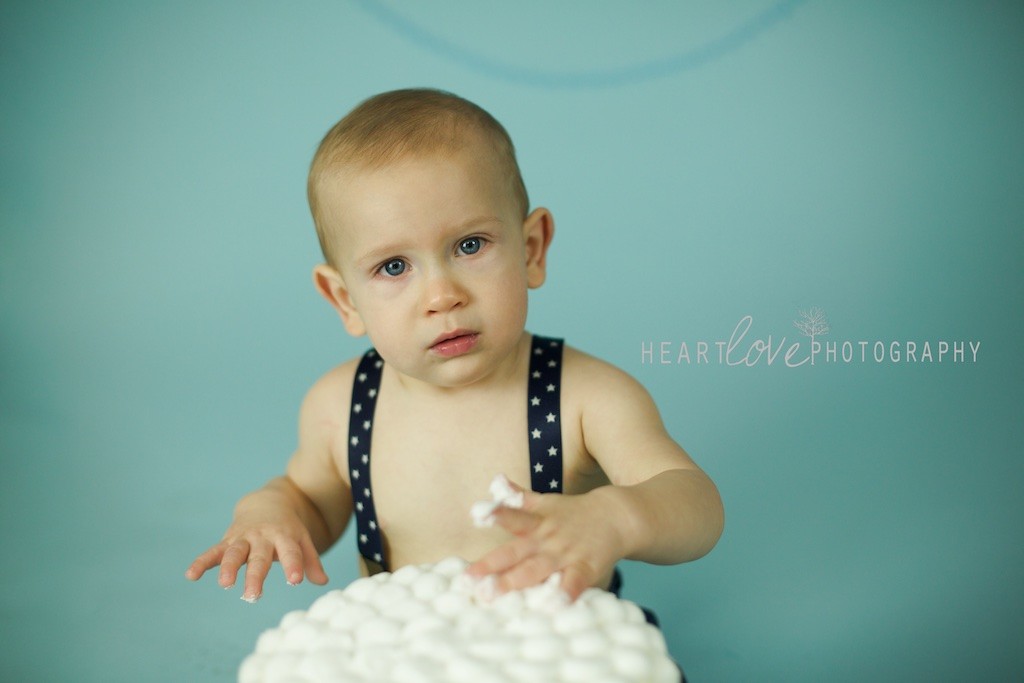
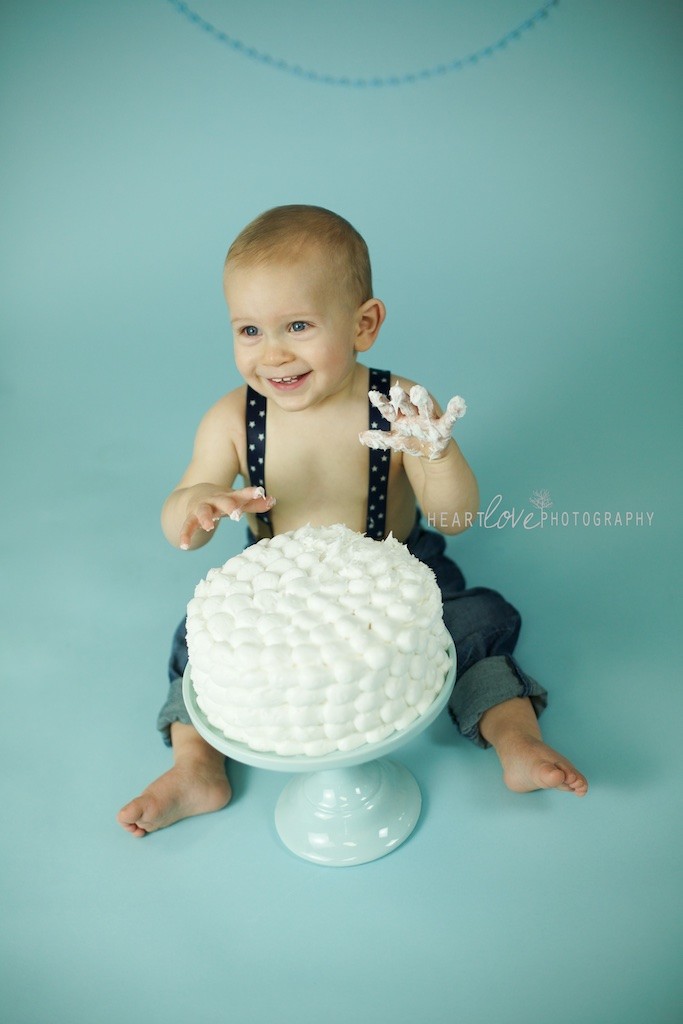
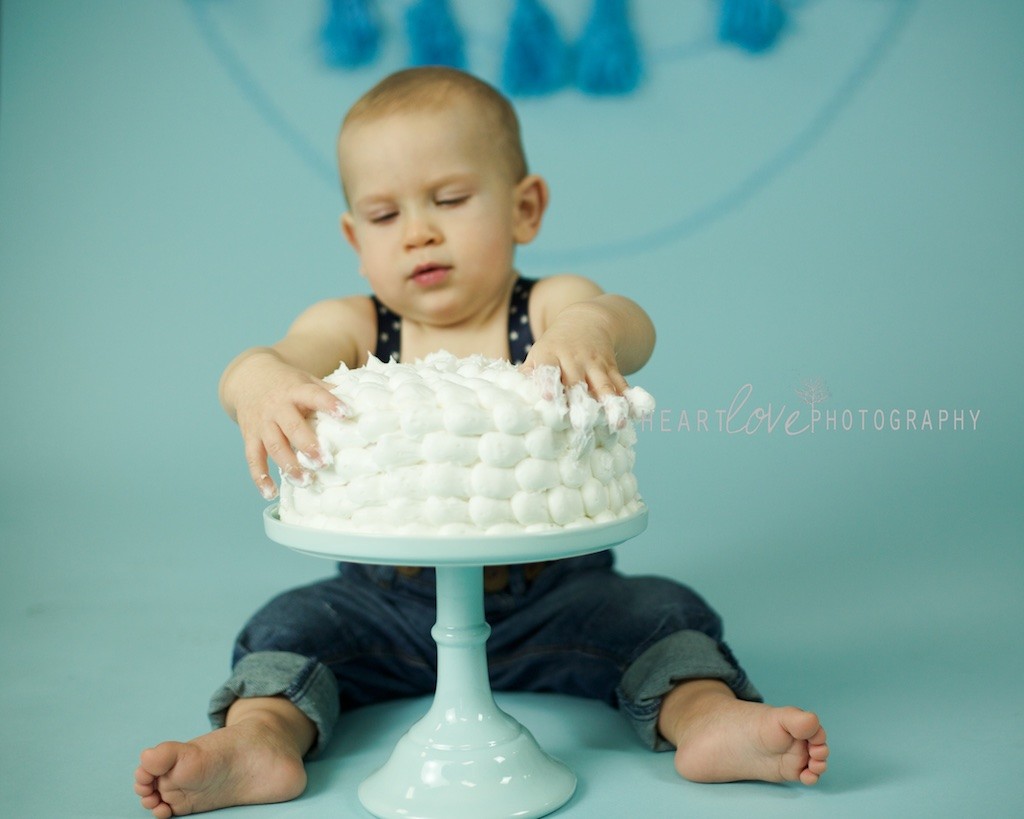
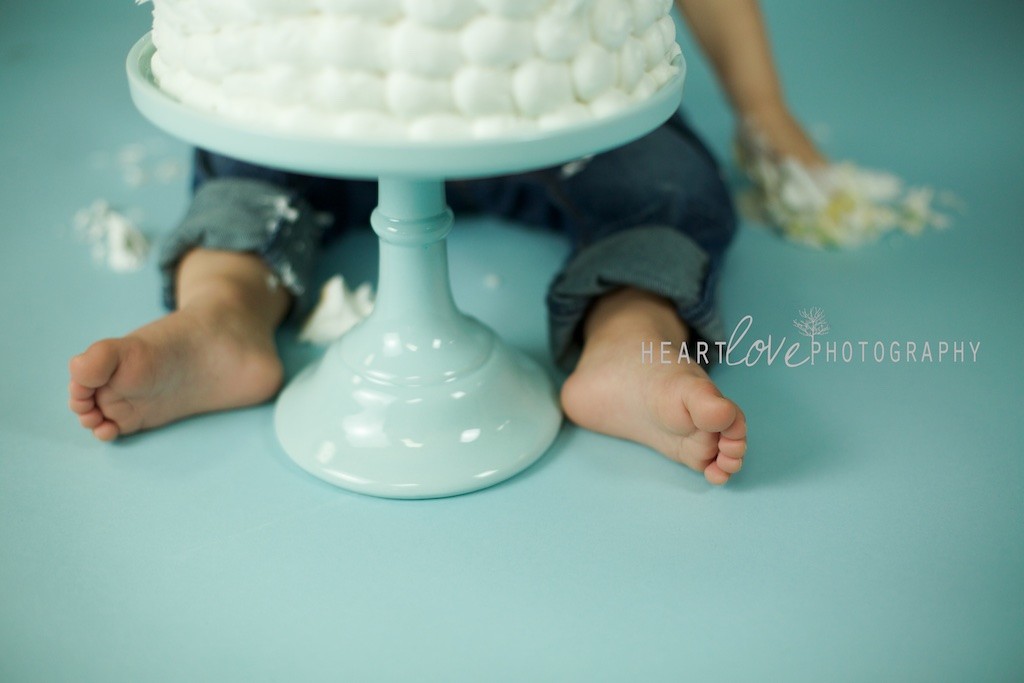
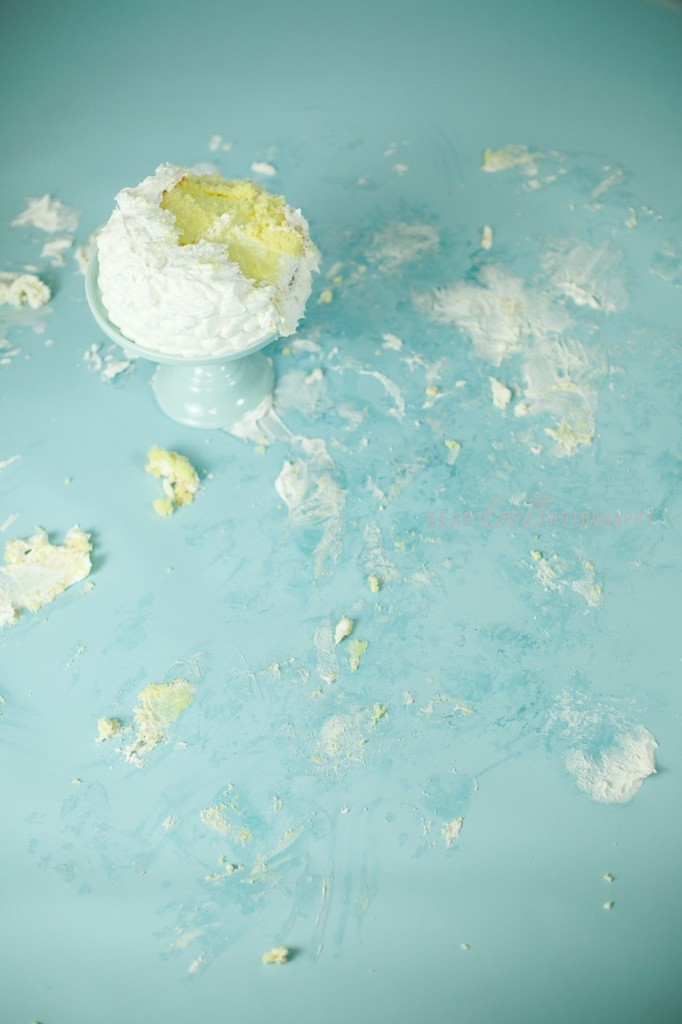
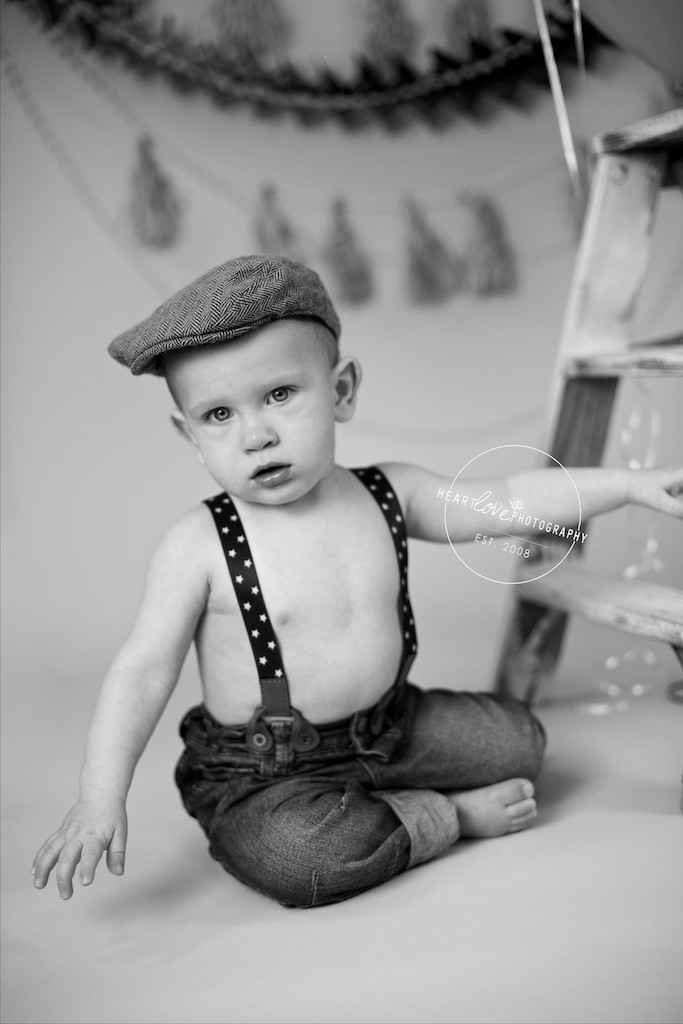
first birthday baby boy | annapolis, md baby photographer


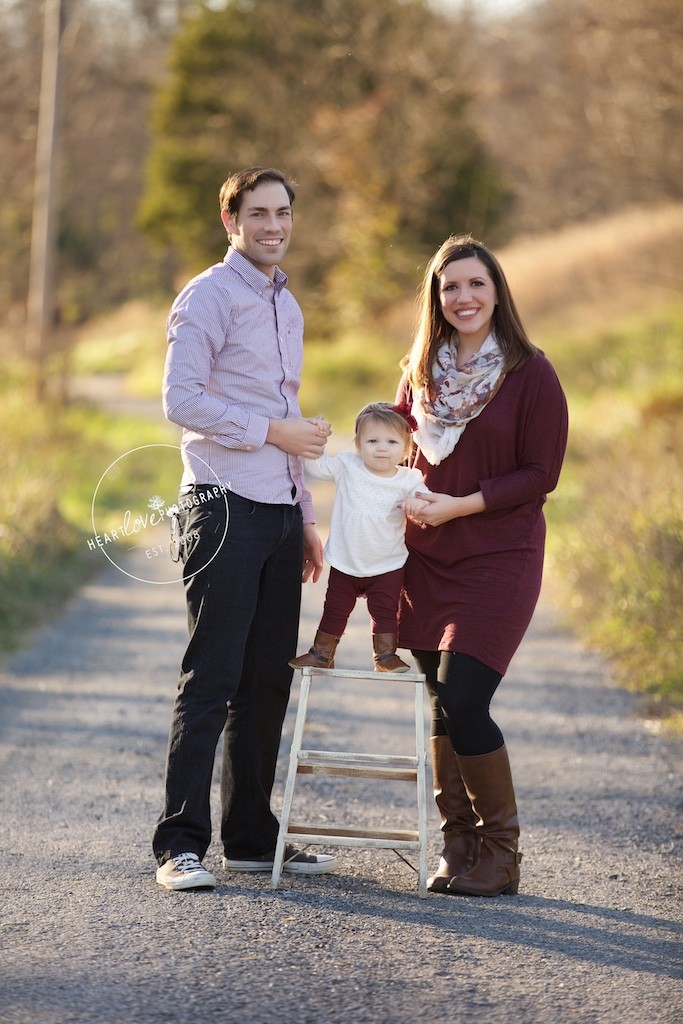
fall family portraits | annapolis, md baby photographer

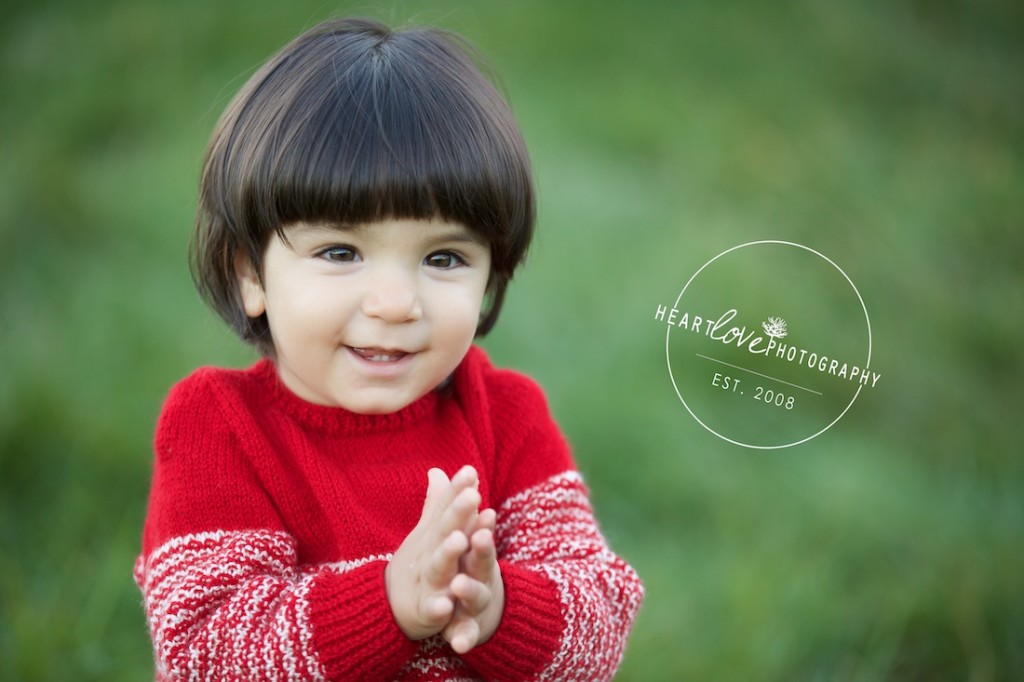
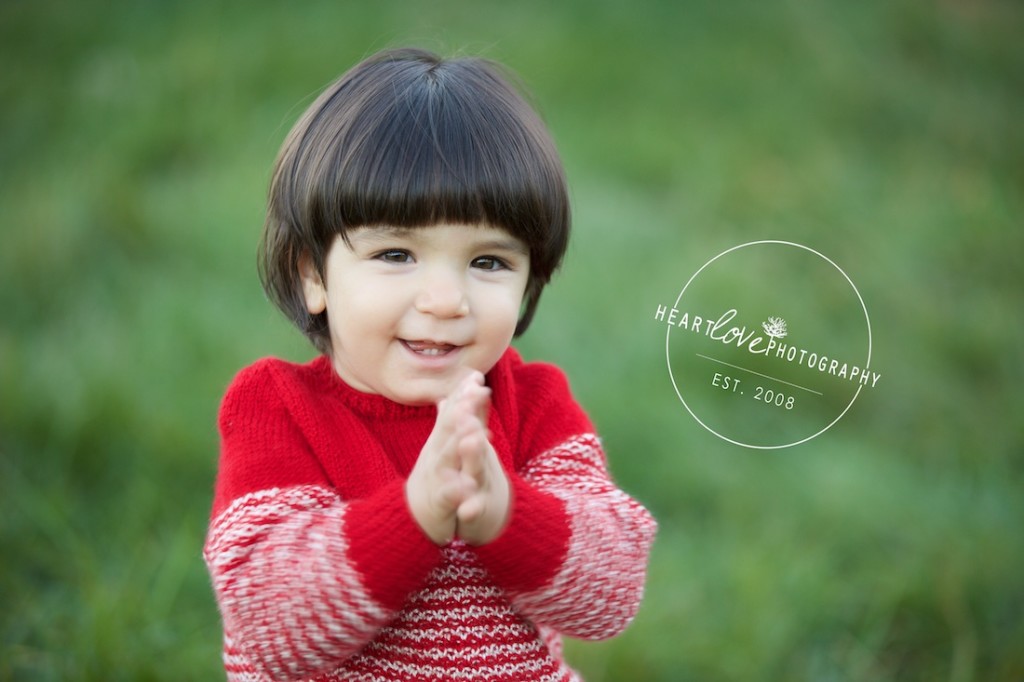
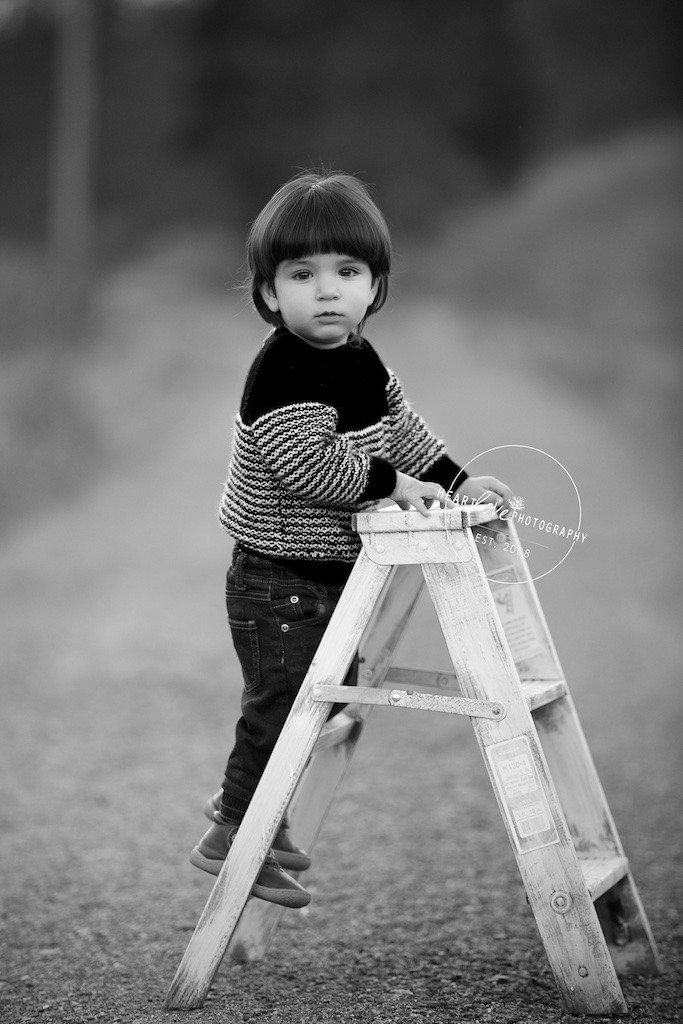

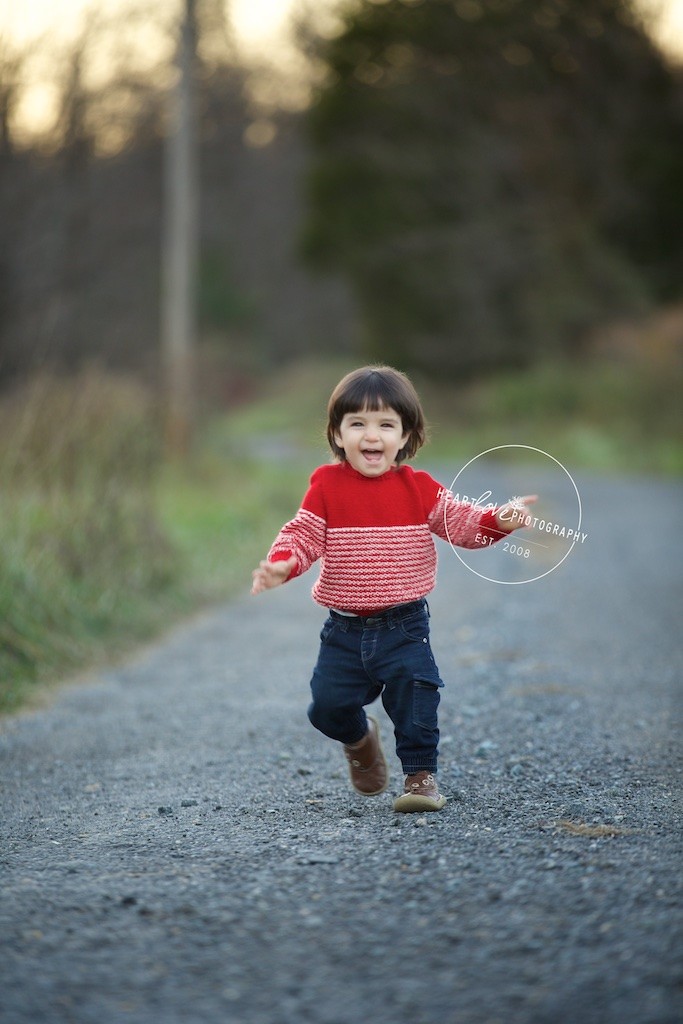
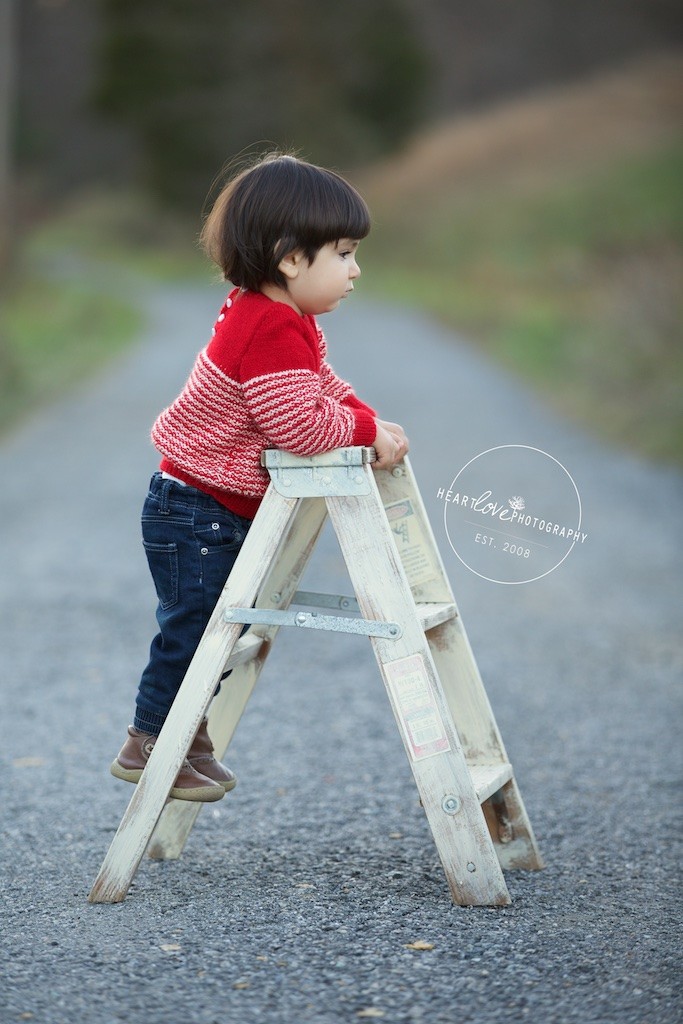
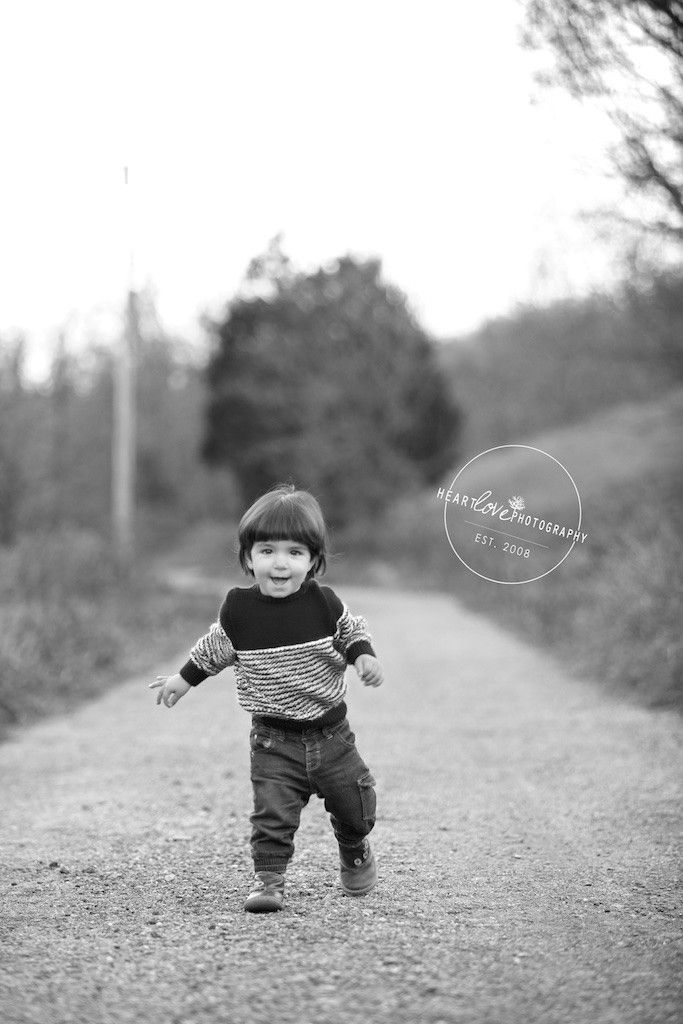
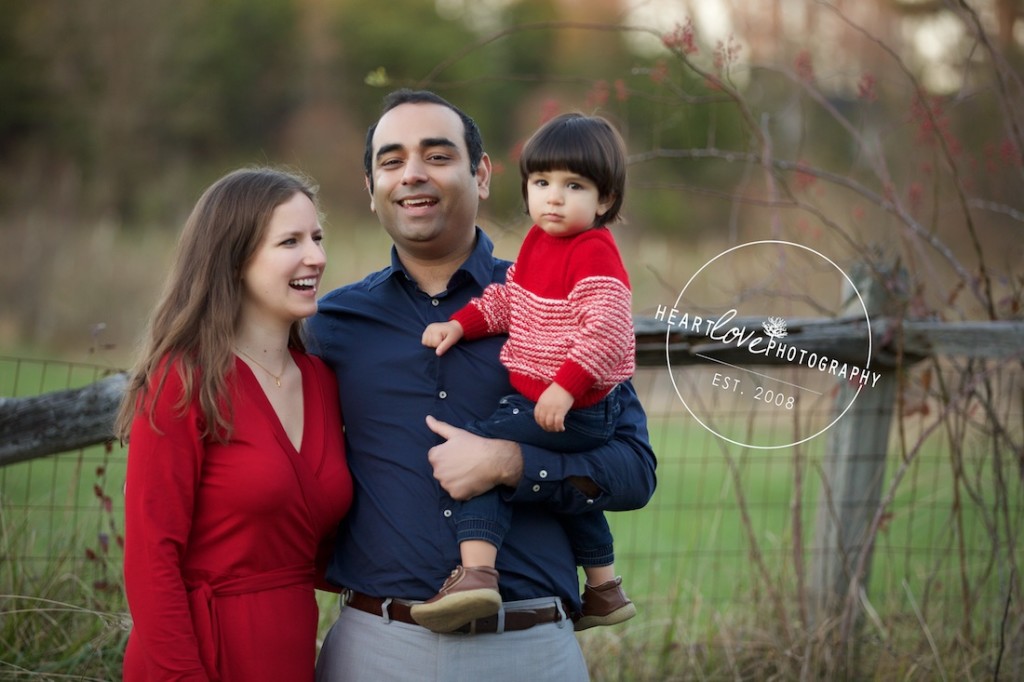
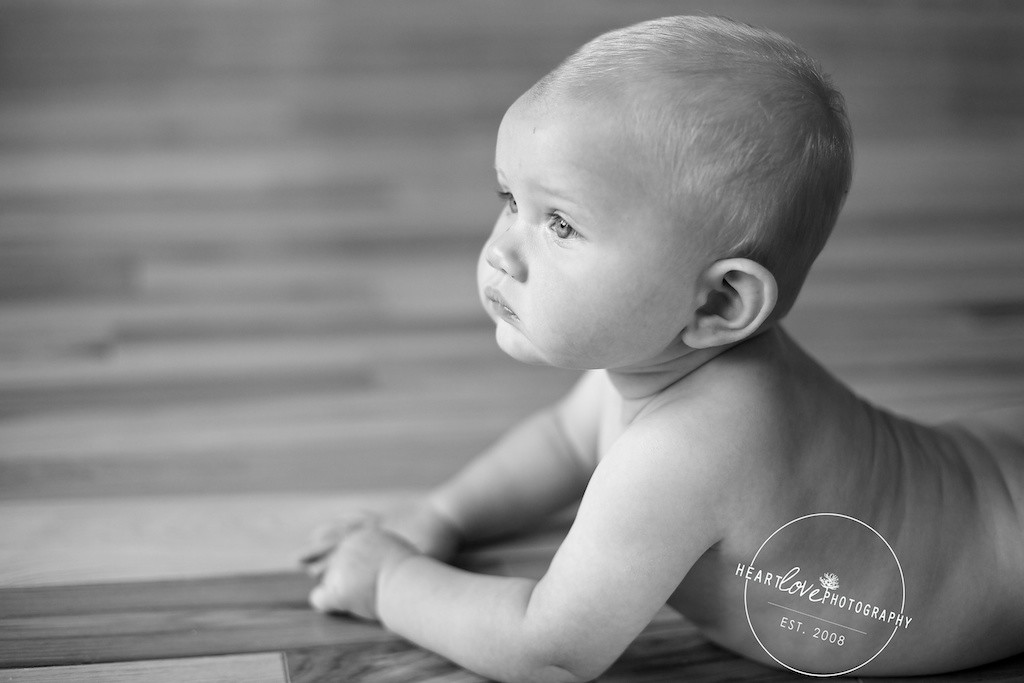
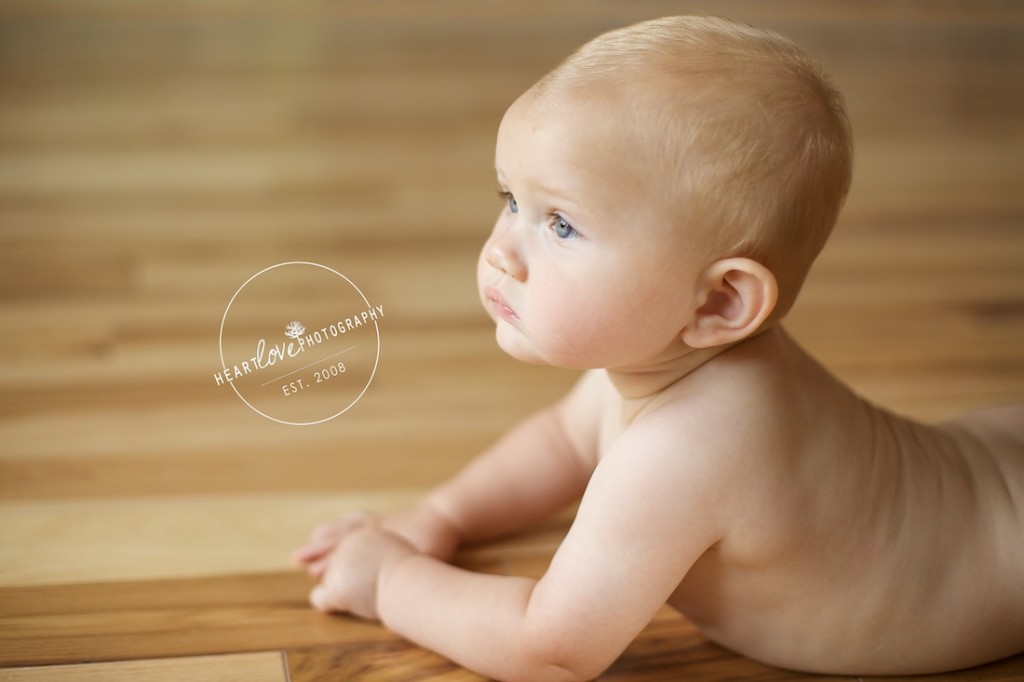
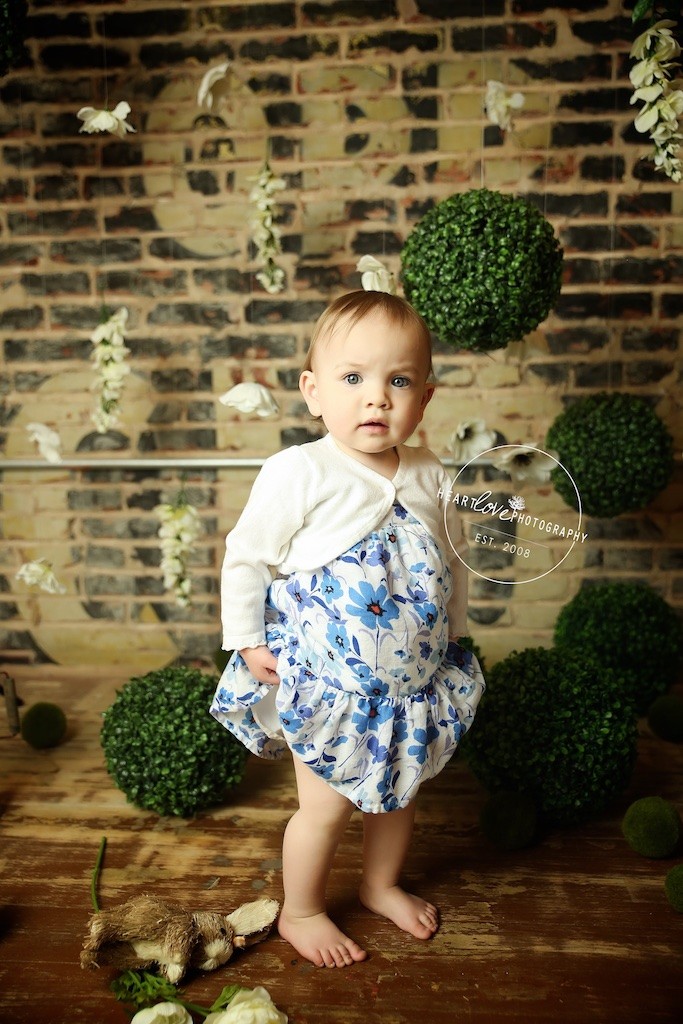
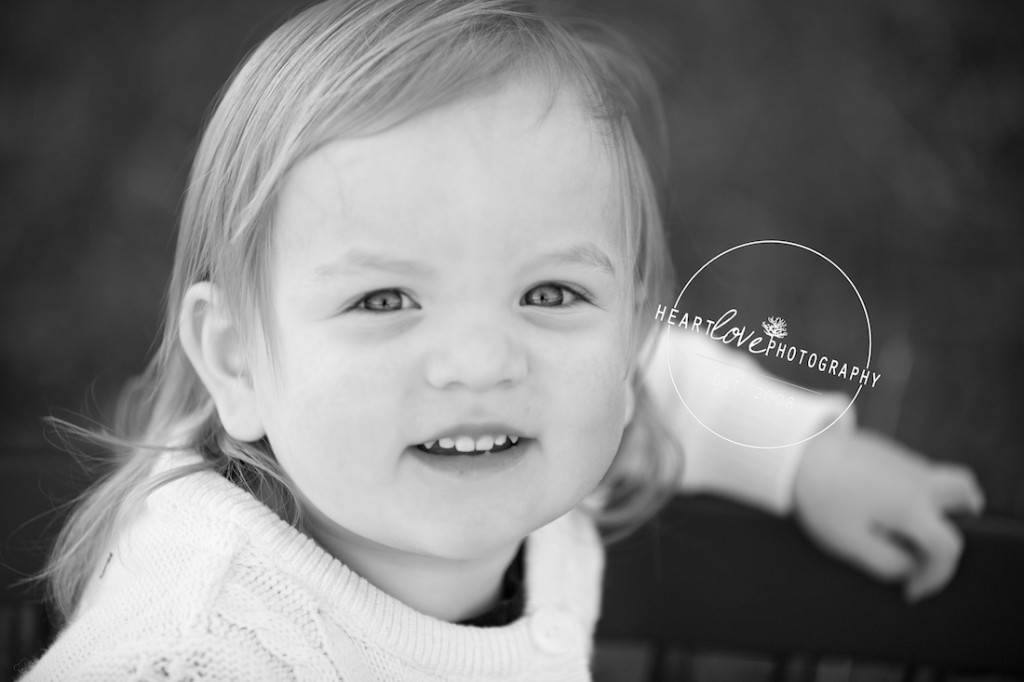
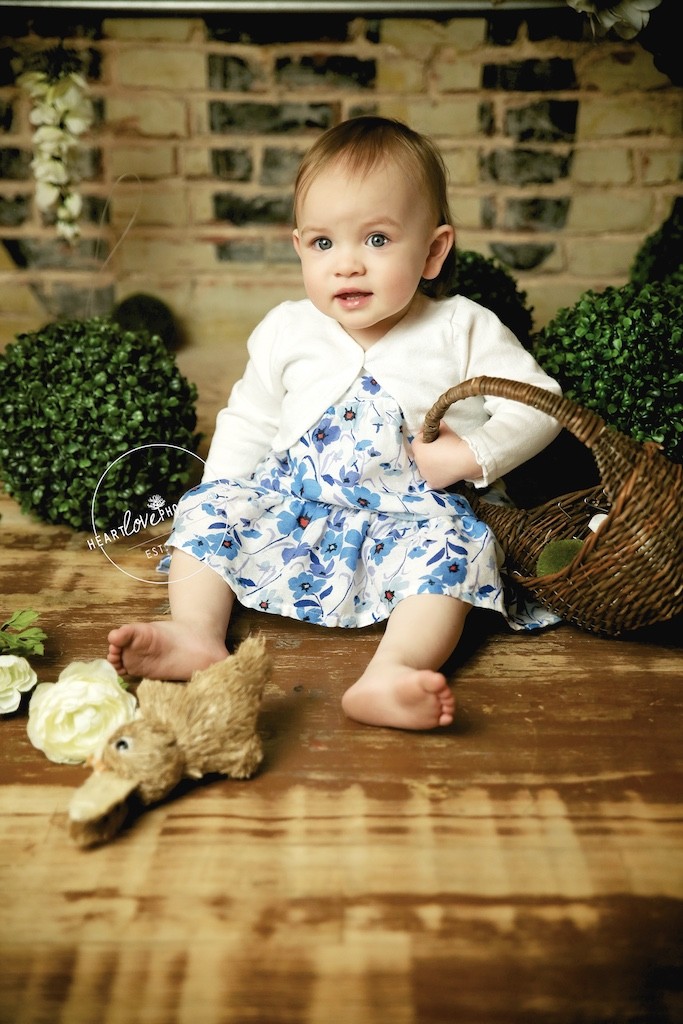
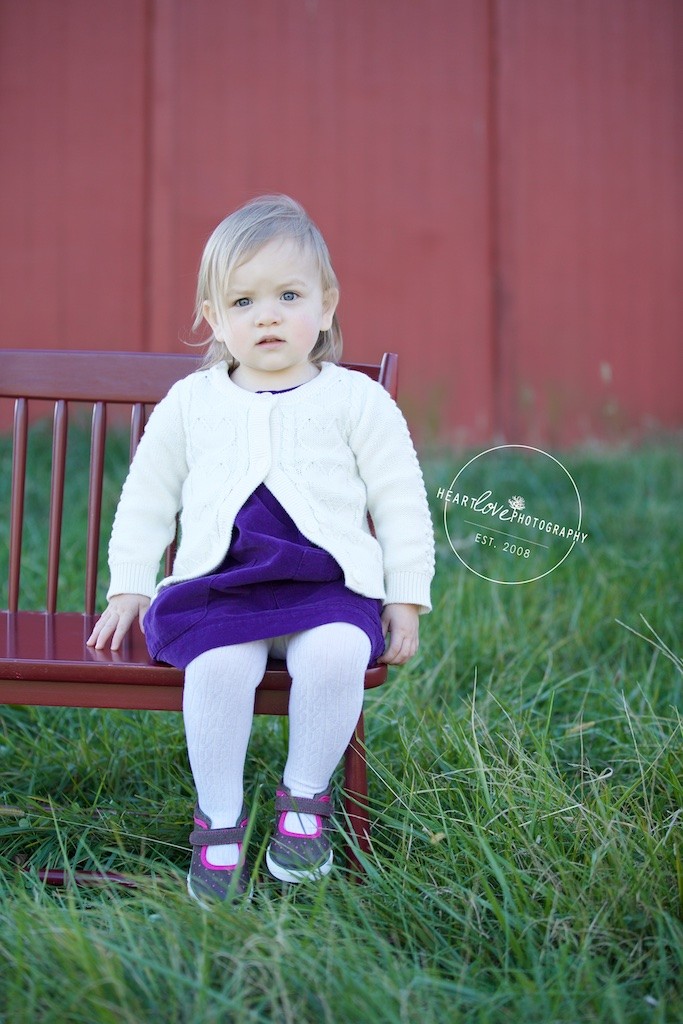
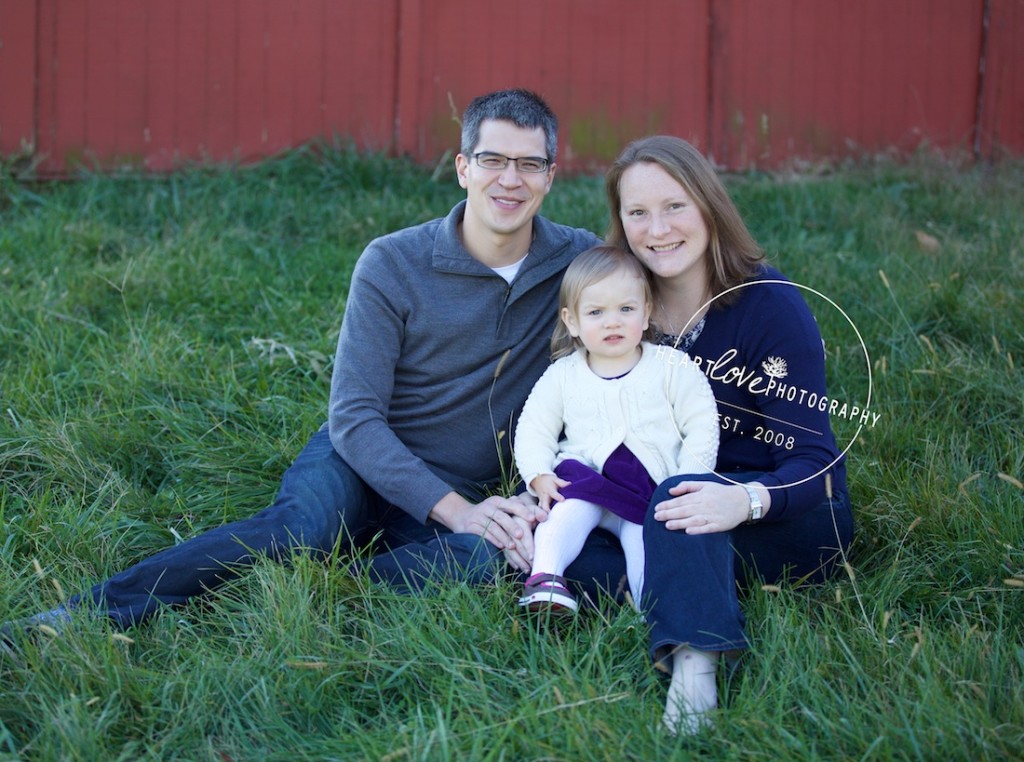
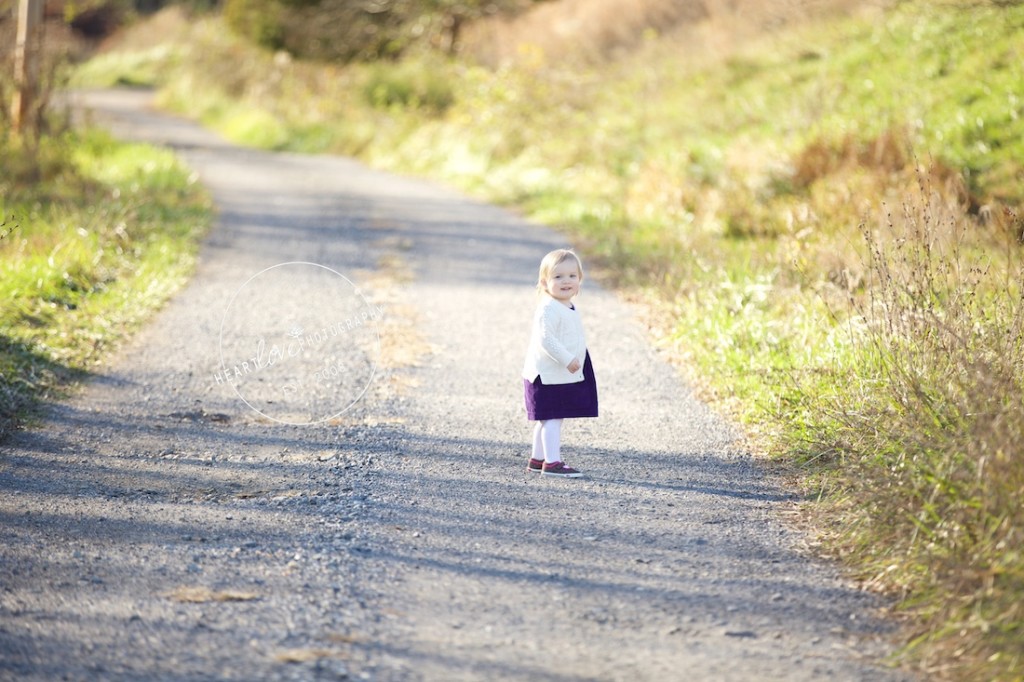
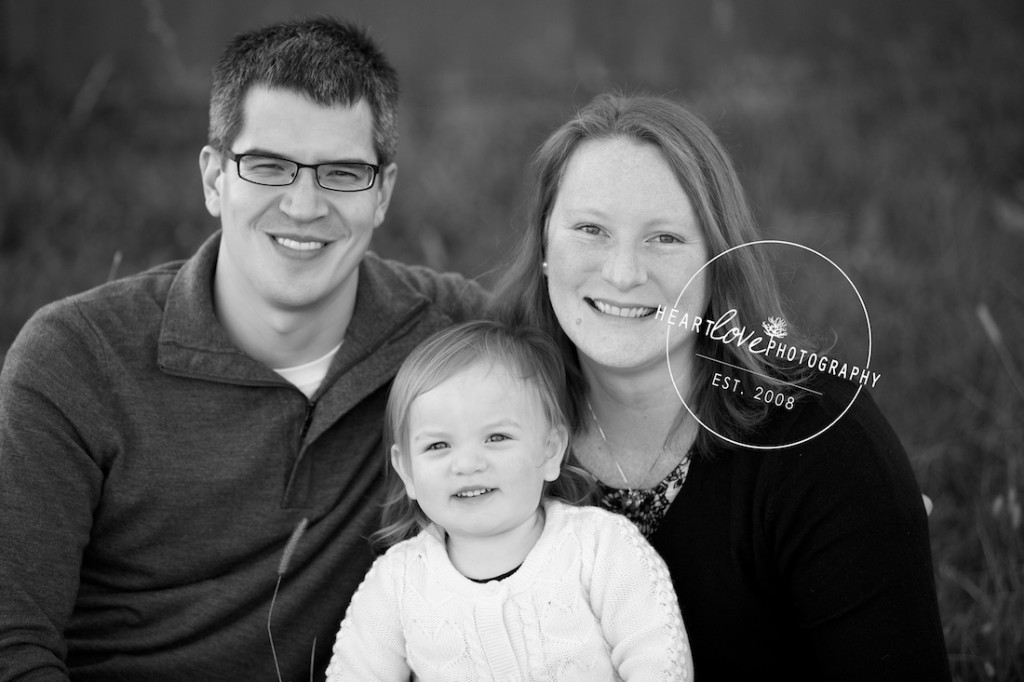
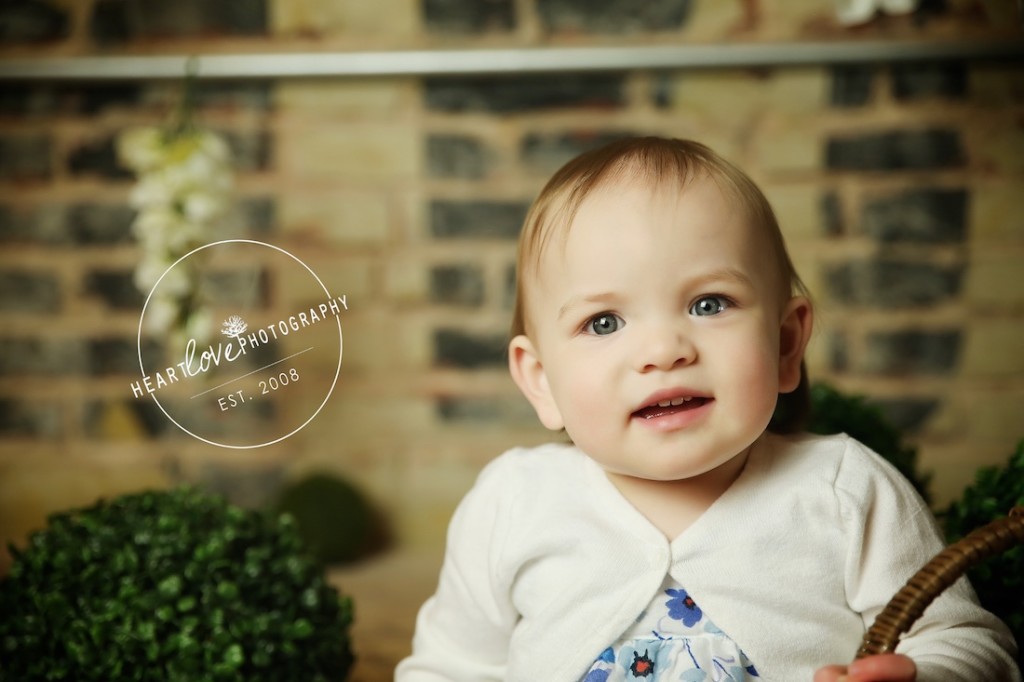
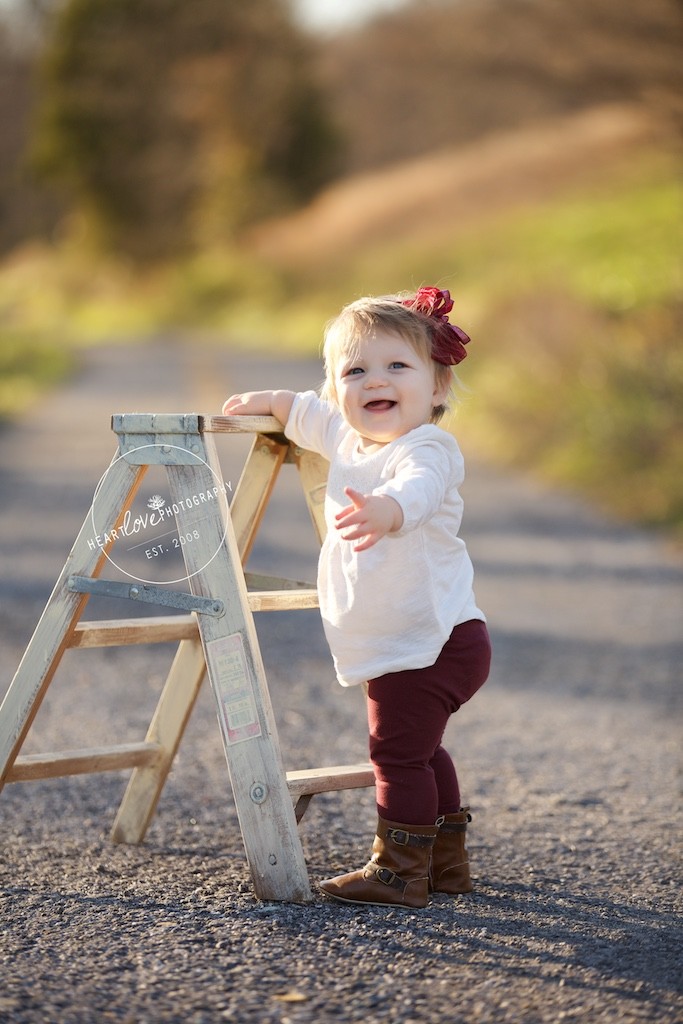
spring vs. fall | annapolis, md baby photographer
Often families schedule portrait sessions for their newborn and then again at 1 year. There is so much that changes in between and continues to change over the second year. Enjoy a few of my favorites of Ms. L just 6 months apart at our spring and fall portrait events.


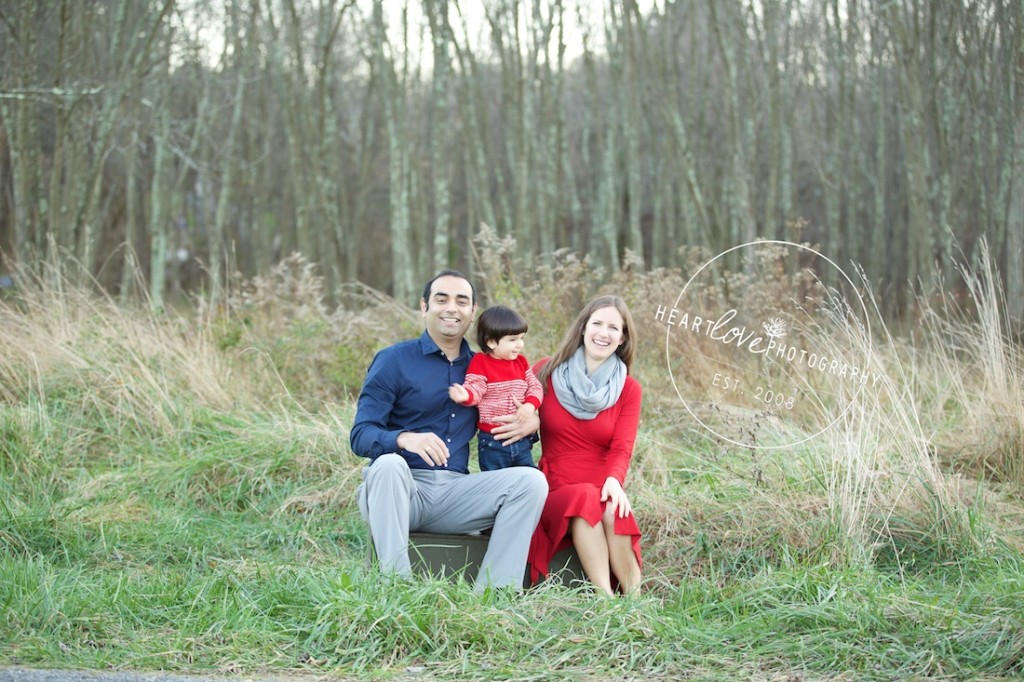
fall family portraits | annapolis, md photographer
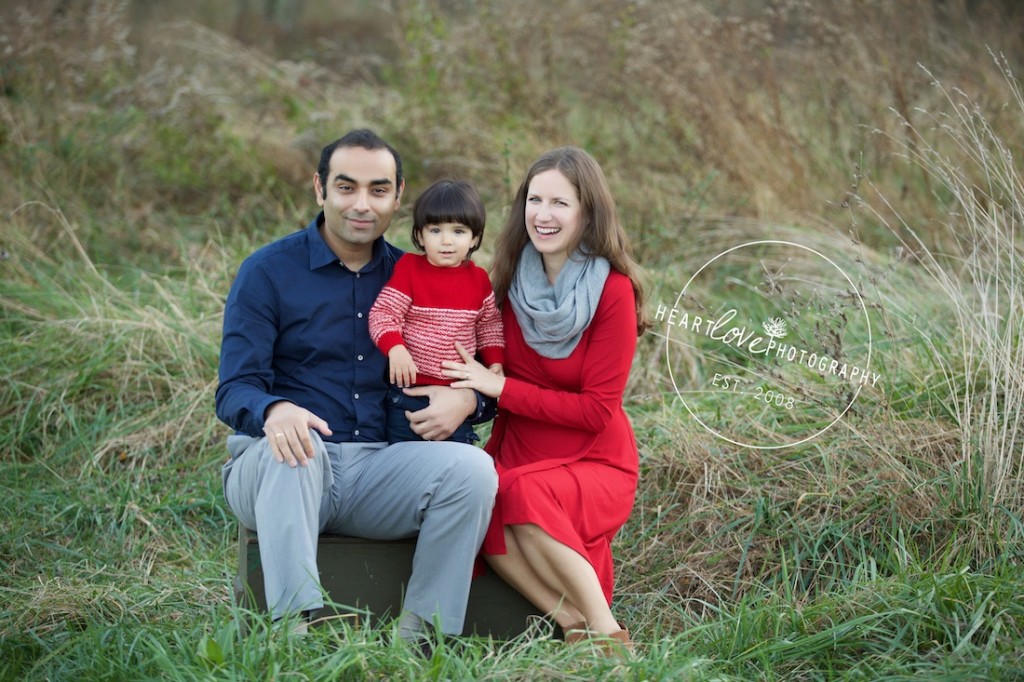
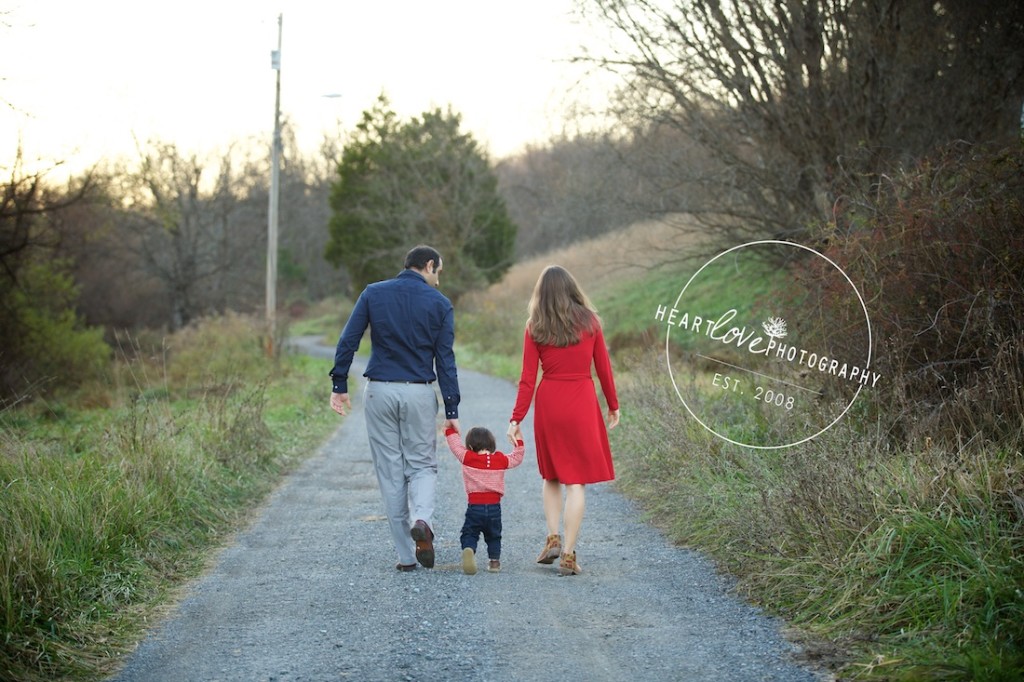
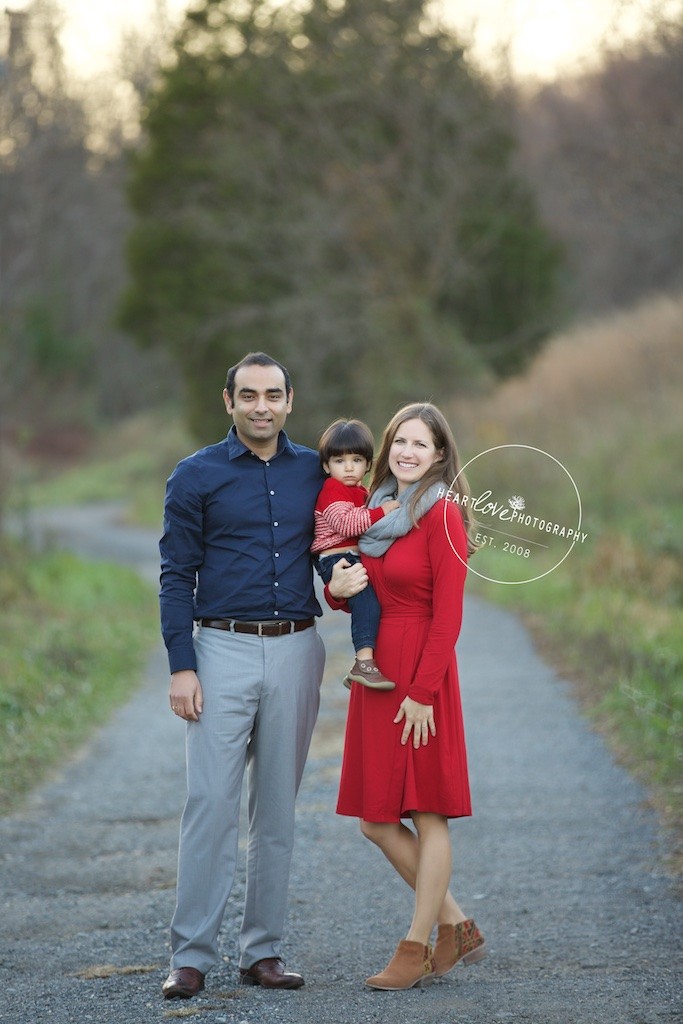
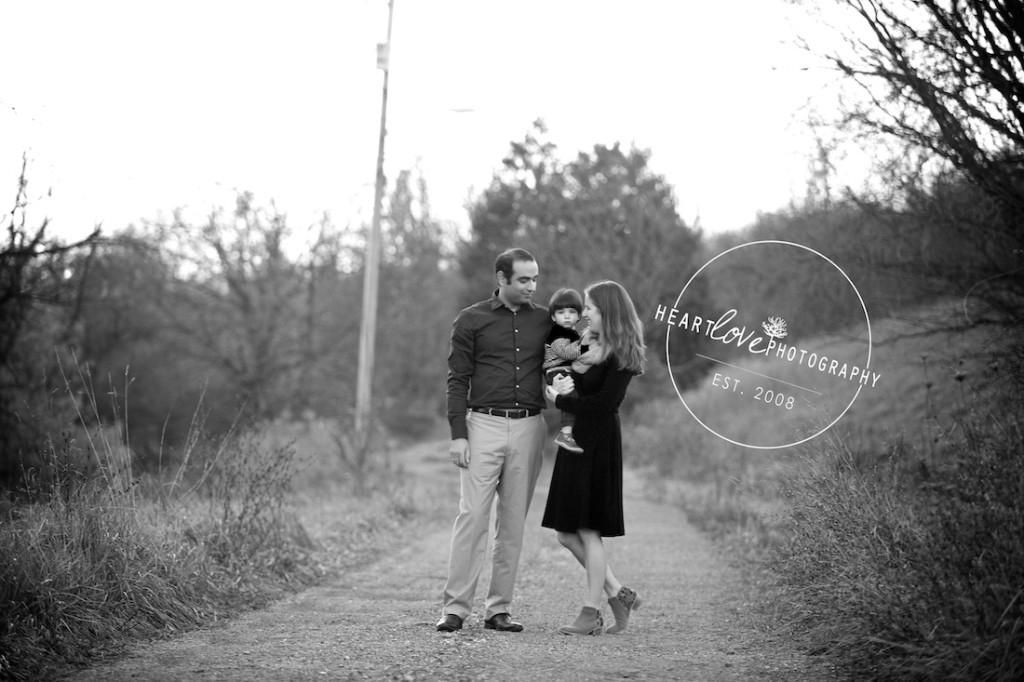
Just a few favorites from the M’s family portraits session this fall…
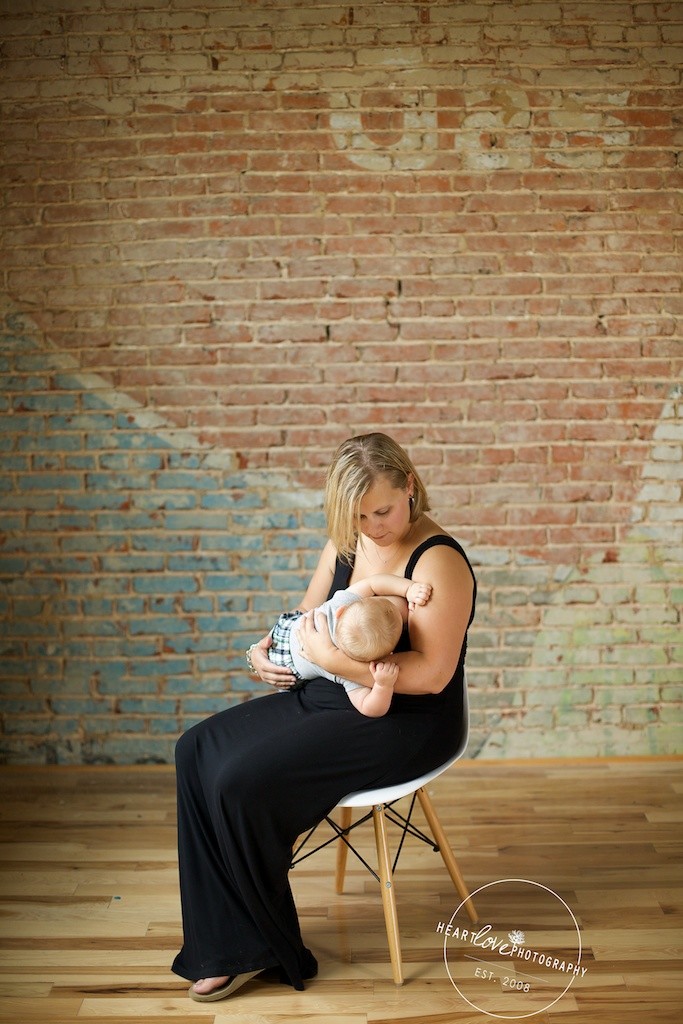
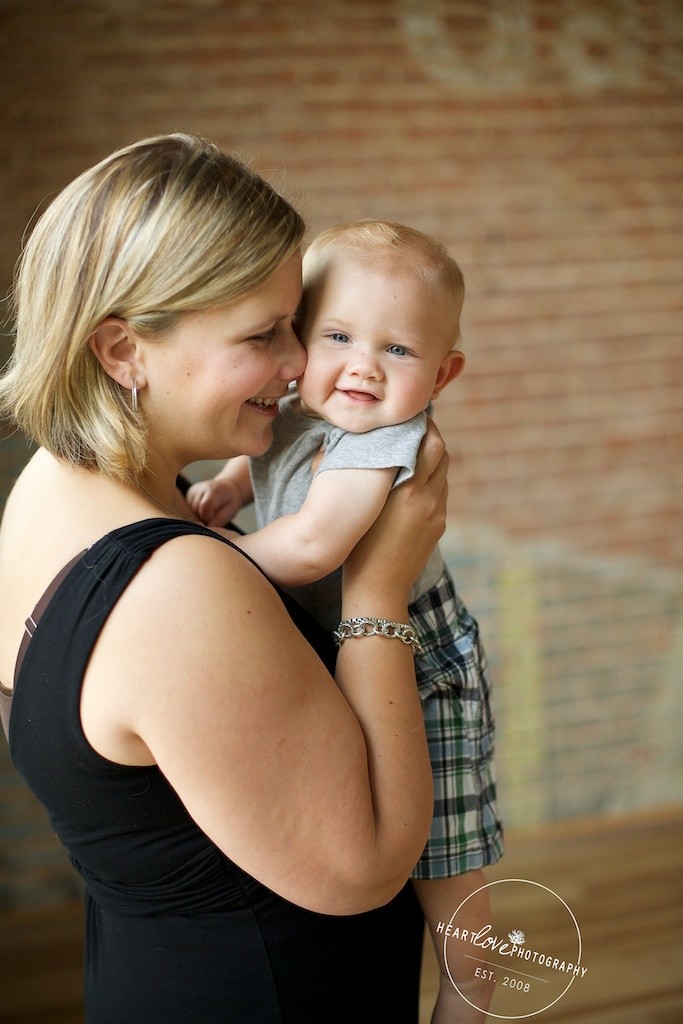
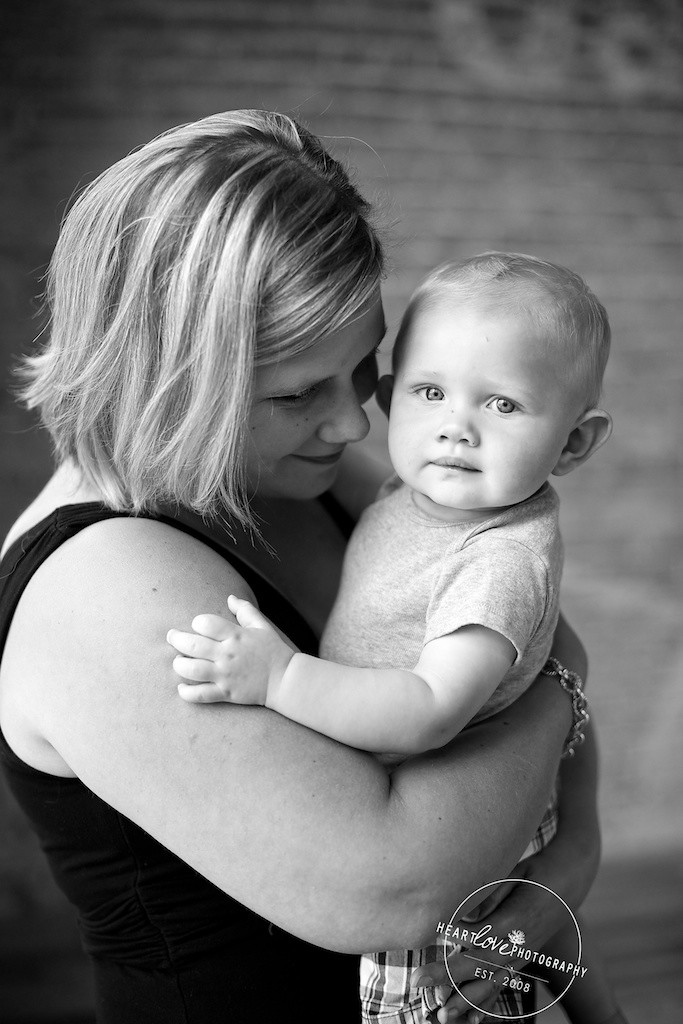
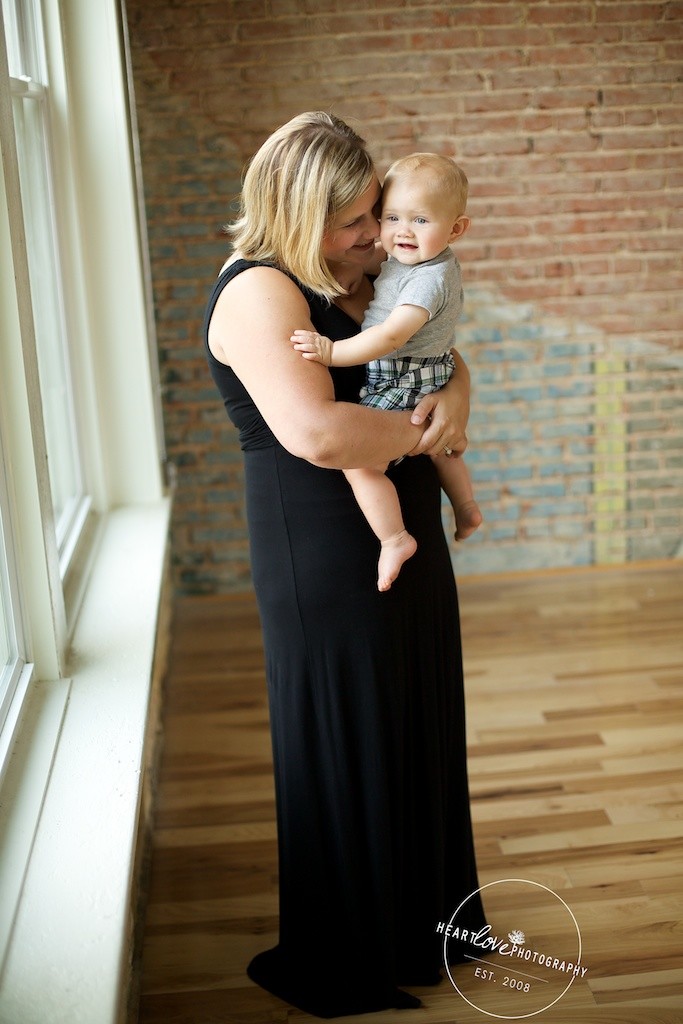
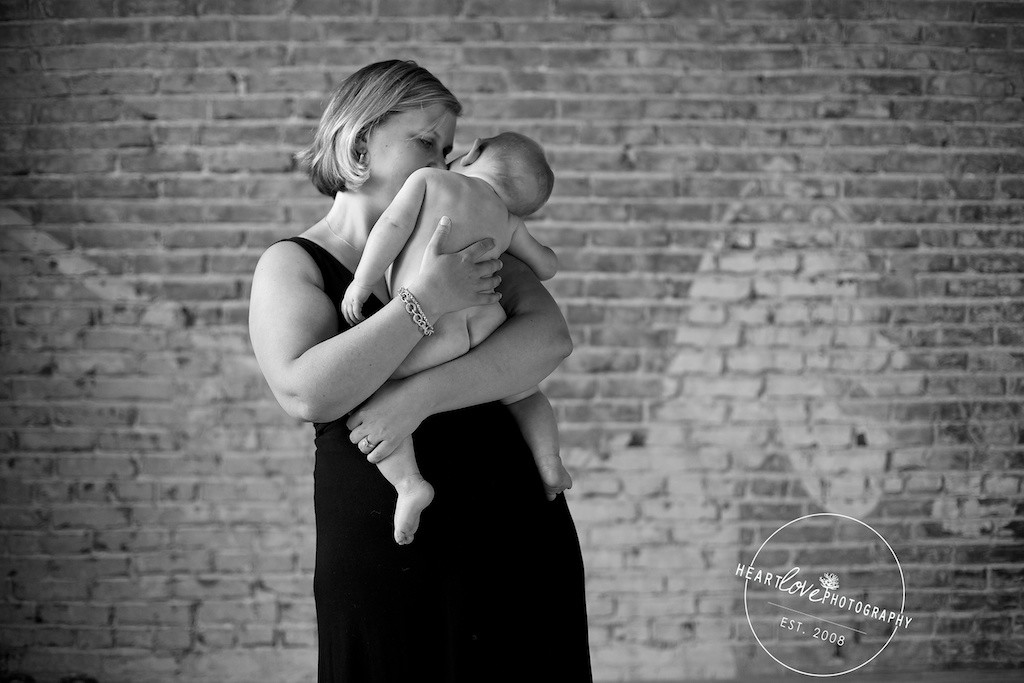
nursing portraits | baltimore photographer
Nursing portraits show so much more than just breastfeeding – the relationship between mother and child is just so beautiful! Here are a few from on of the sessions at Greenberries Baltimore this past August. Enjoy!