
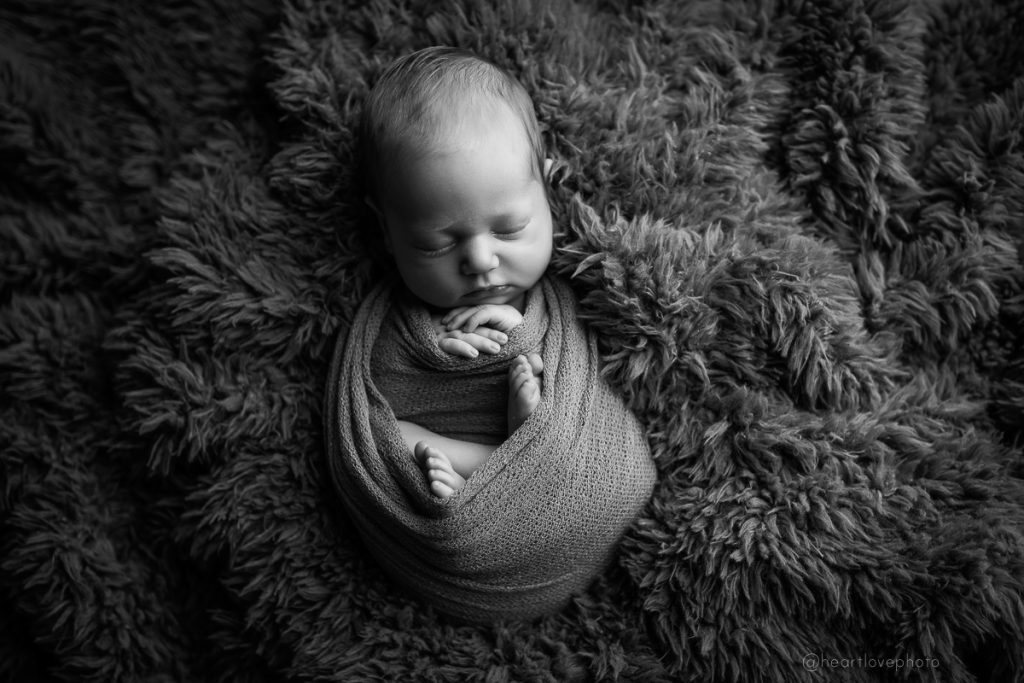
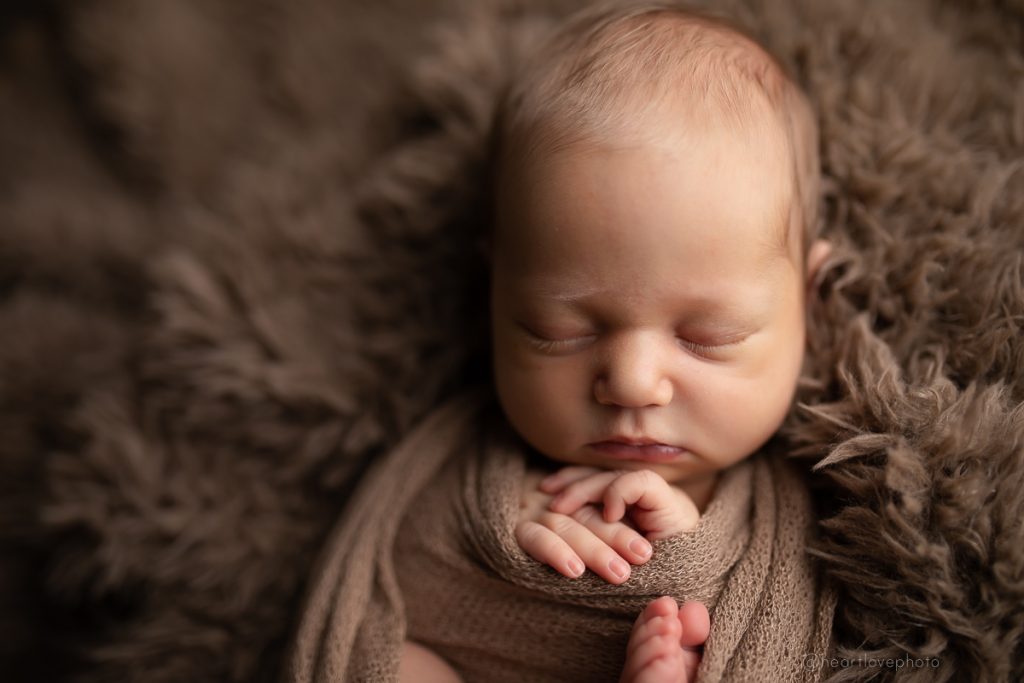
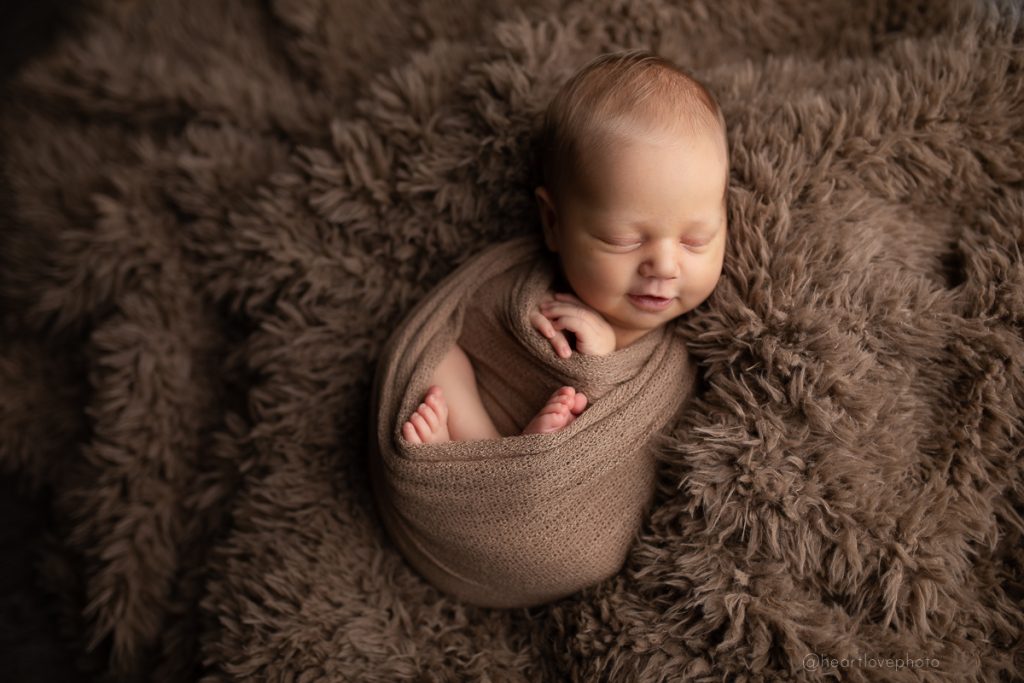
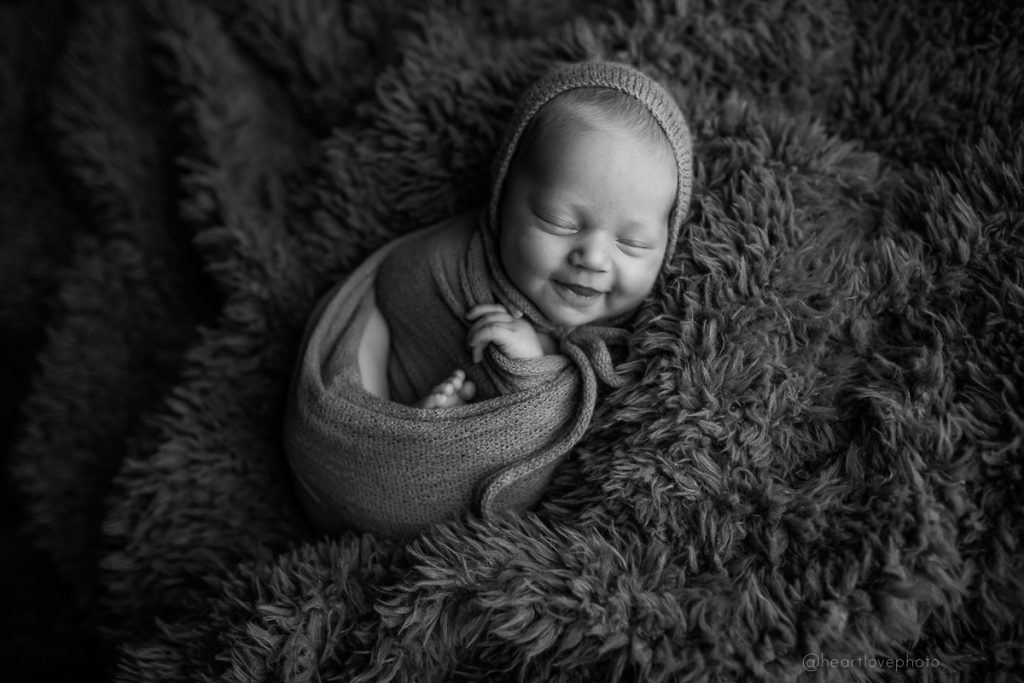
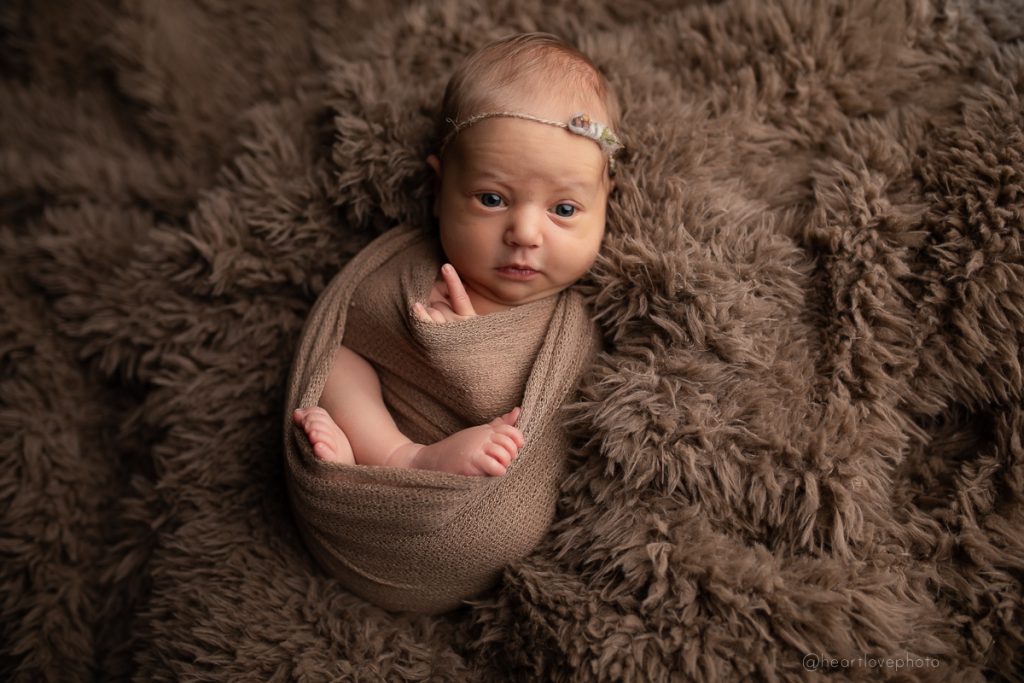
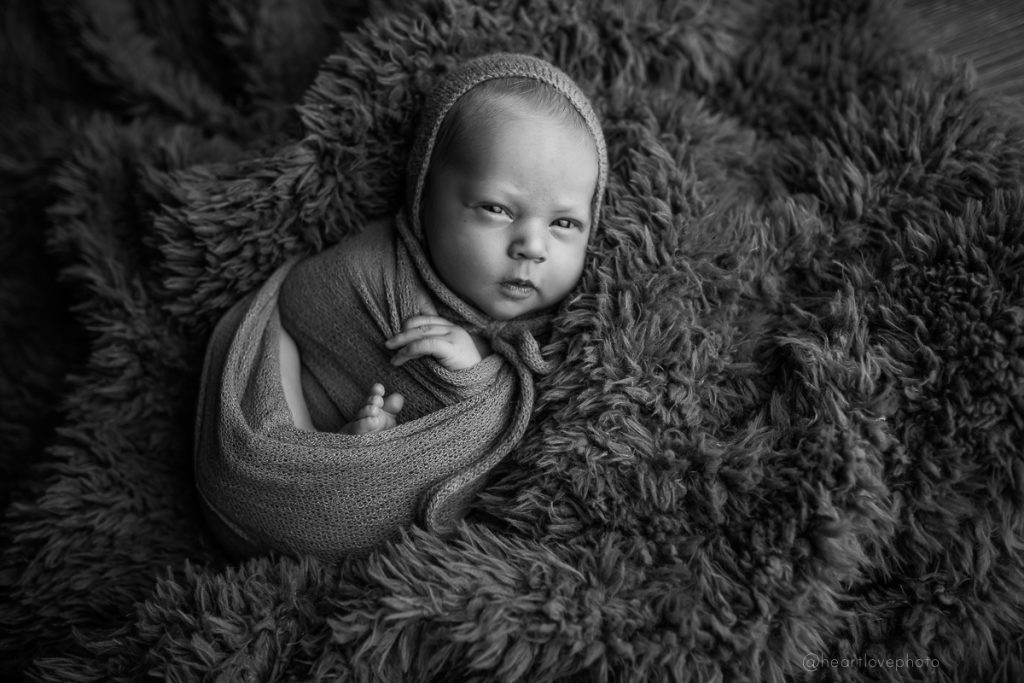
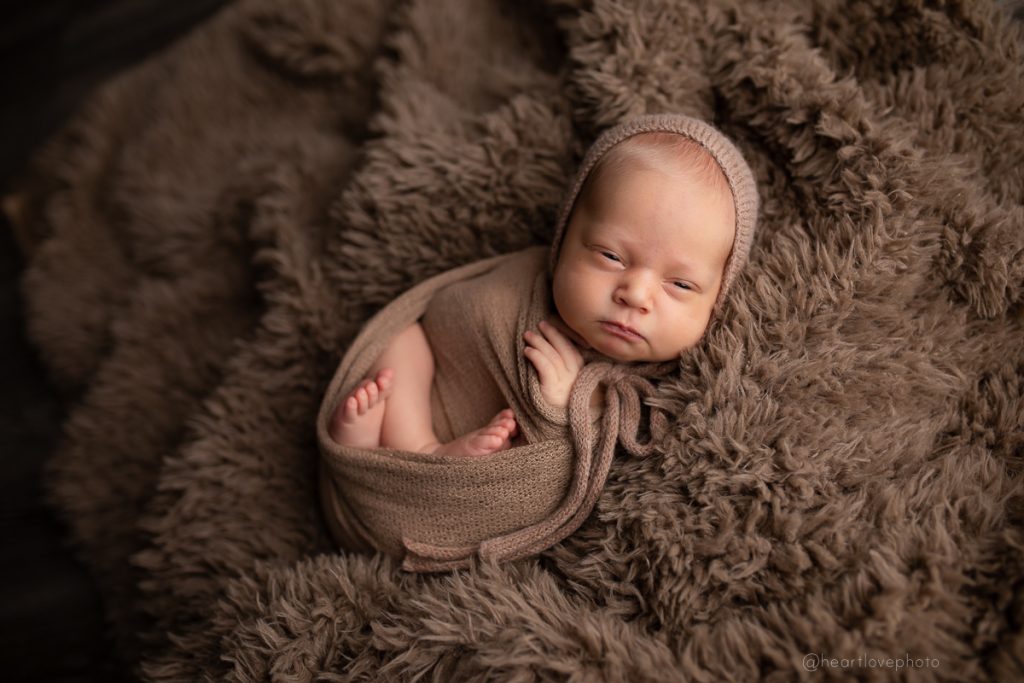
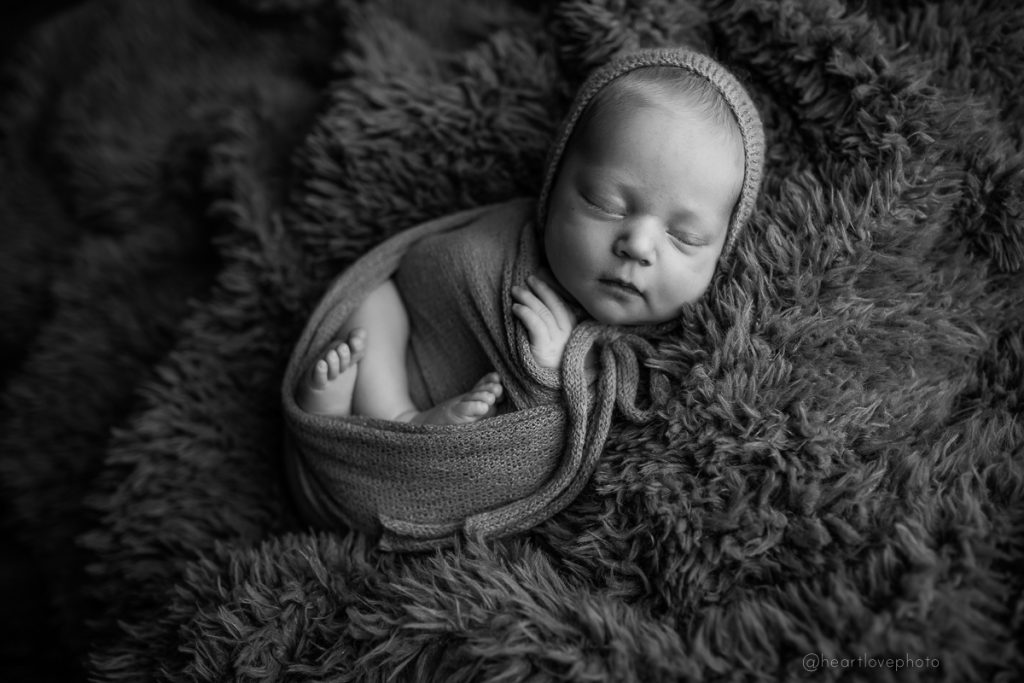
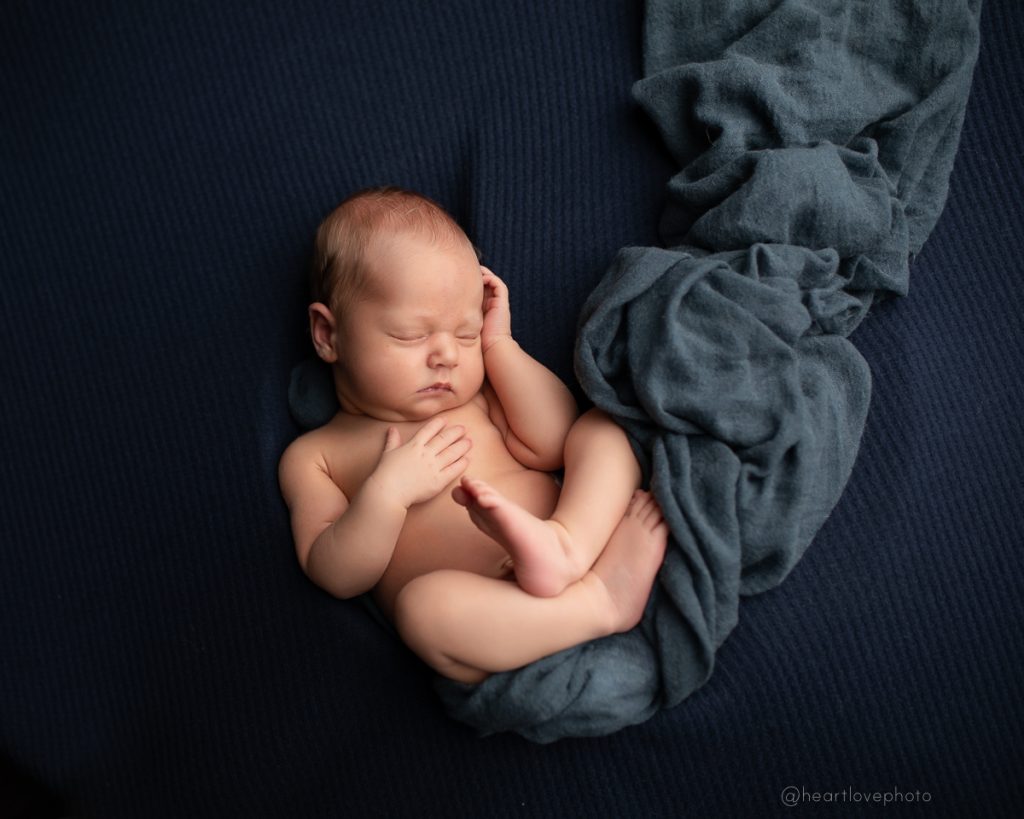
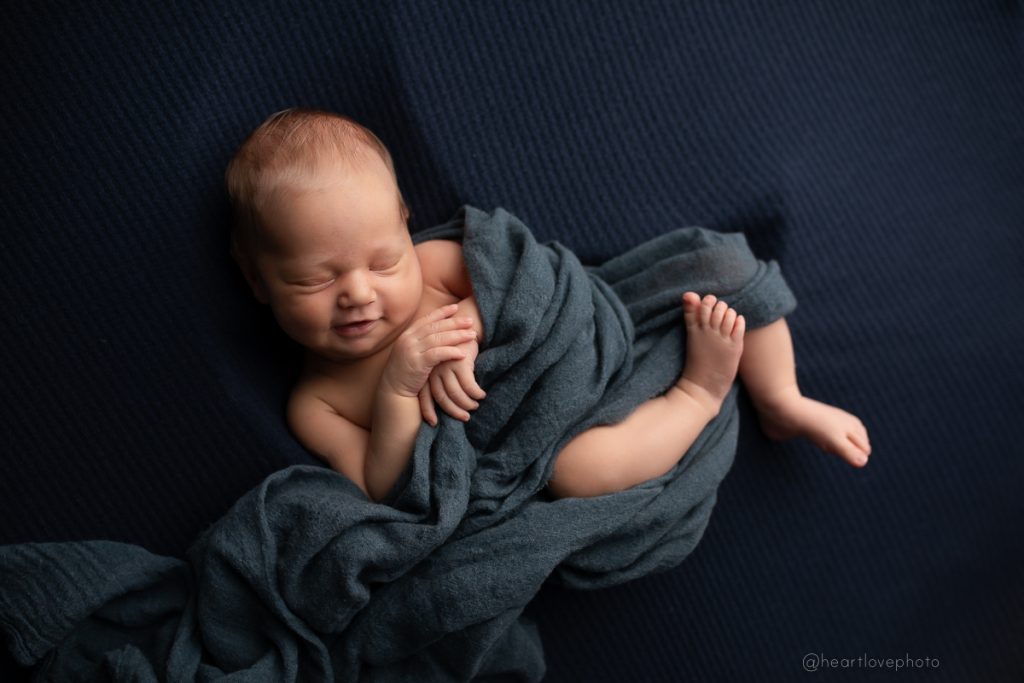
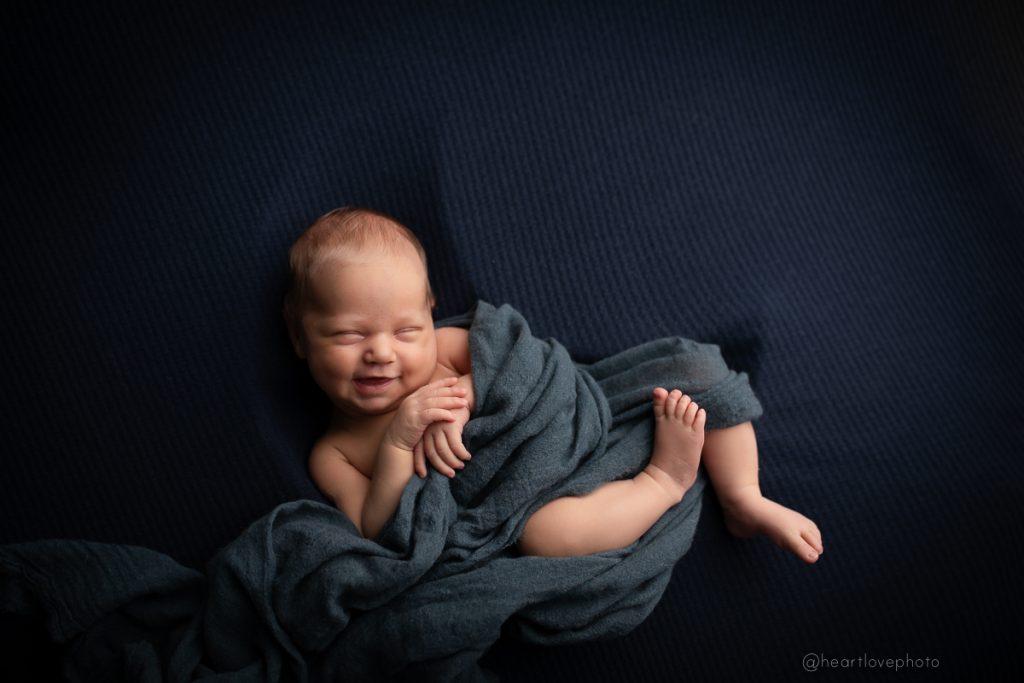
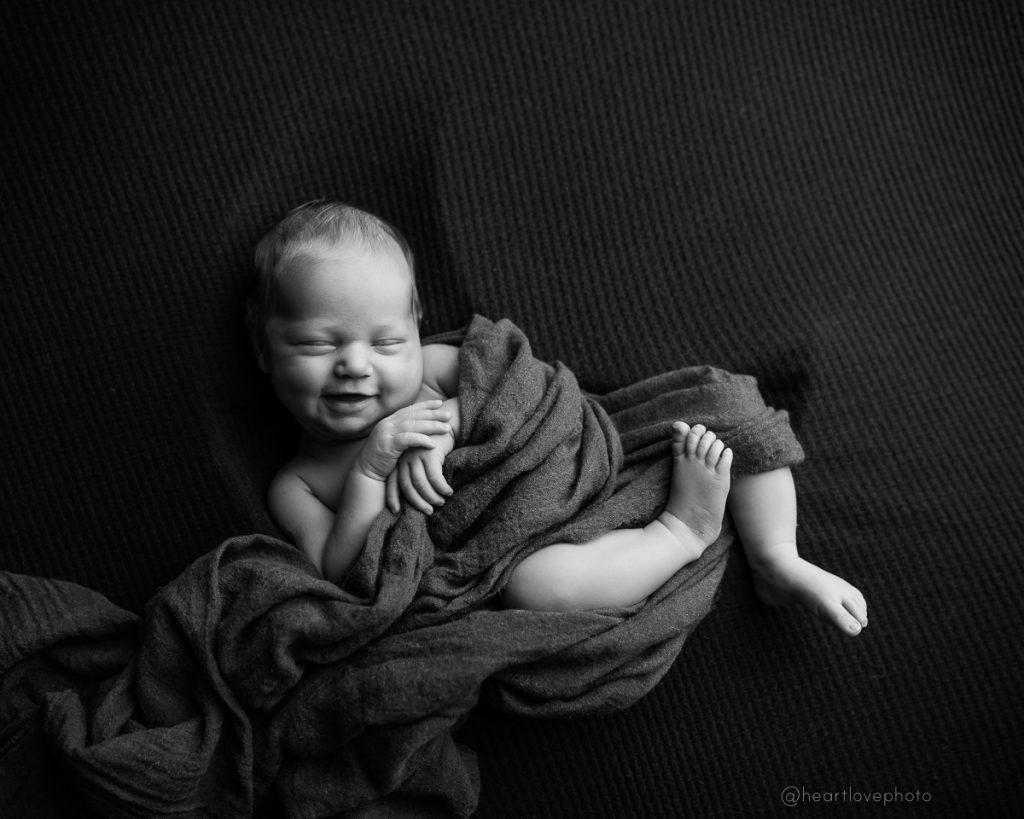
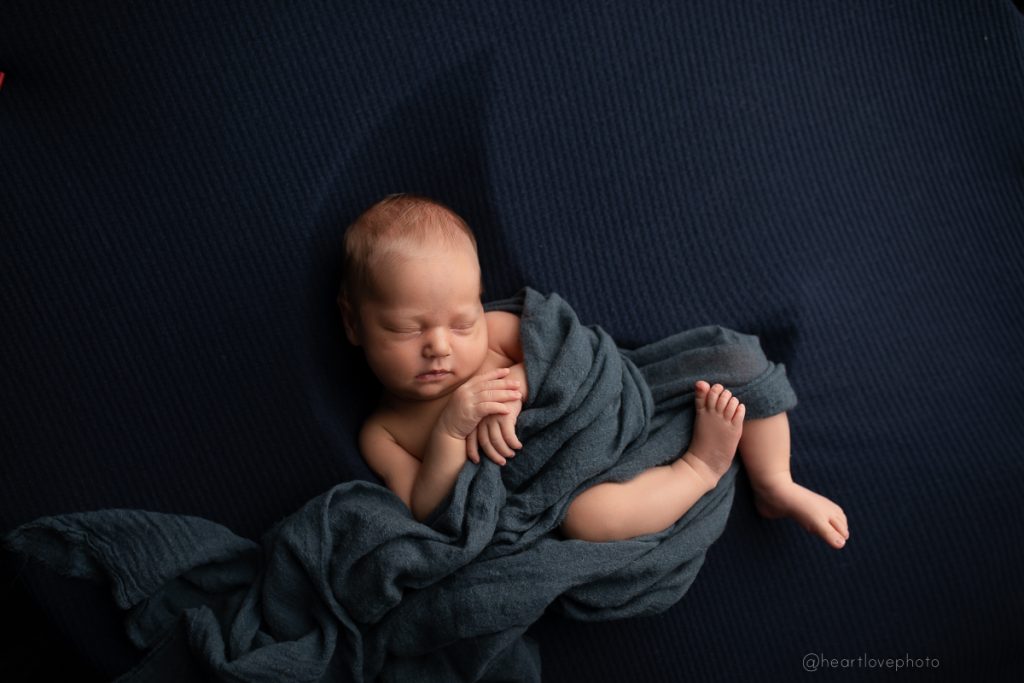
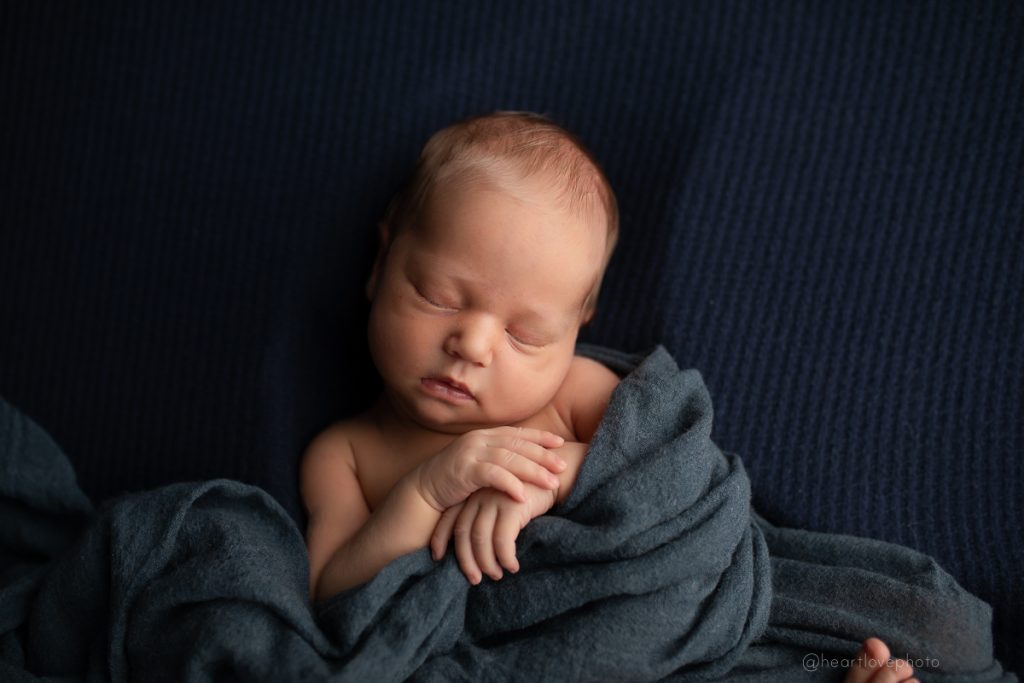
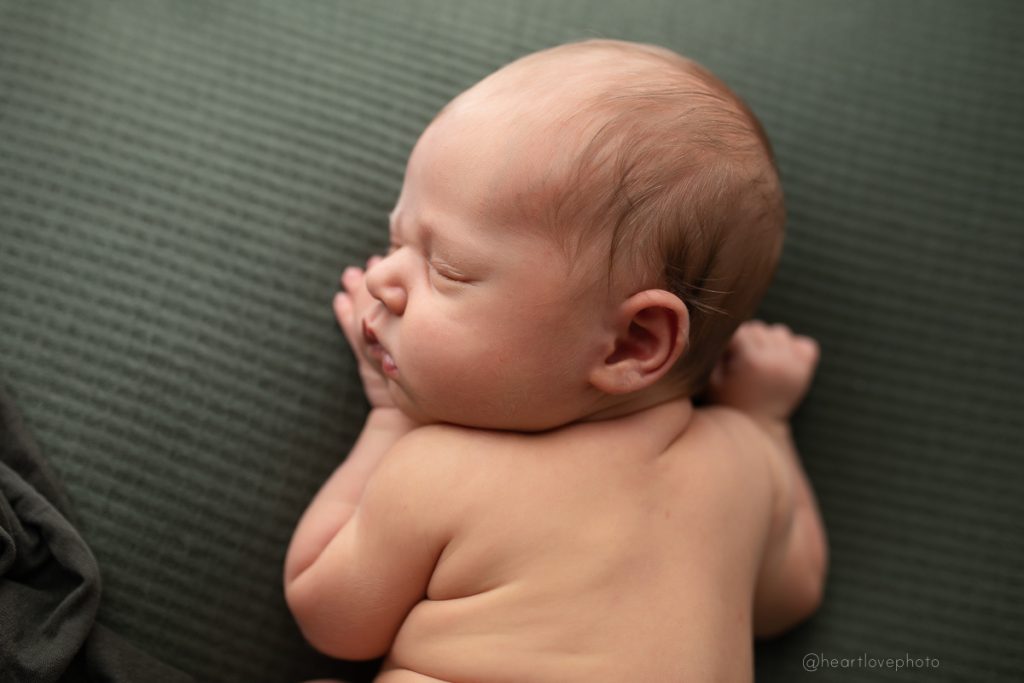
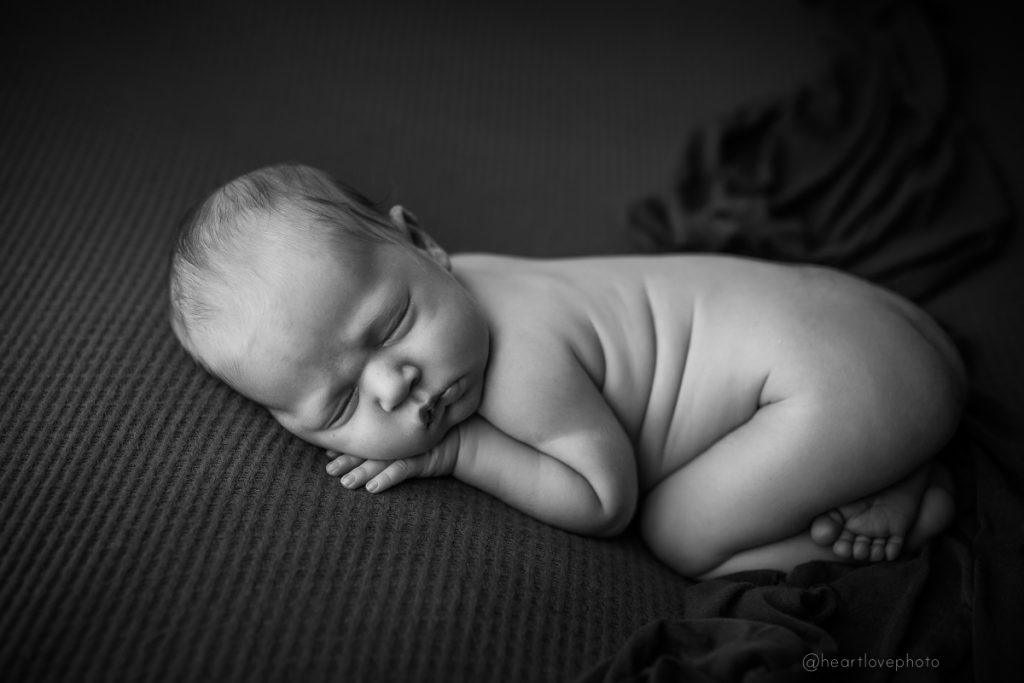
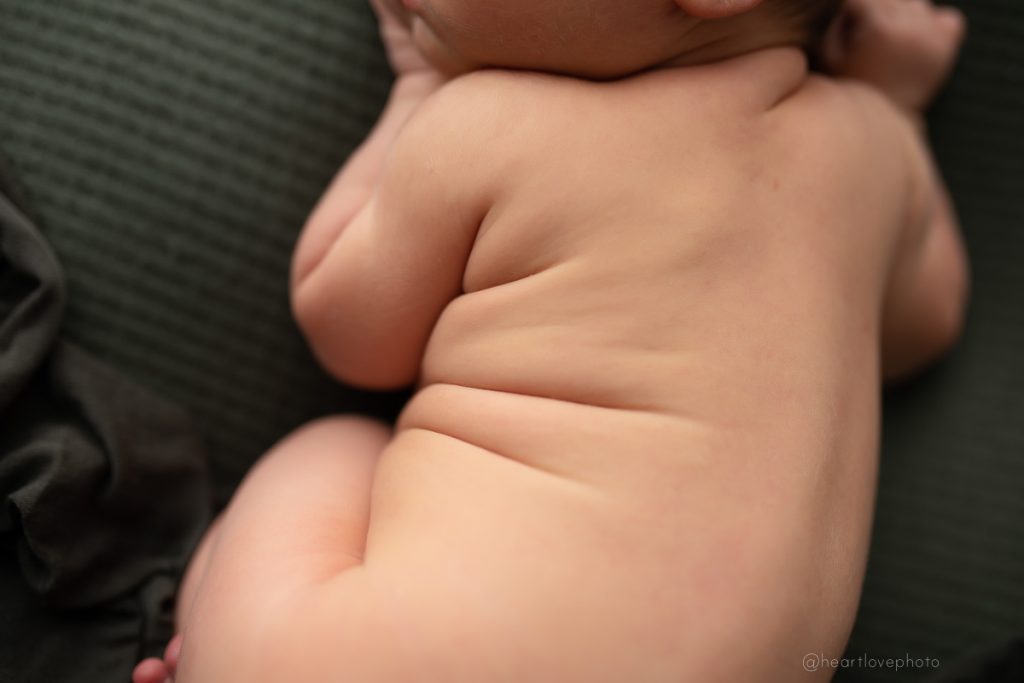
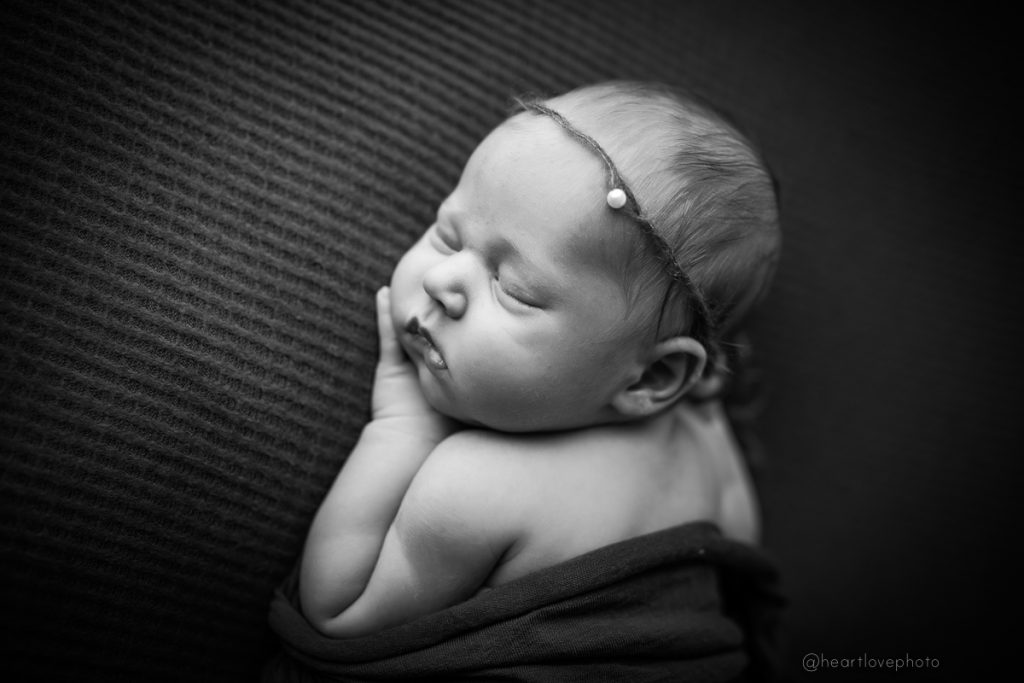
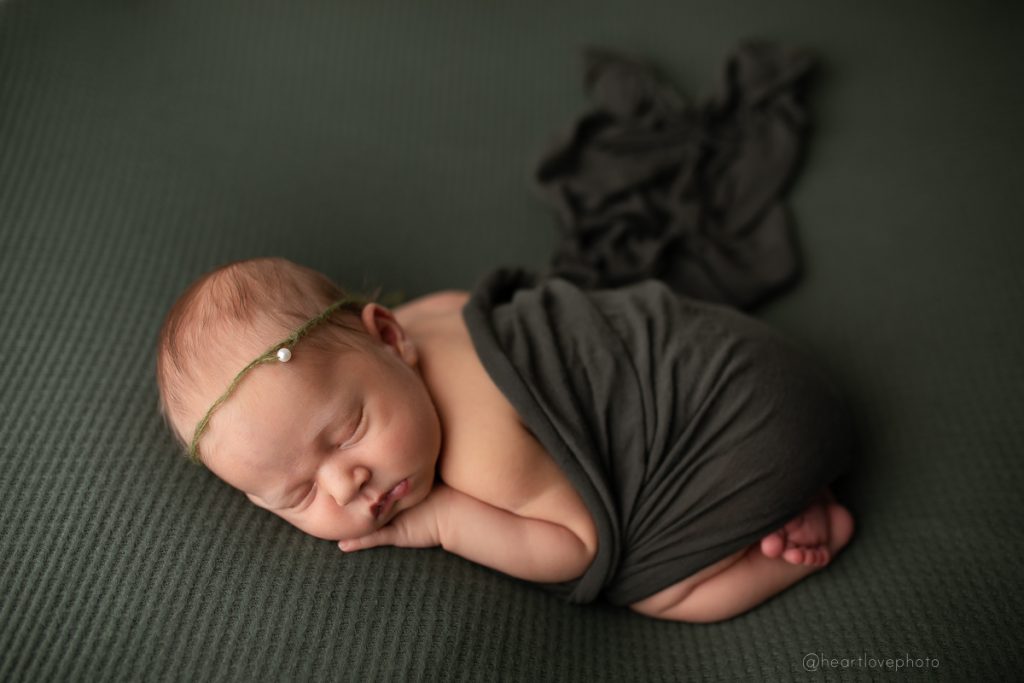
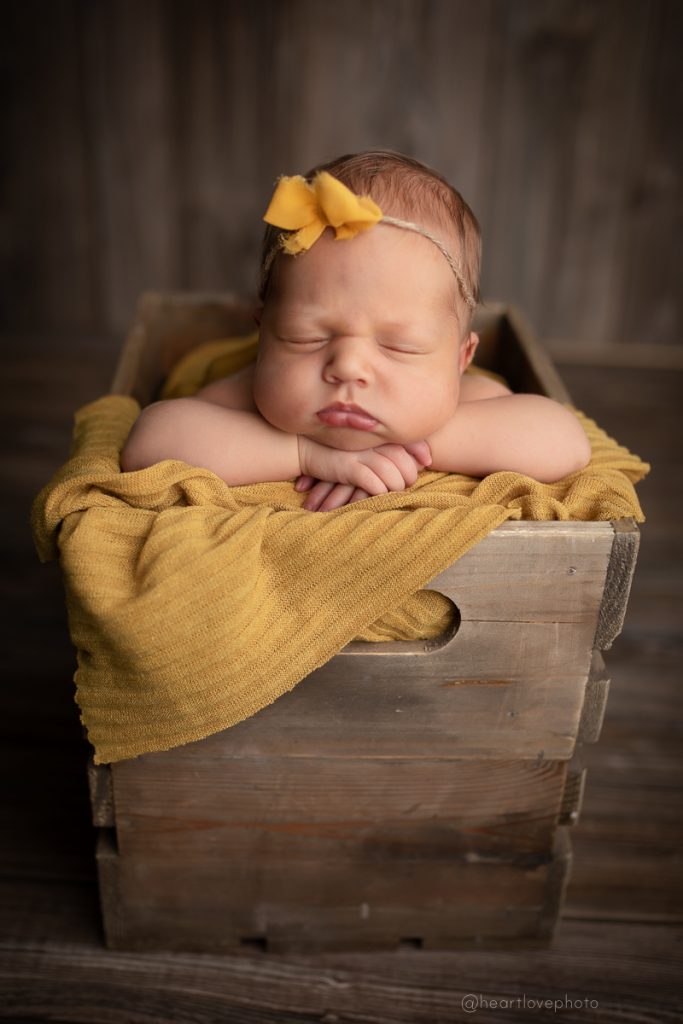
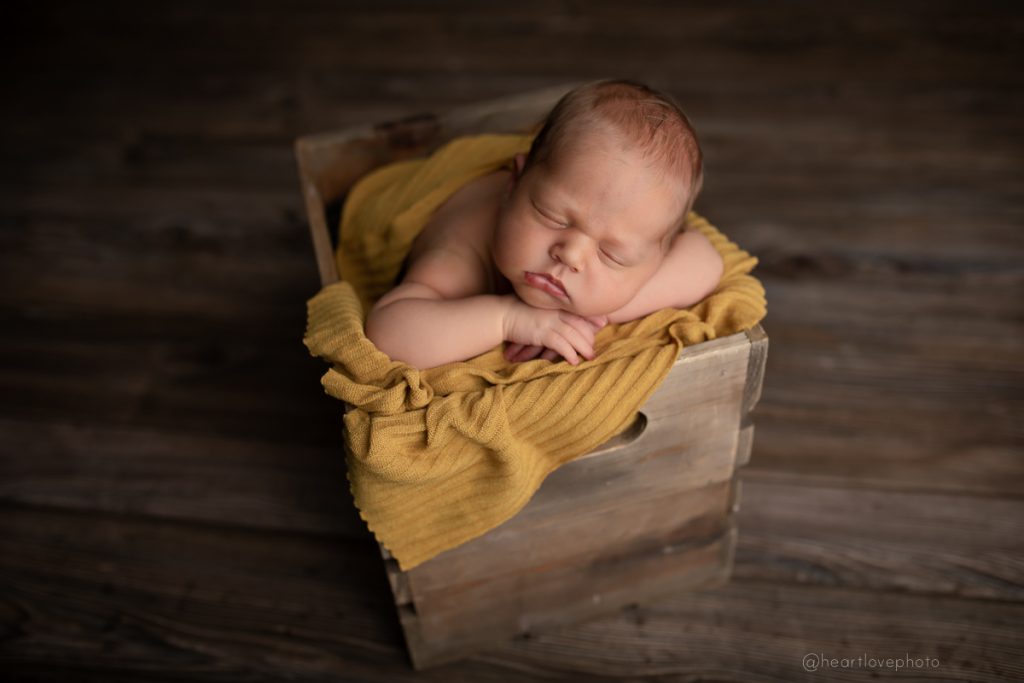
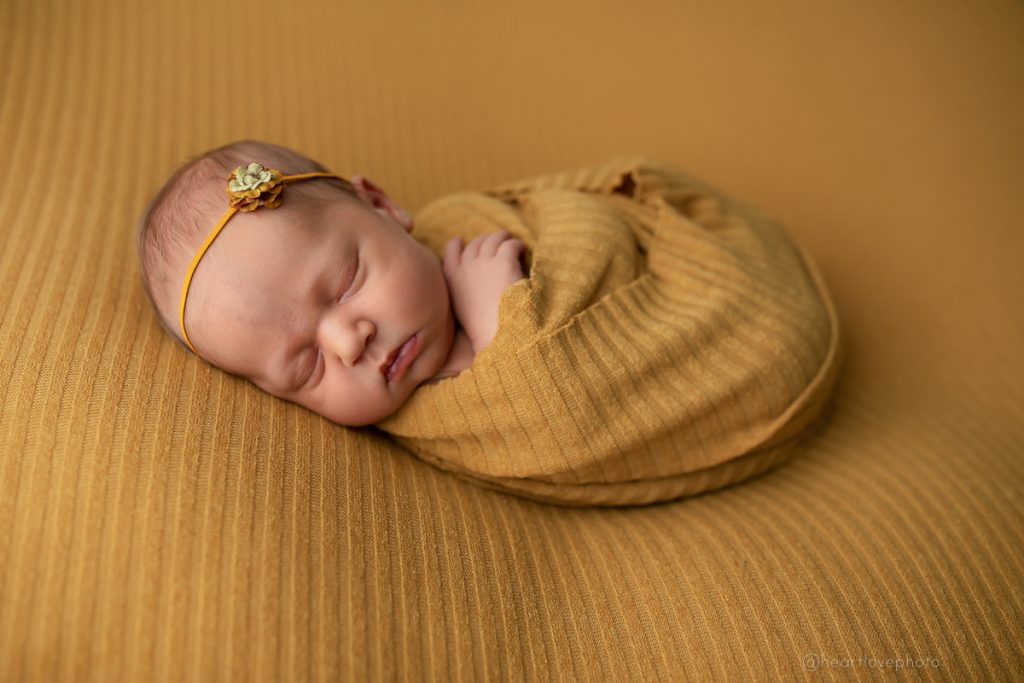
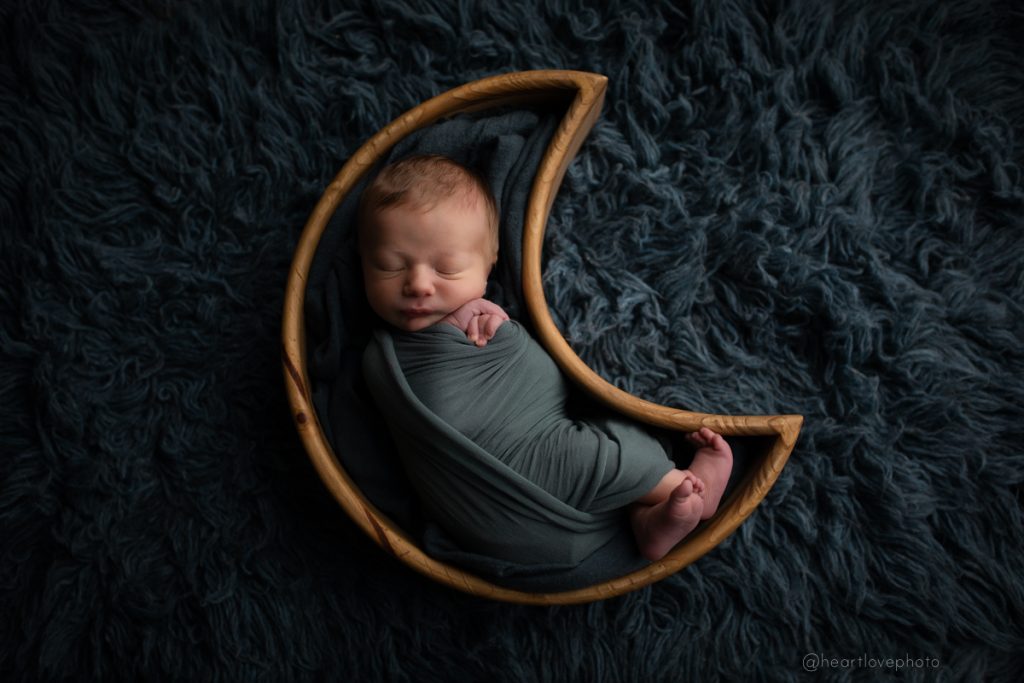
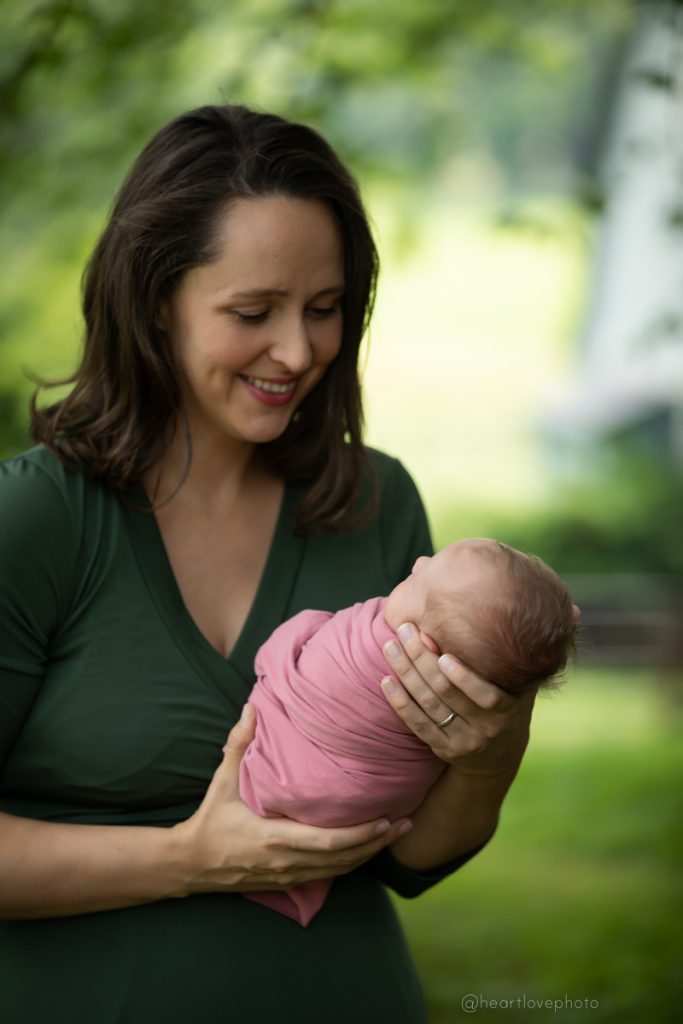
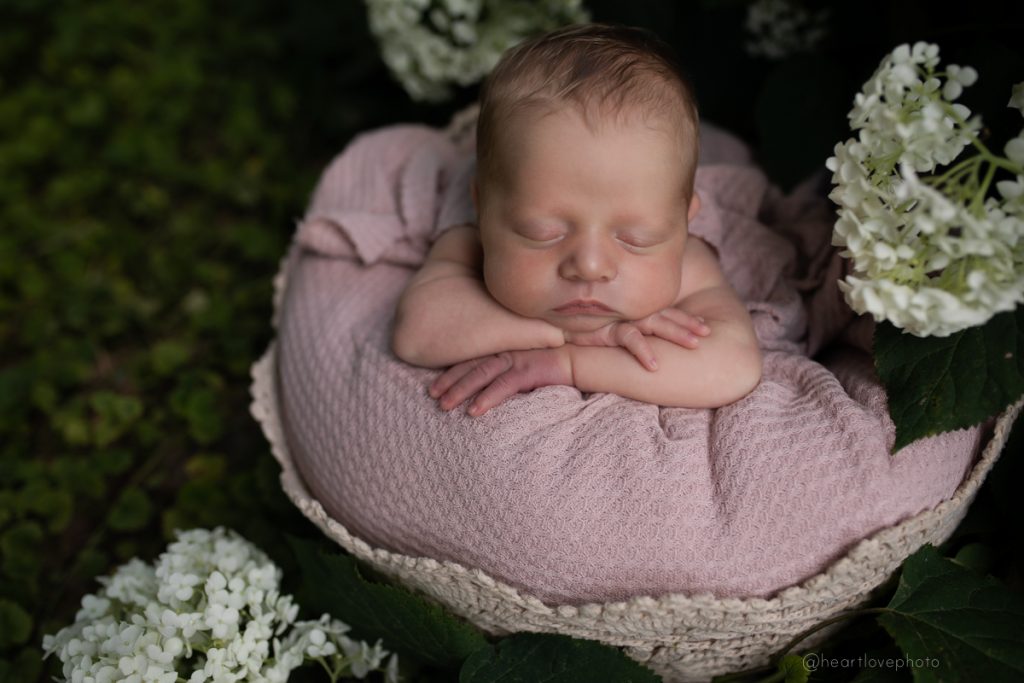
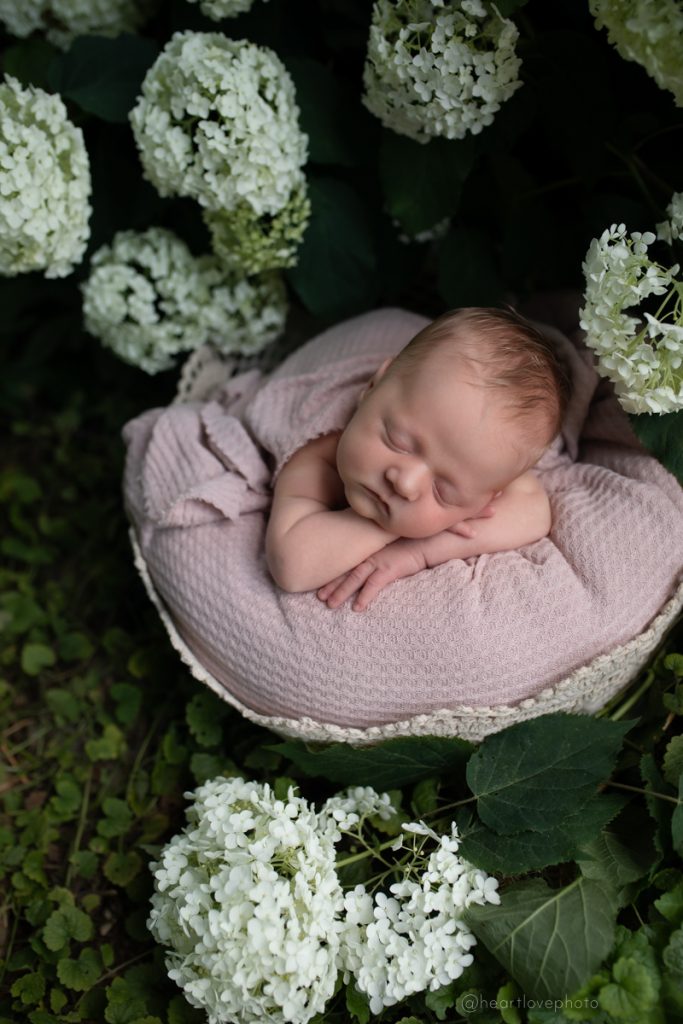
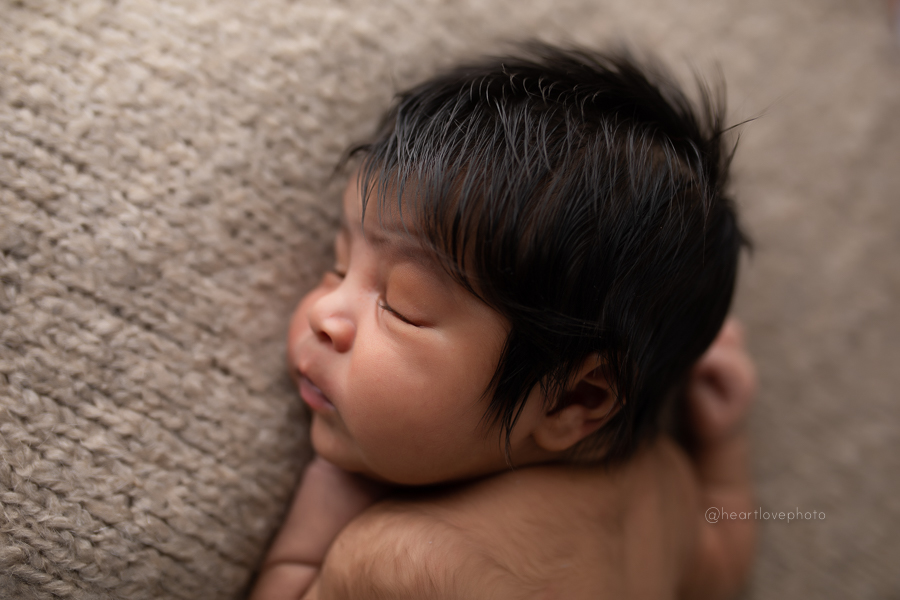
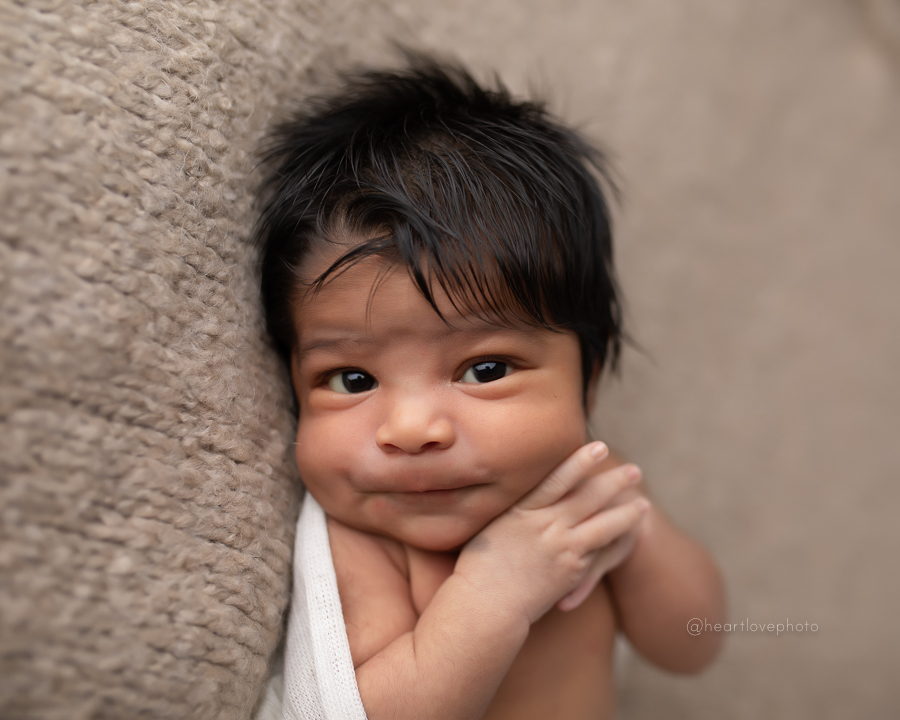
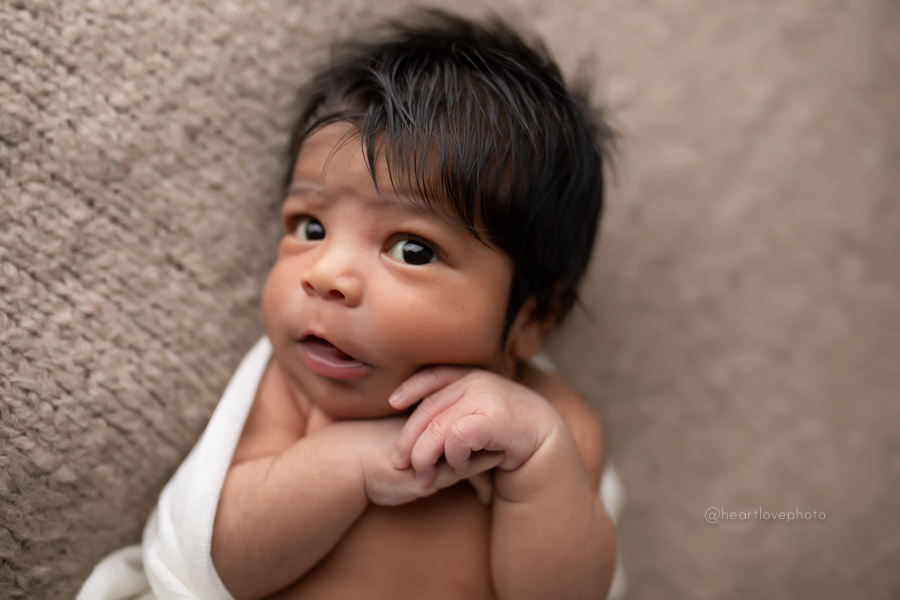
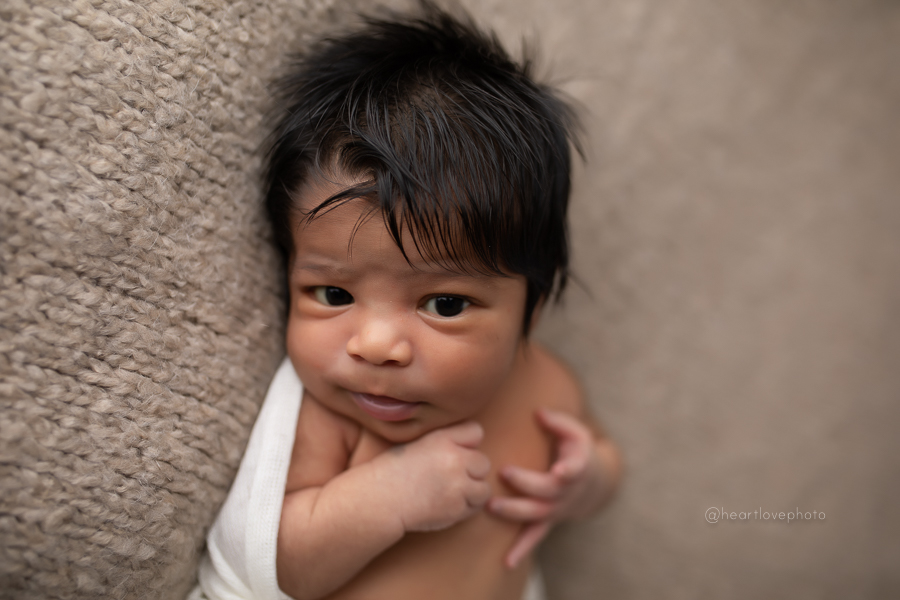
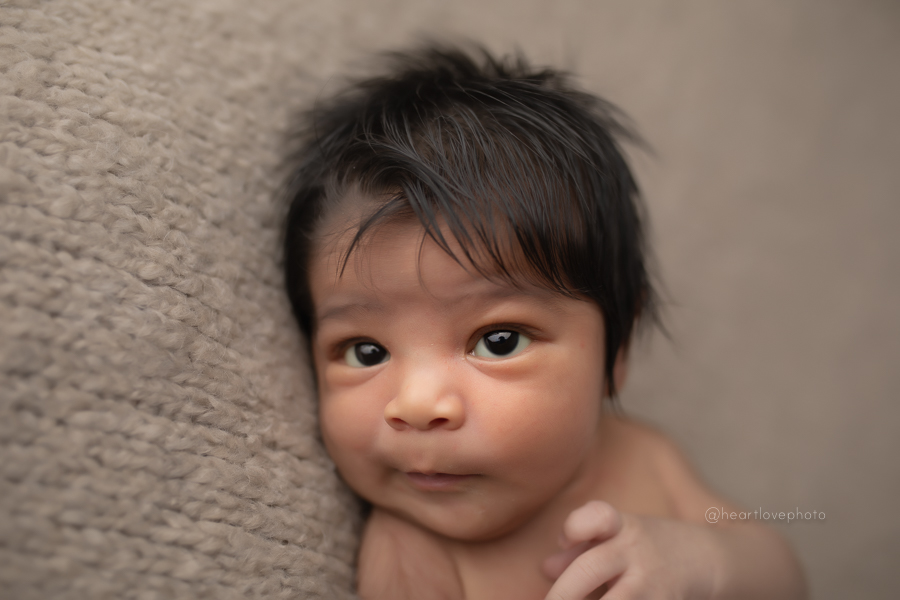
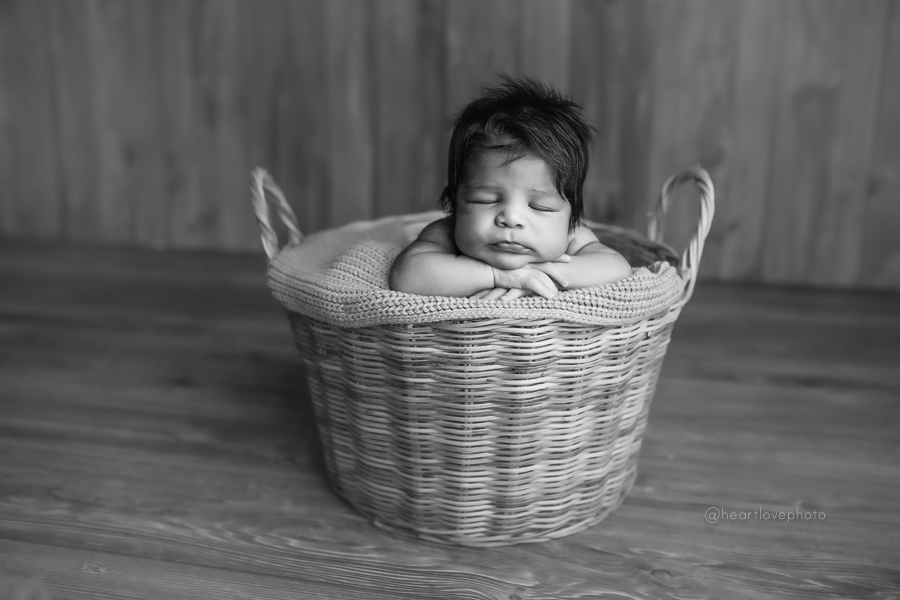
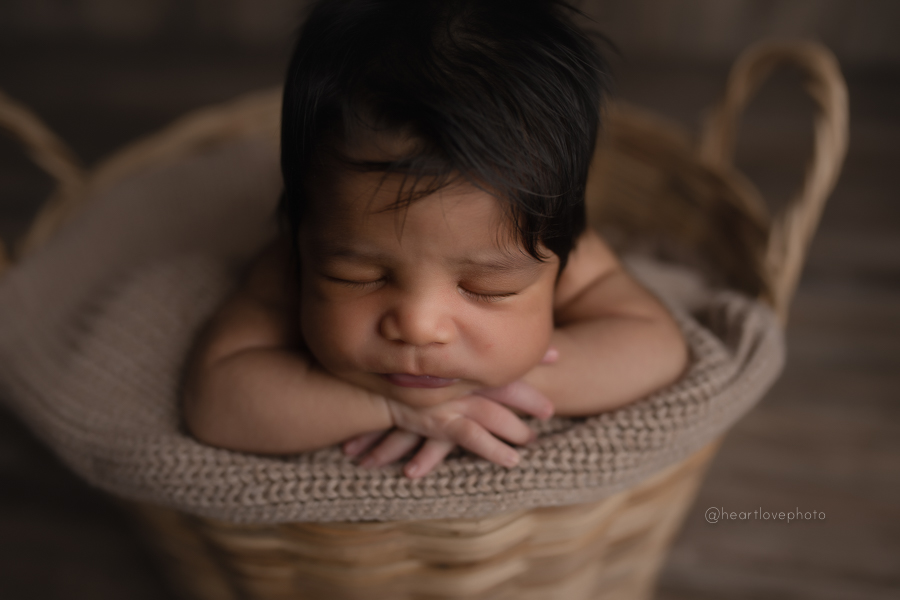
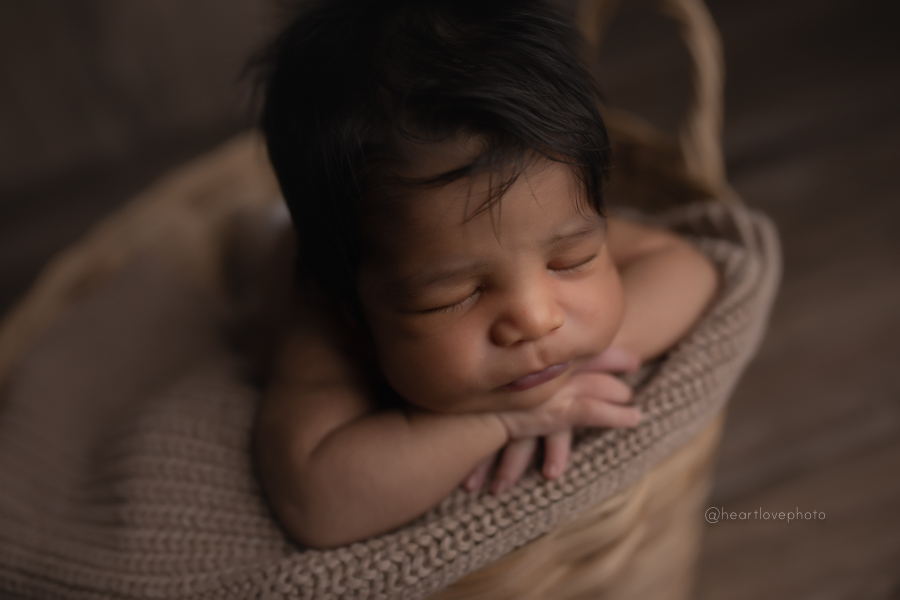
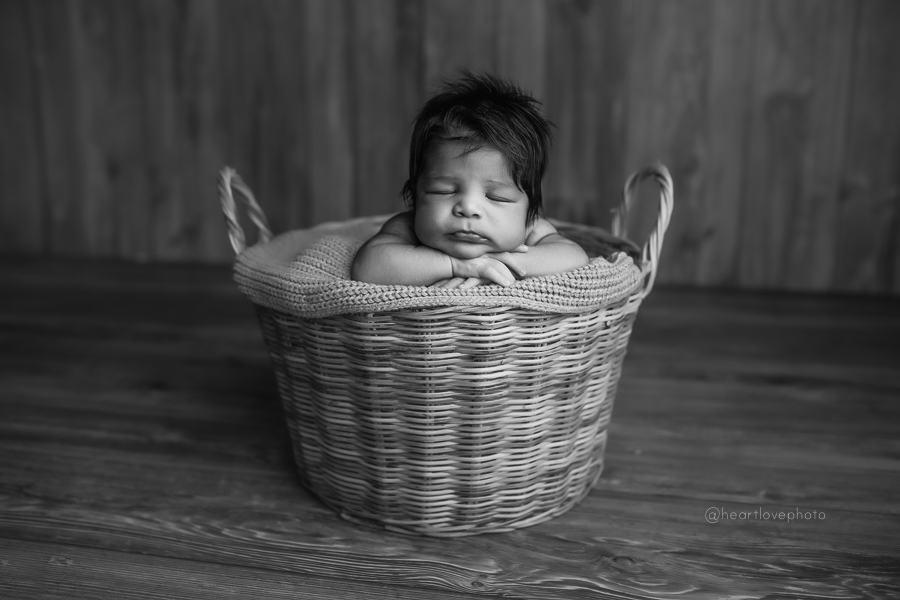
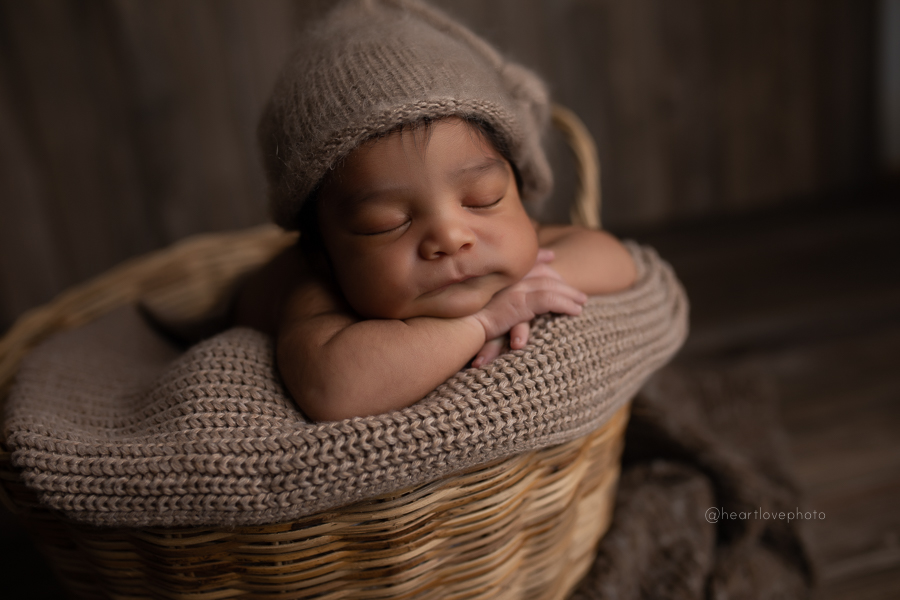
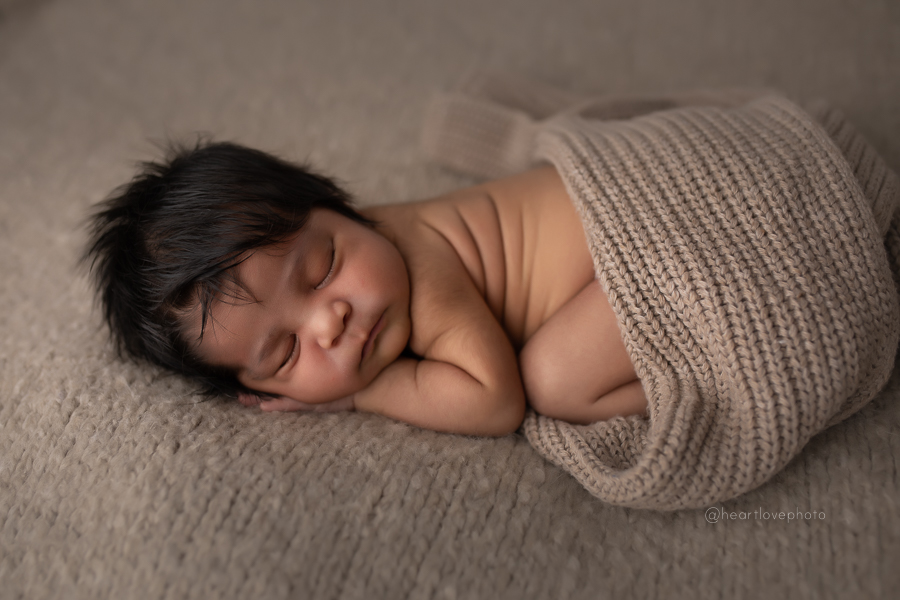
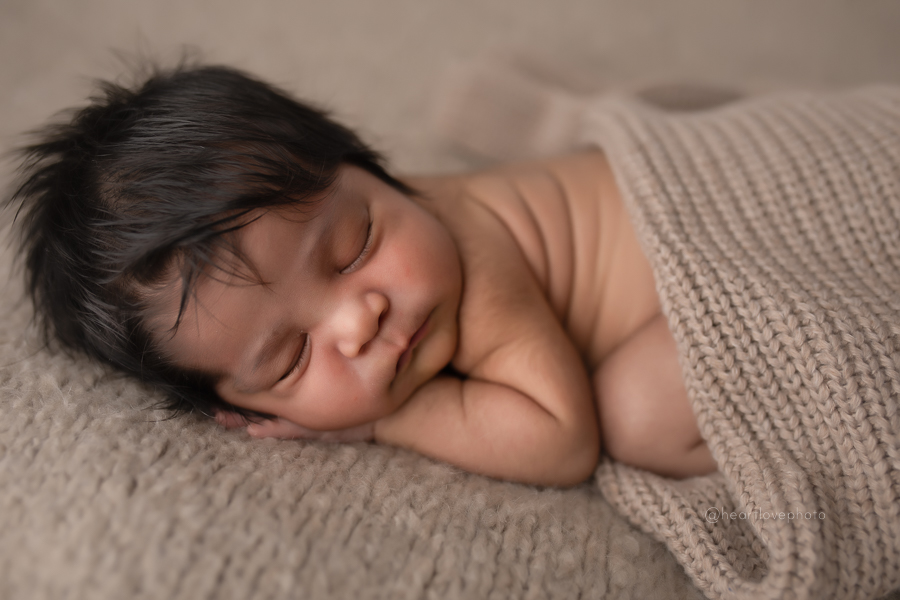
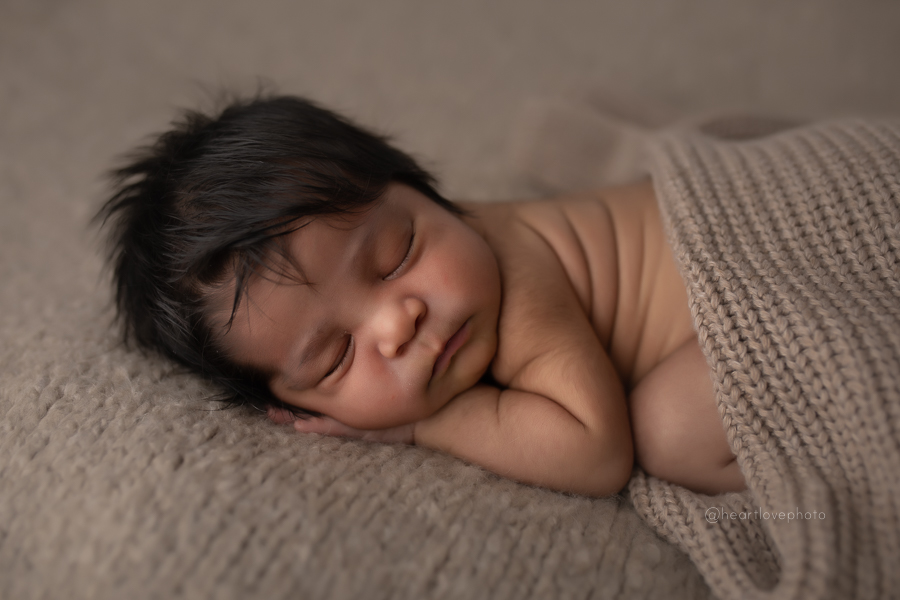
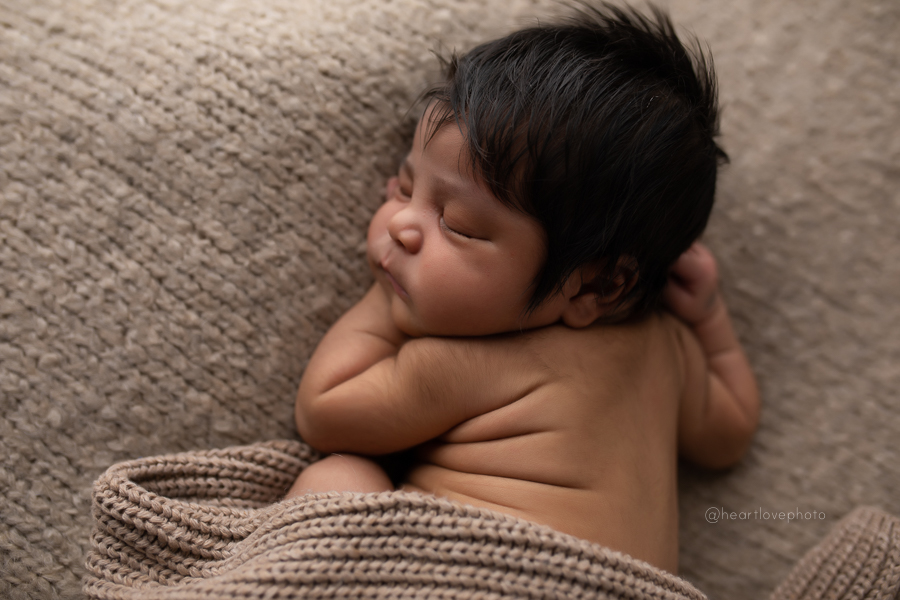
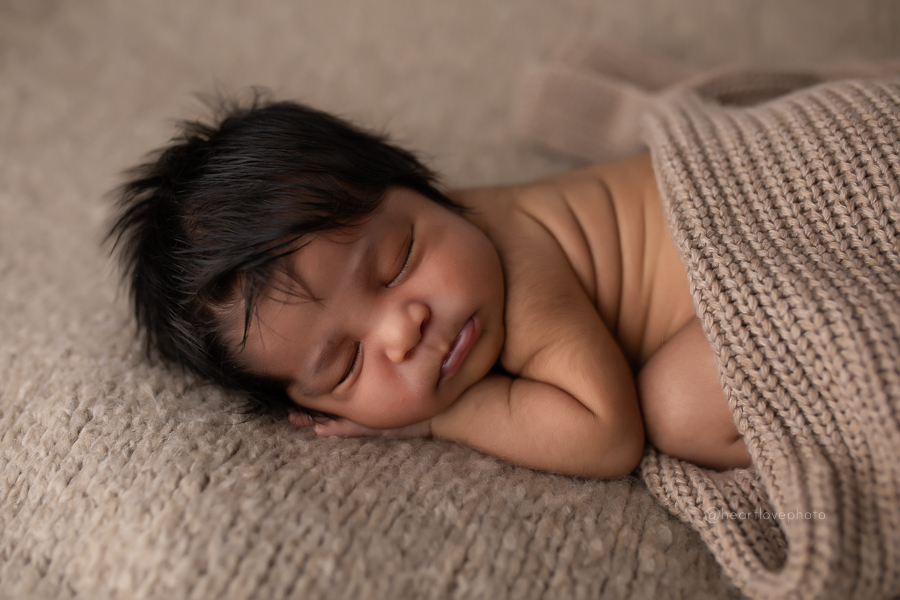
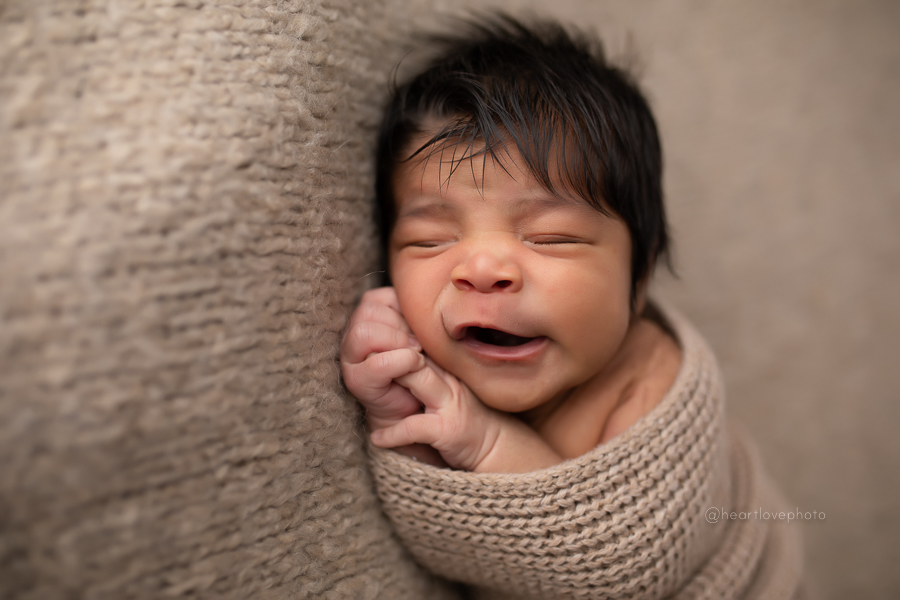
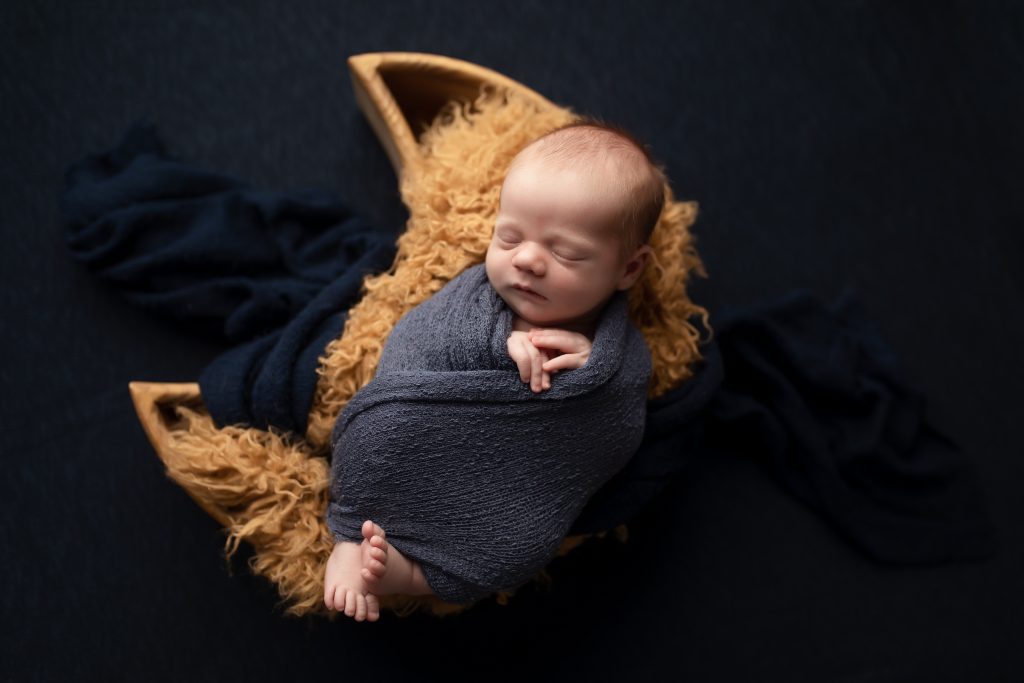
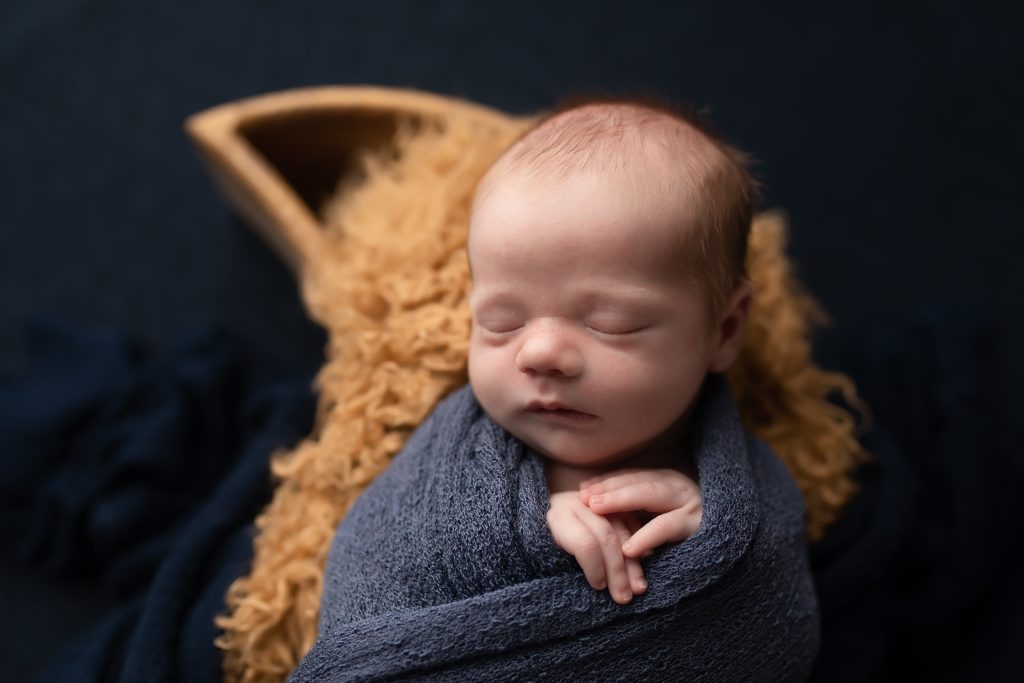
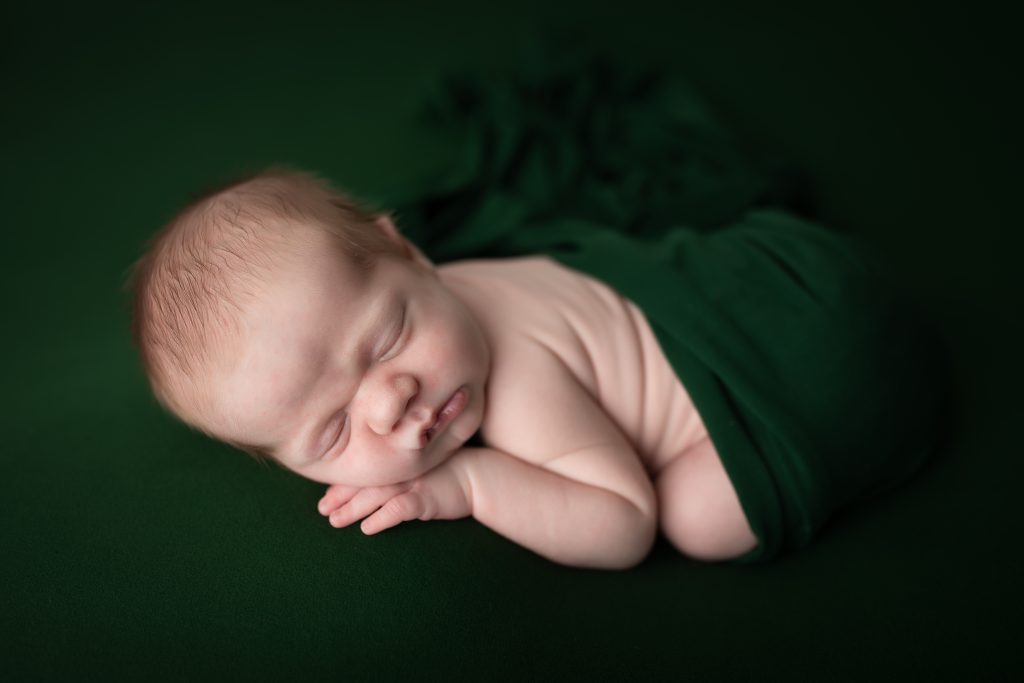
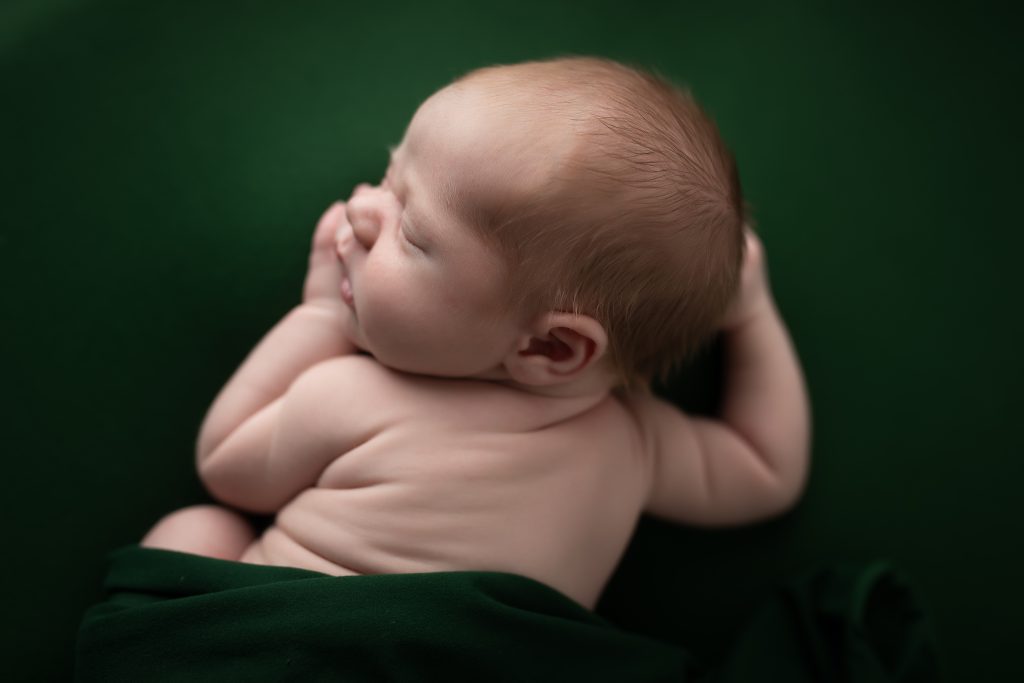
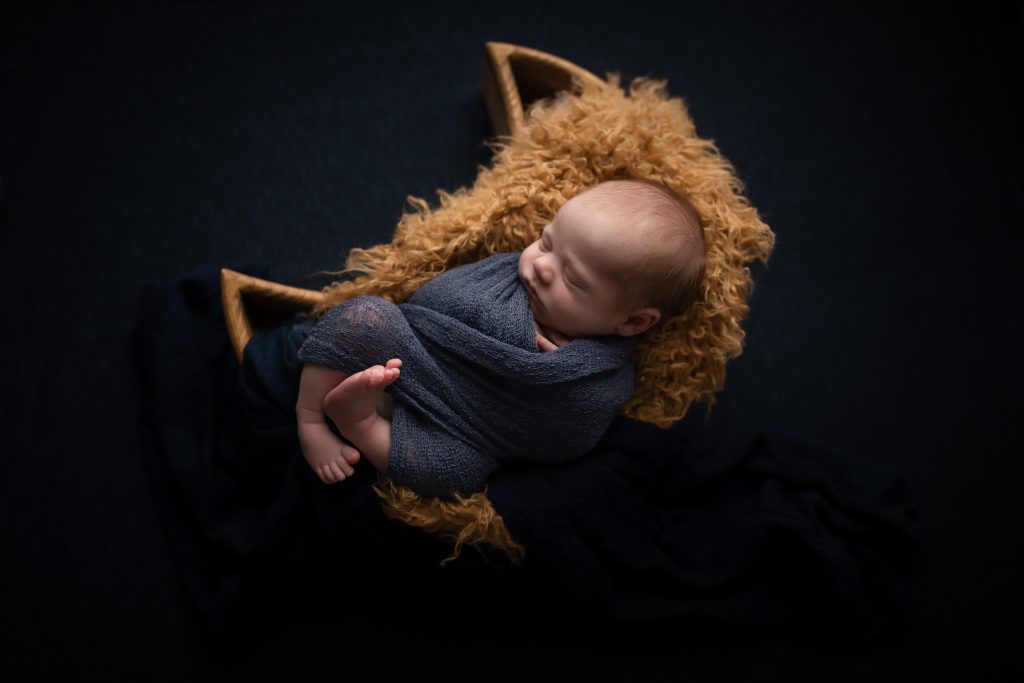
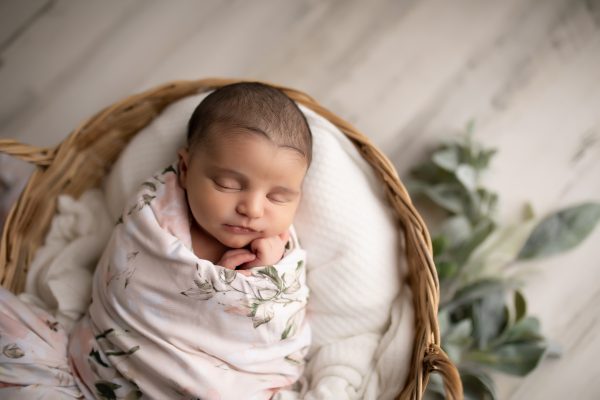
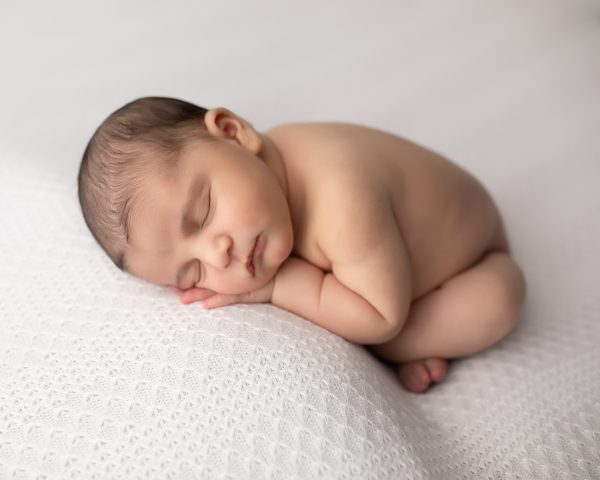
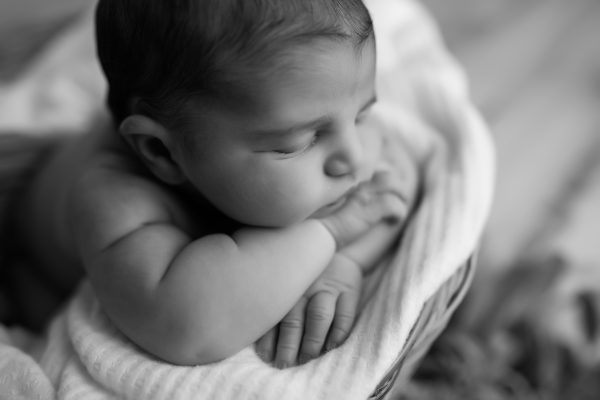
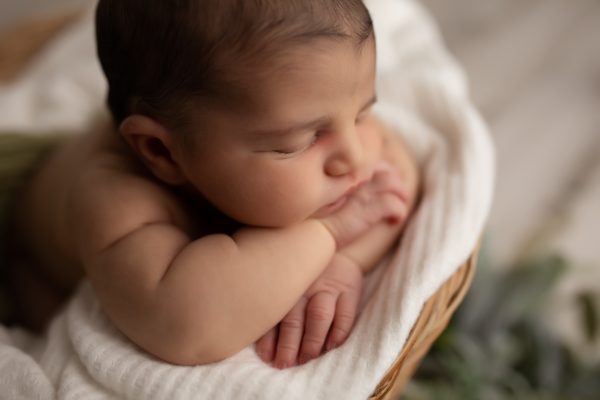
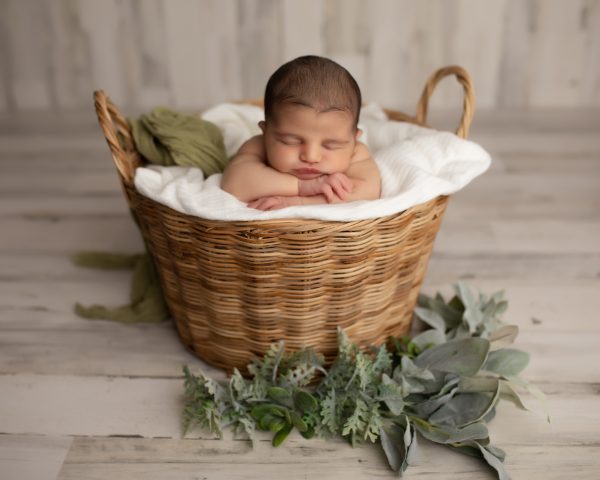
When this sweet baby’s parents hoped for newborn photos in moss, marigold and navy blue, I was elated. Those deep earth tones are some of my favorite colors. This little love is almost 10 pounds, 3 weeks old and full of personality! She came to to our Pasadena, MD newborn studio for a 2 hour newborn session this week and I’m thrilled with the results.
blog


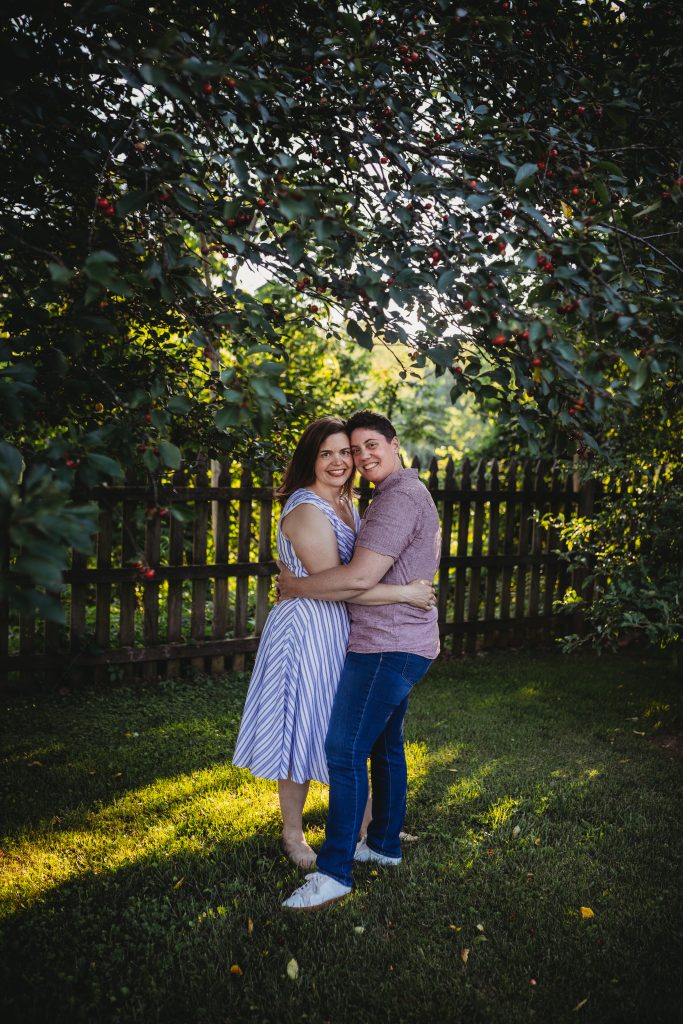
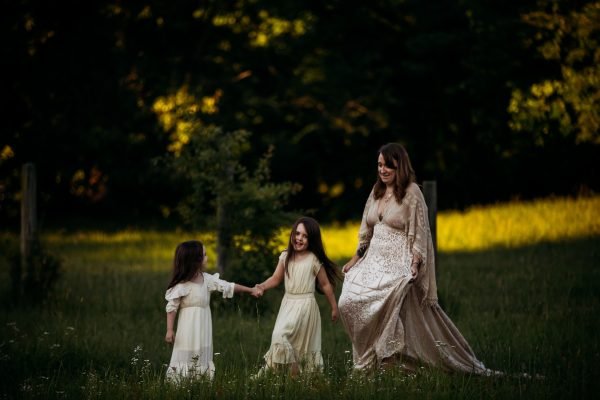
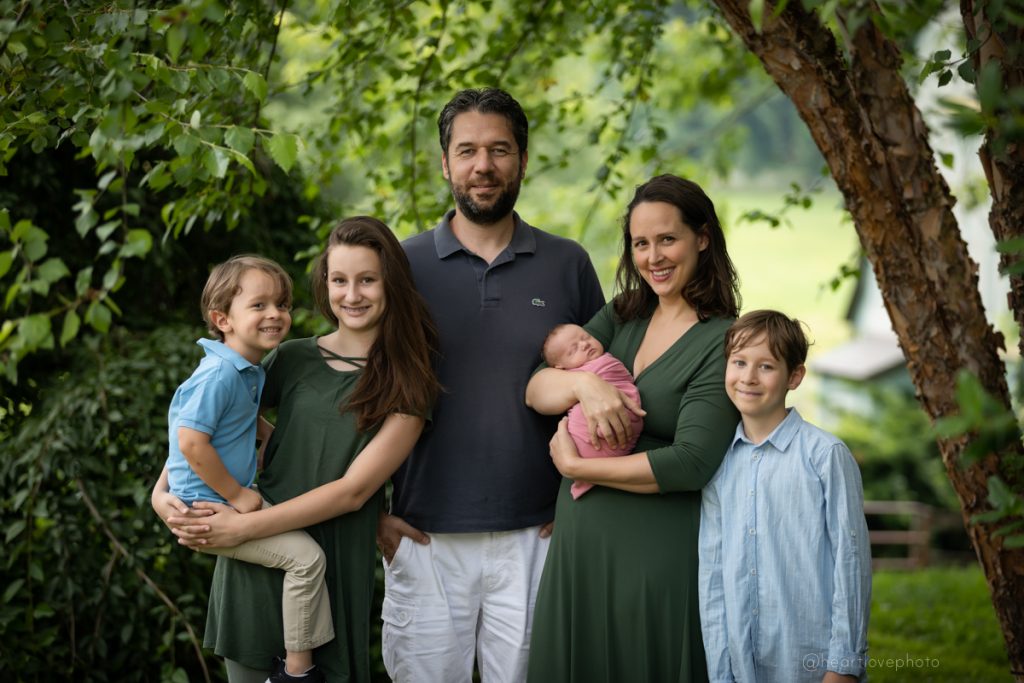
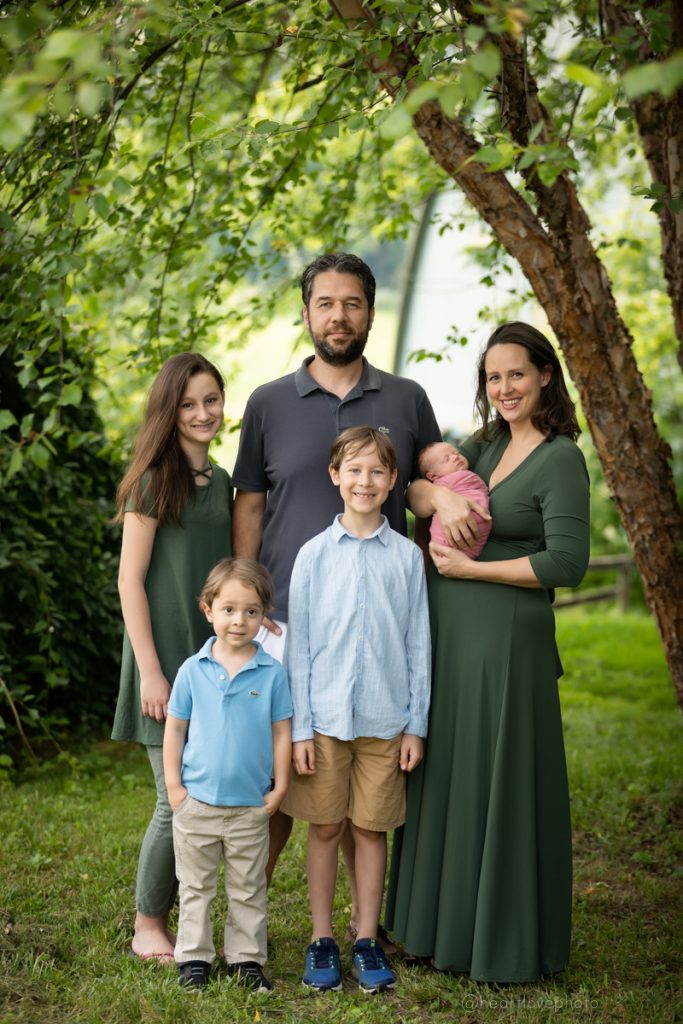
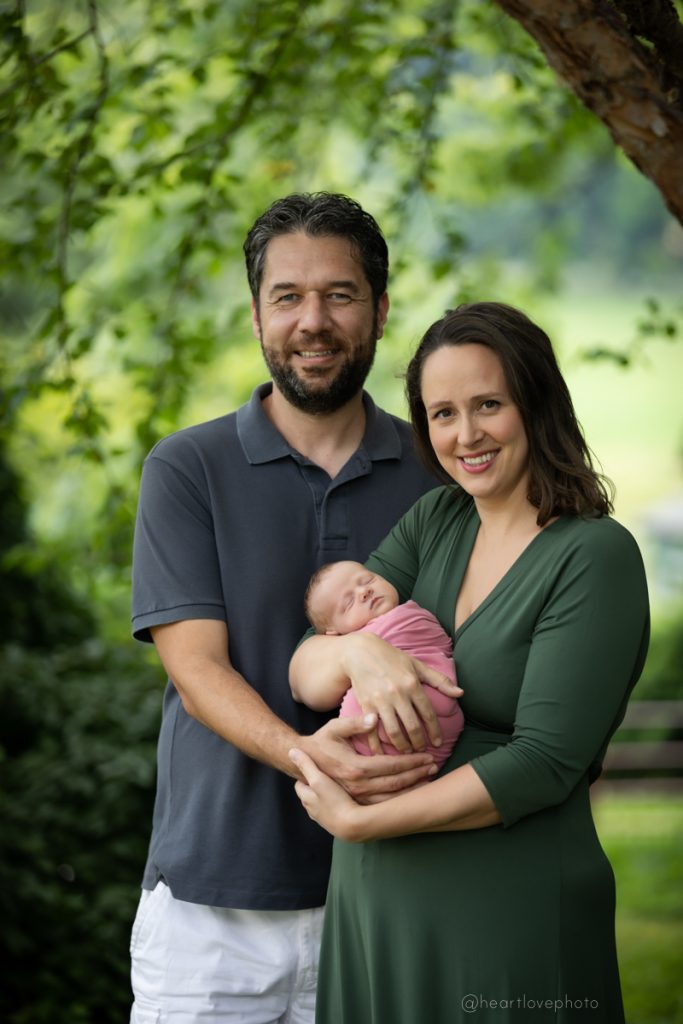
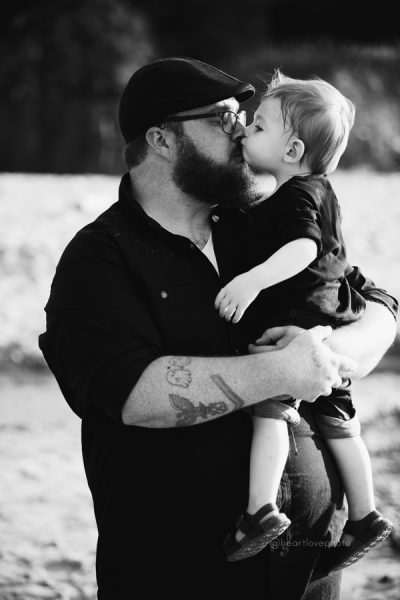
What To Wear – Summertime Sessions | Maryland Photographer
Planning wardrobe for your summer portrait session in Maryland can be a daunting task but we offer styling at no additional cost. My heart is in making portrait sessions a genuine memory that’s worthy of recording and that’s hard to do when it’s a stress-filled event.
Let’s take the stress out of planning – give us at least 6 weeks notice and send your general style/inspiration, your sizes and budget. We will shop for you and send links – we favor easily accessible stores like Target, Old Navy, H&M and Amazon but also shop smaller online boutiques.
In addition to shopping, we do have a feminine wardrobe available for borrowing in the studio. I find most often the masculine styles can be more day-to-day wearable so I aim to keep the studio wardrobe stocked with clothes that are likely to get one time use for images. The current selection ranges from XS-4X. Complimentary appointments are available to try on and select options to borrow.

When you’re shopping for your own family here are a few guidelines that help – keep in mind these aren’t rules, just general ideas:
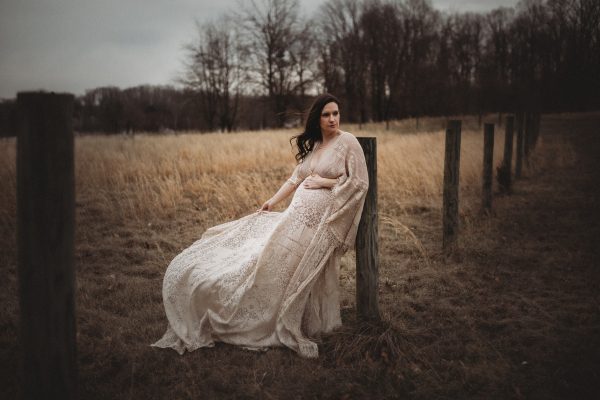
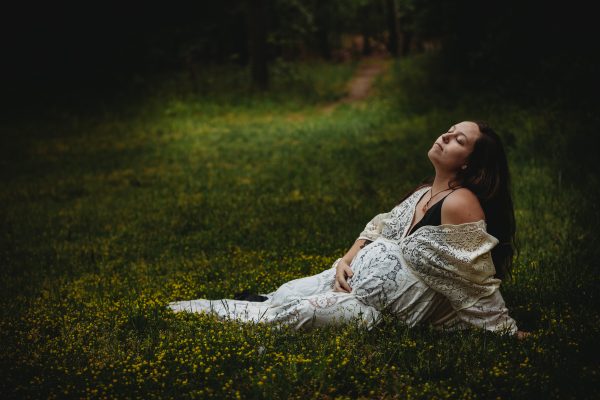
- Choose earth tones and neutrals. Moss, Olive, Burgundy, Navy, Pumpkin, Mustard are my favorites. Jewel and pastel tones are less likely to match my style but if they are yours, go for it. Avoid all neon tones in accessories and accents.
- My style is casual – pick clothes that will be weather appropriate and comfortable. I love classic baby and toddler styles.
- Go with natural fibers, especially for kids. Cotton, denim, linen, muslin are comfortable and typically cool enough.
- Shoes matter. I love barefoot families but often we find broken glass on the beach or itchy grass in other locations. Avoid athletic shoes and opt for styles that are easy to walk in. Most often on location sessions are not a good match for heels.
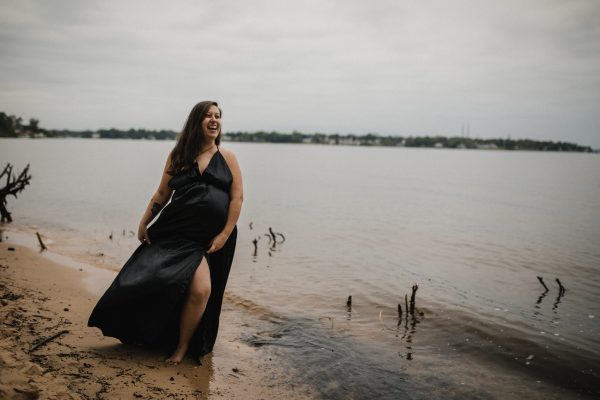
- Rather than accessorizing, look for fabric with movement. Jewelry and hair accessories can be distracting but fabric with movement adds dimension to an image.
- Plan for make-up and hairstyles that look like you. Picture day is not the best time to try a new look – you want the images to look like you. Professional make-up can be the best investment you make on picture day – I highly suggest Melissa Collazo.

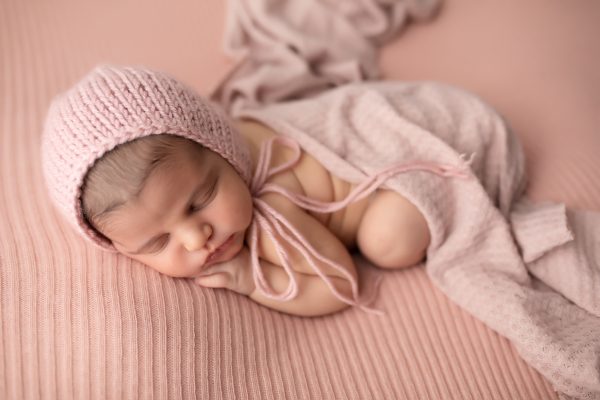
baby b | maryland newborn photography studio


baby e | in home newborn photography

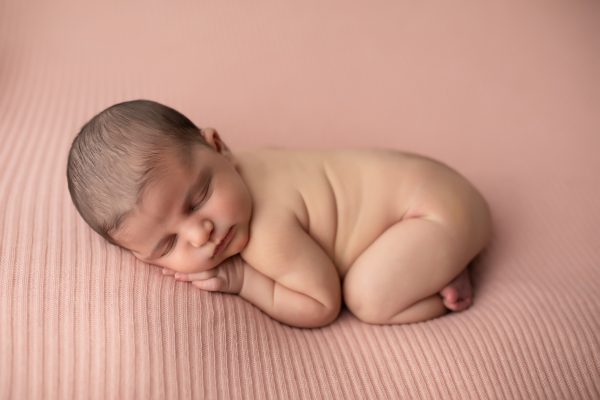
baby t | maryland newborn photographer


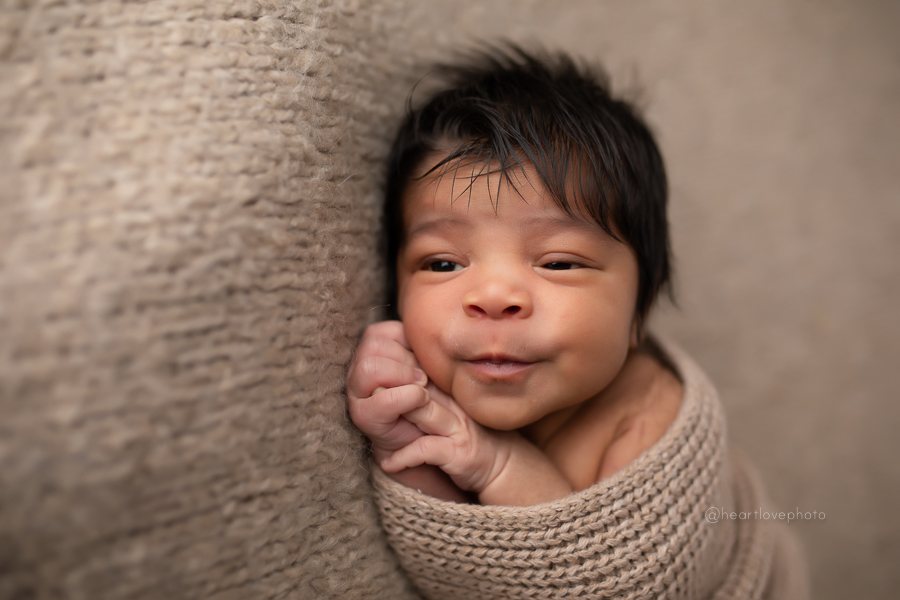
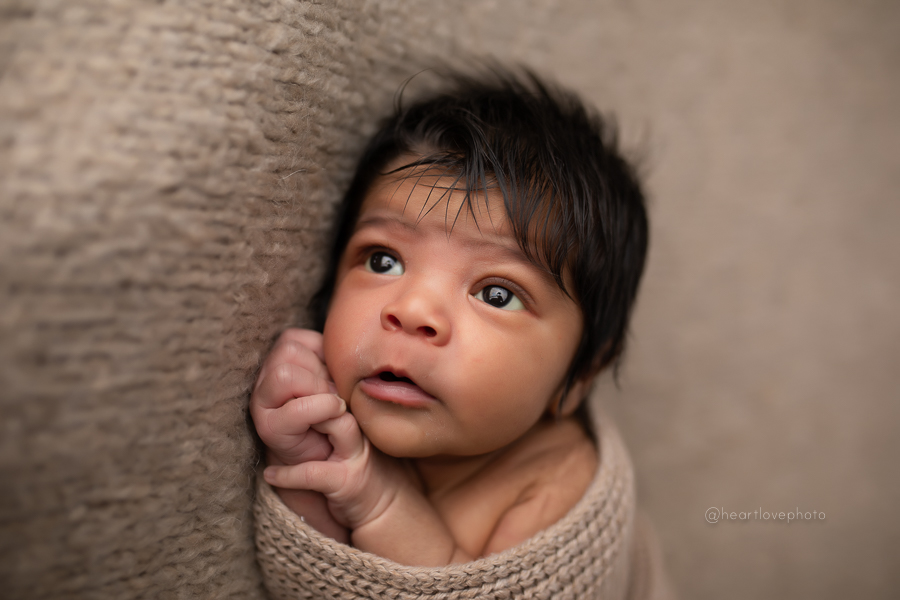
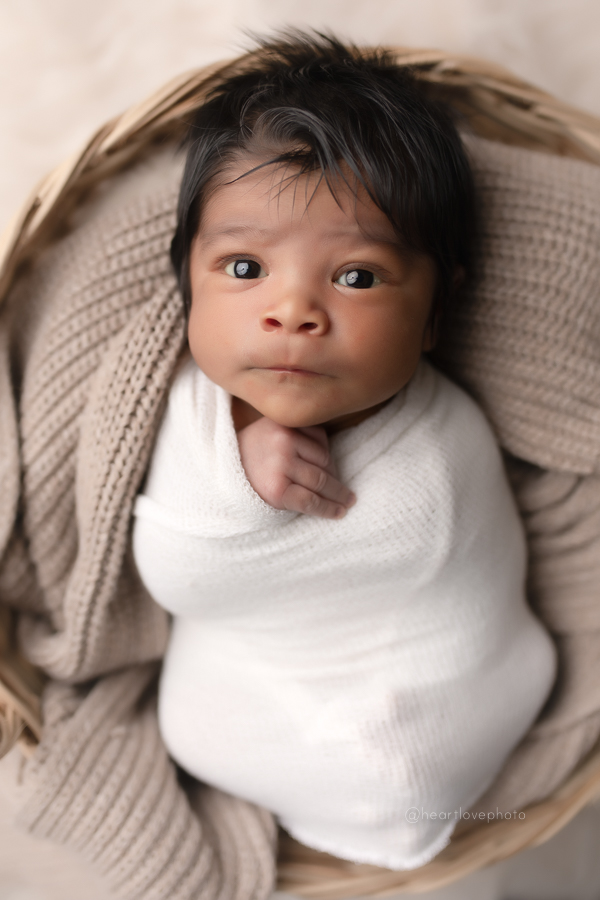
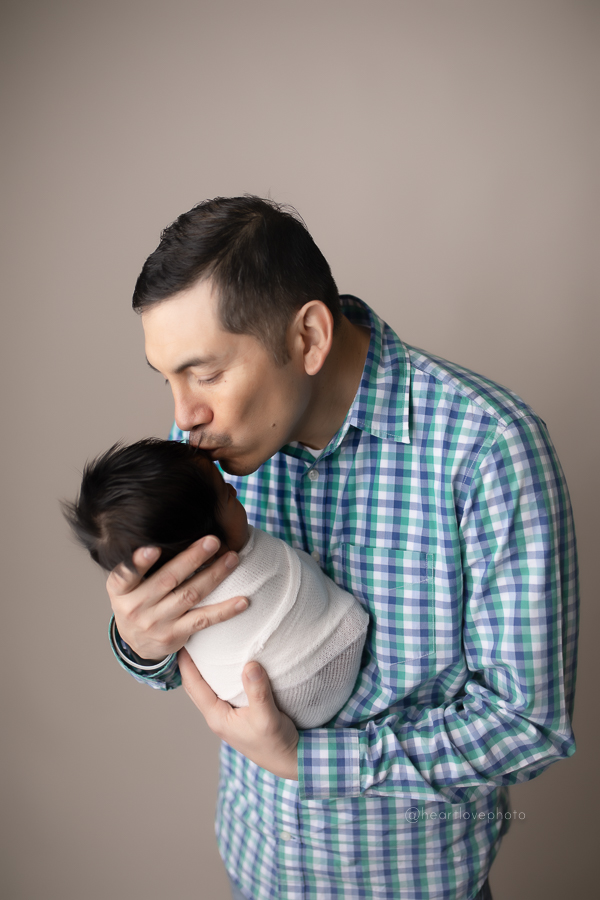
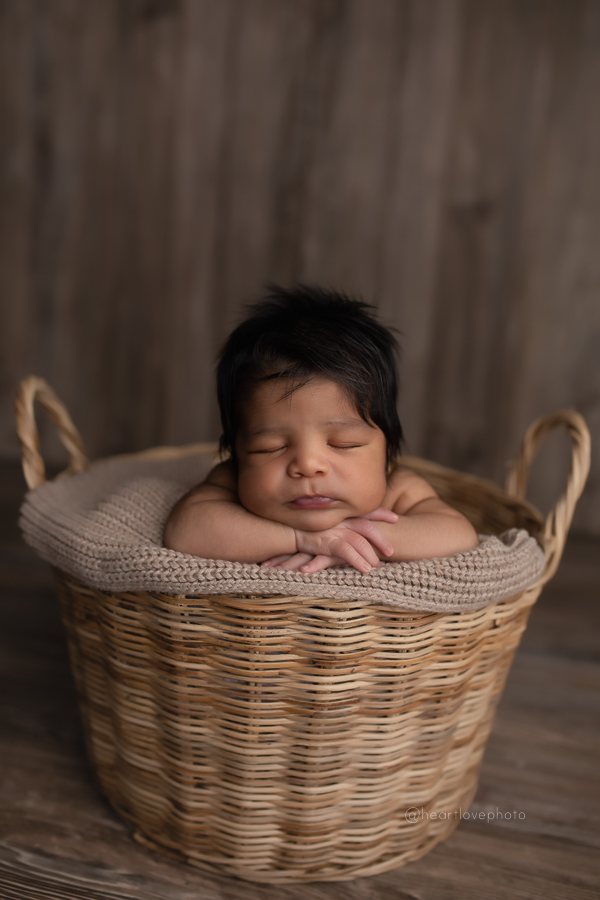
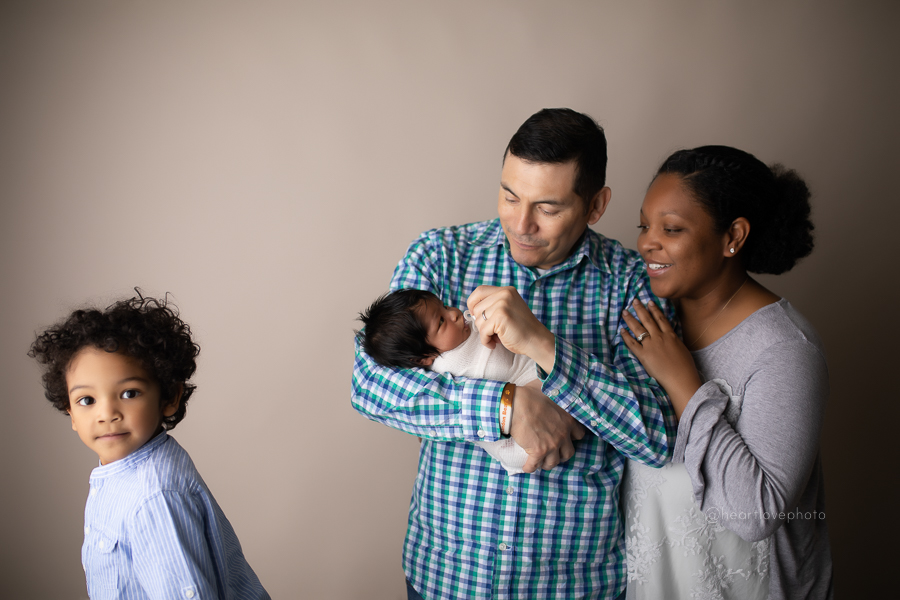
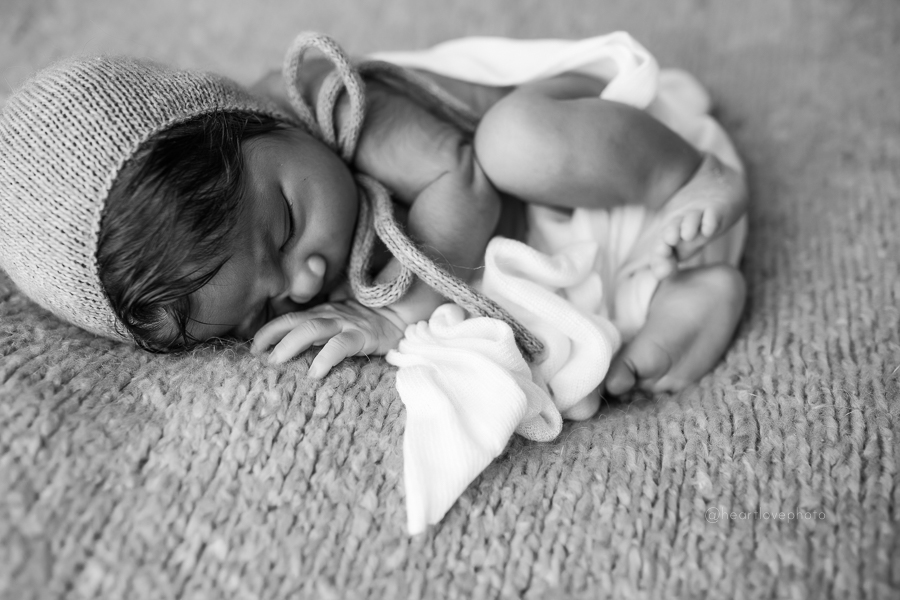
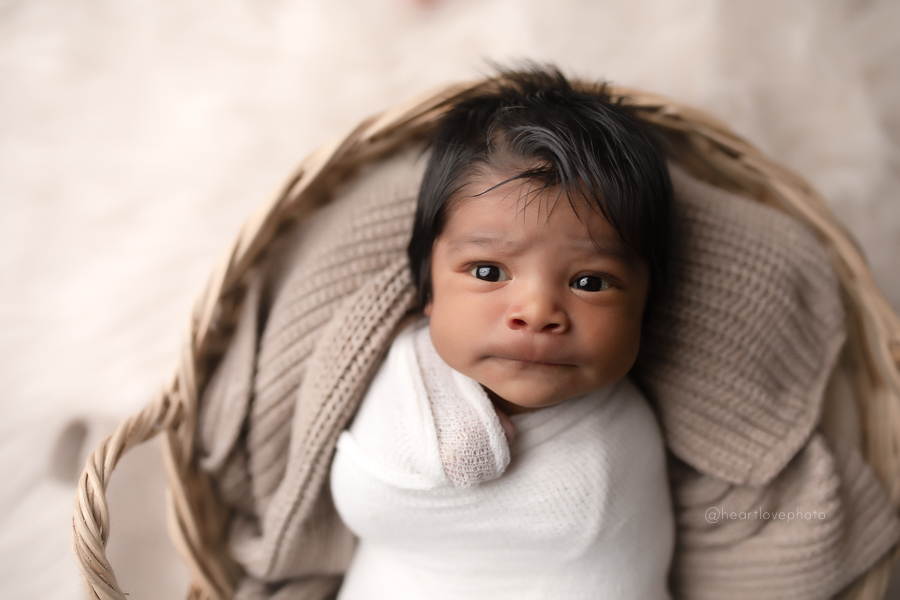
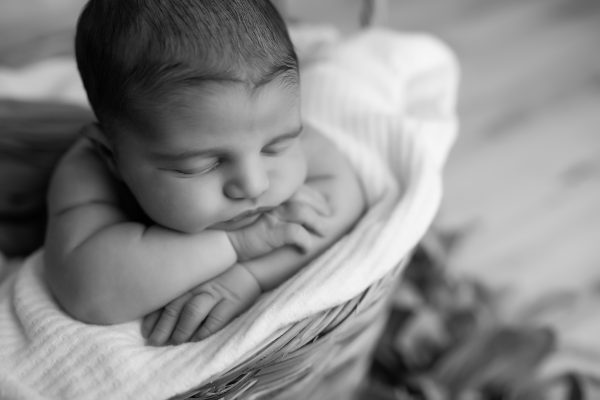
baby n | maryland newborn photographer
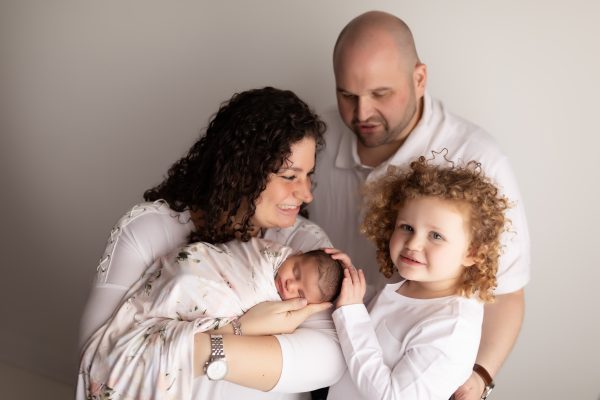
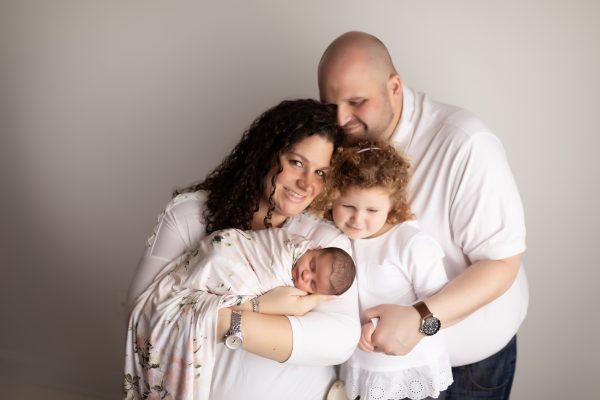
4 years ago, I photographed Nico’s big brother and it was so special to work with this family again. Truly, it’s an honor to see tiny babies grow up. You can see Emilio’s newborn session by clicking here – are they twins or what?


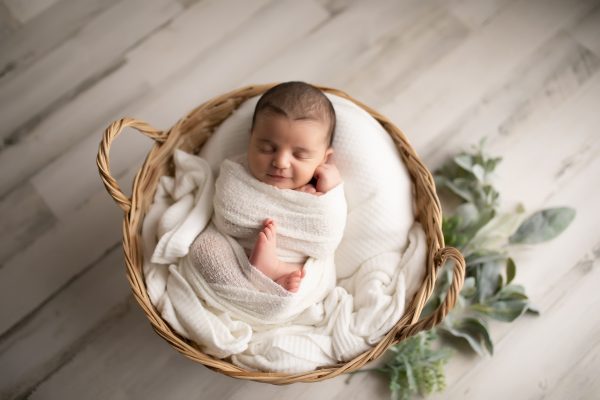
in-studio newborn portraits pasadena, md

newborn photography studio in Pasadena, MD


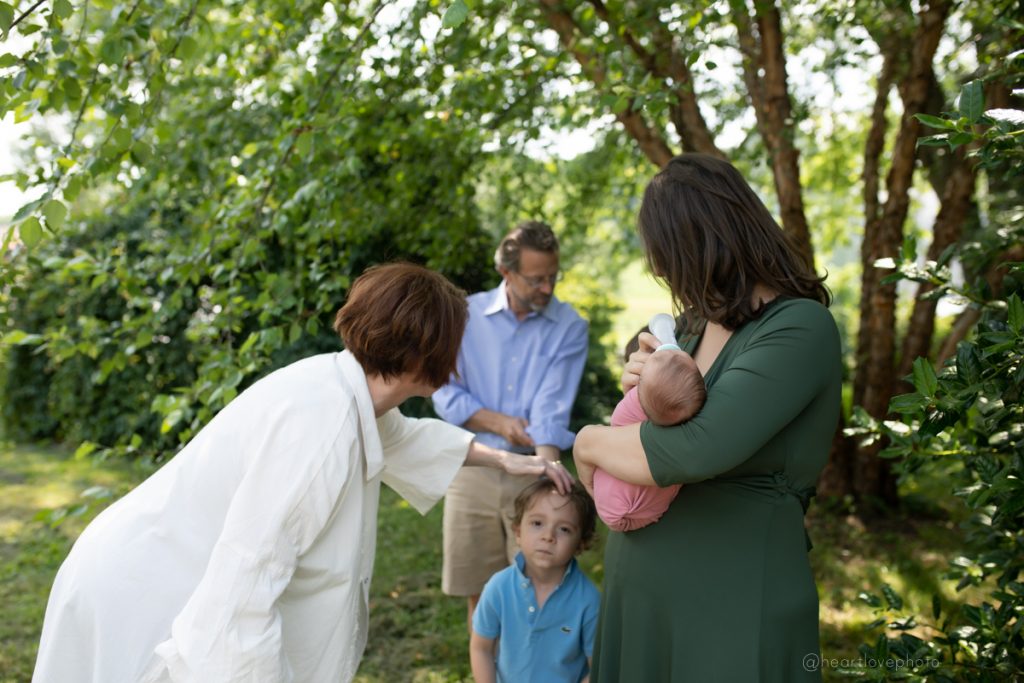
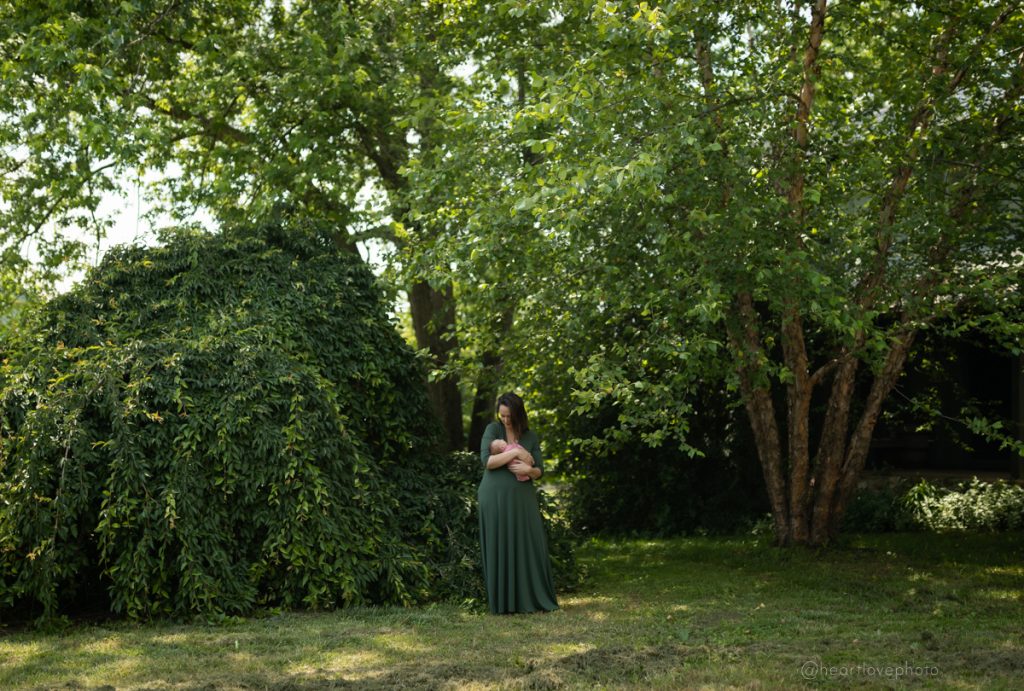
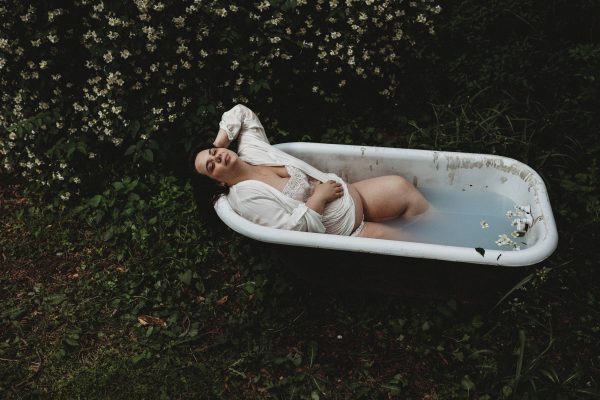
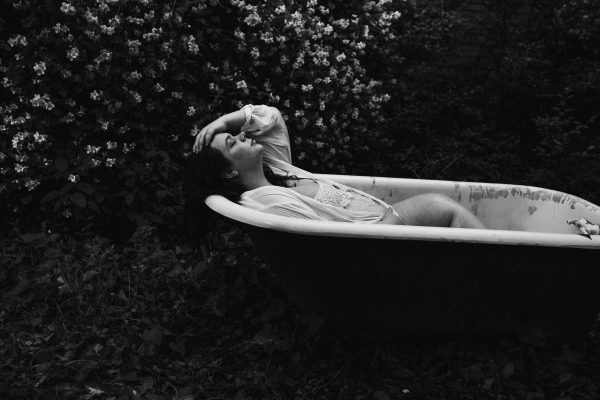
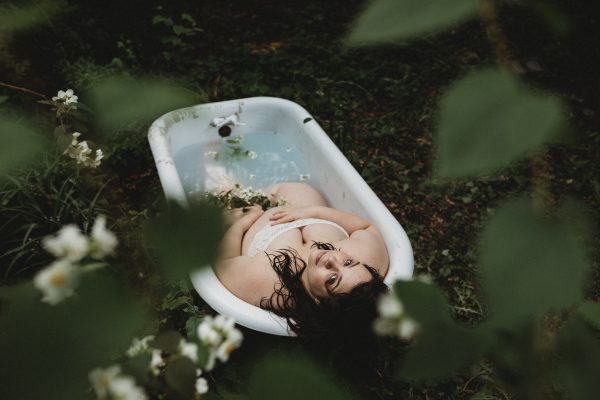
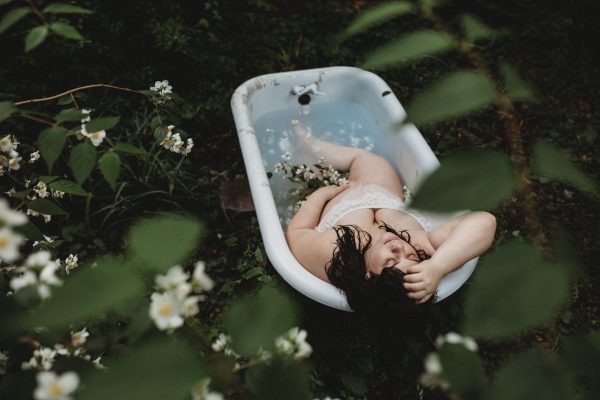
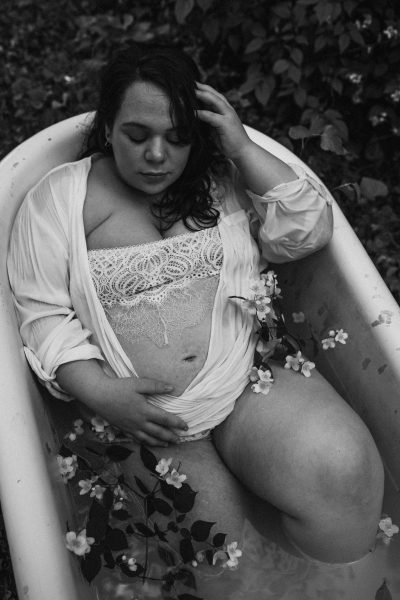
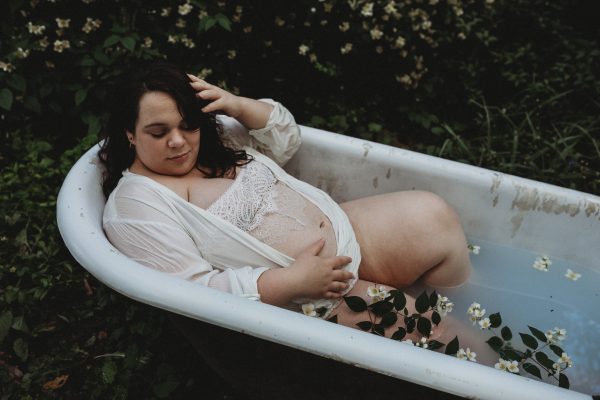
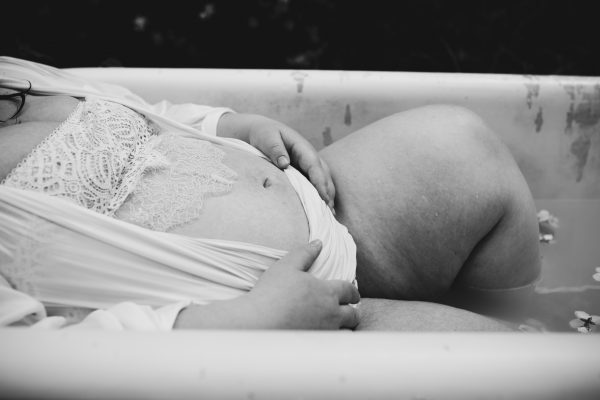
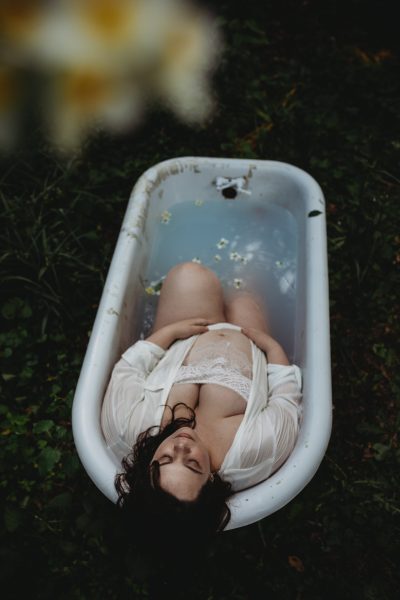
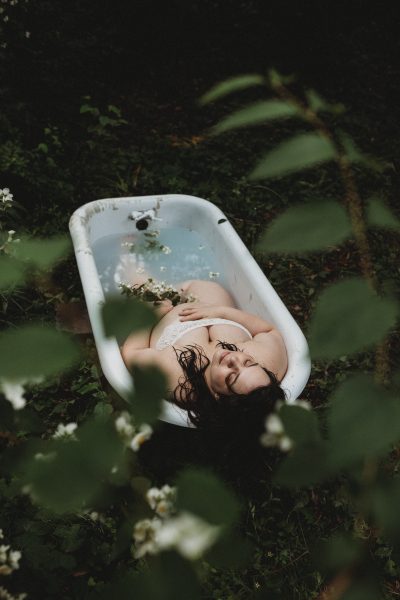
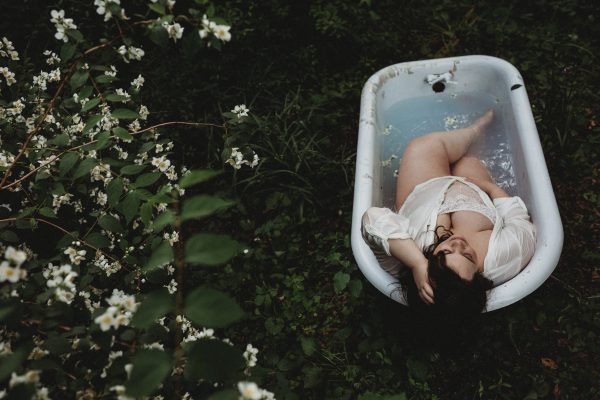
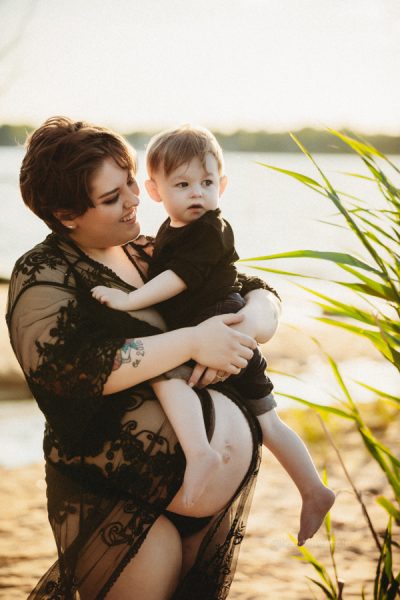
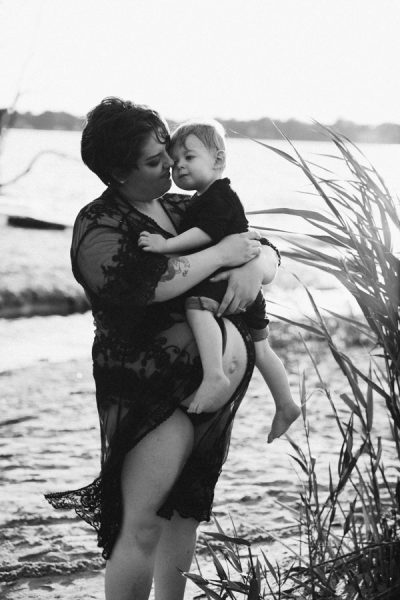
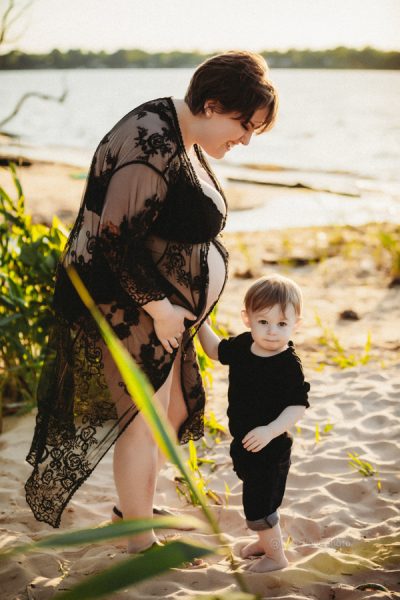
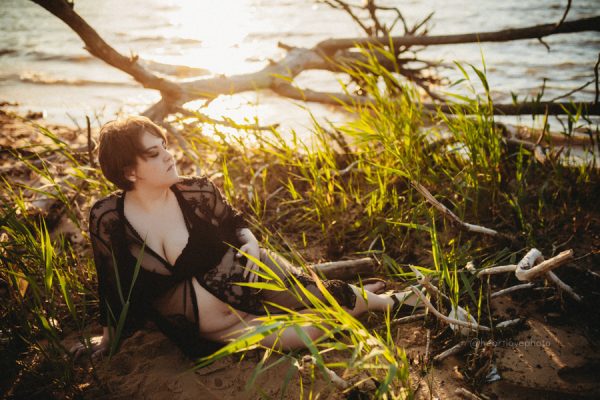
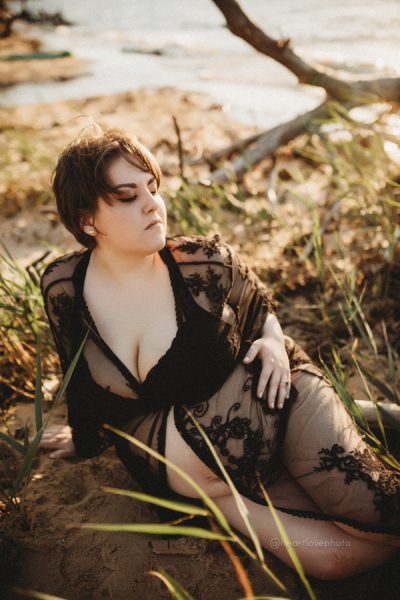
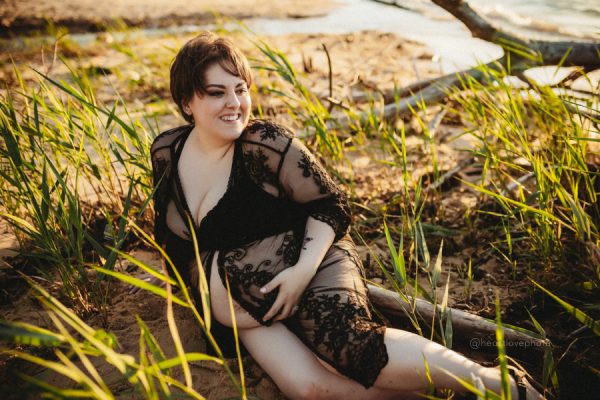
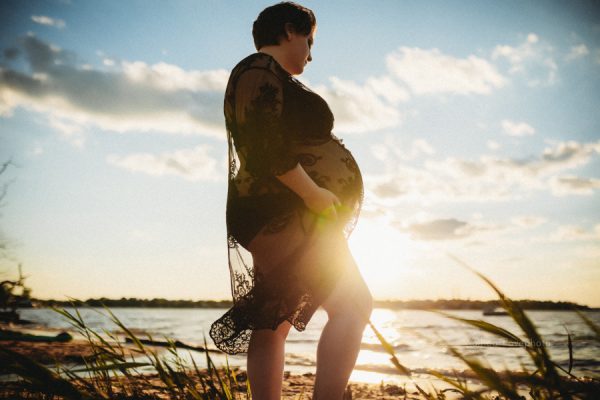
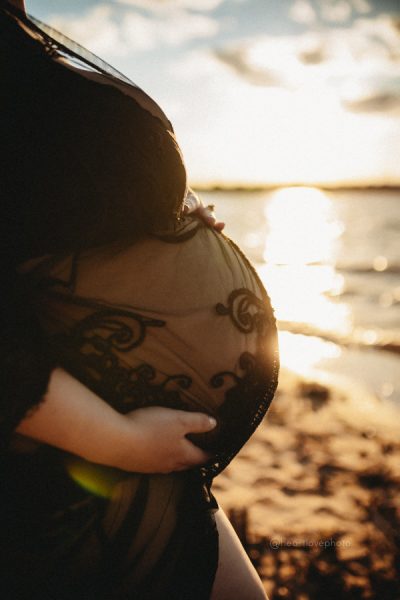
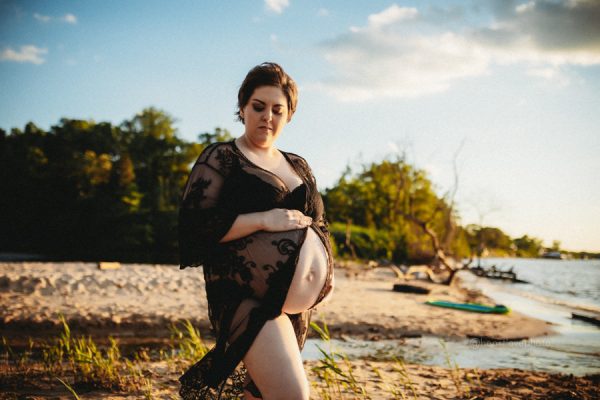
outdoor milk bath pregnancy photos in annapolis, md
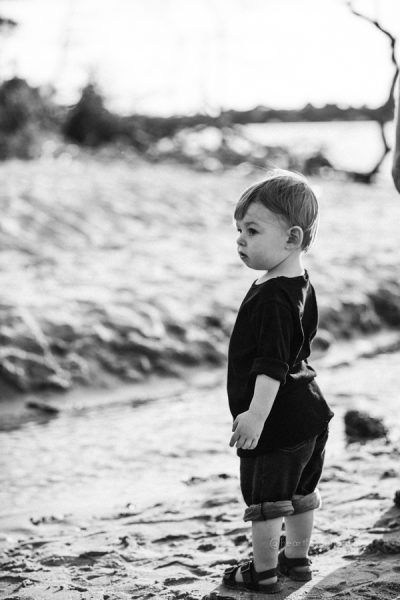
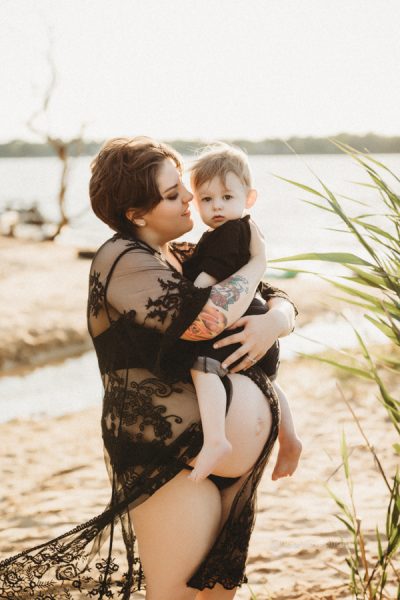
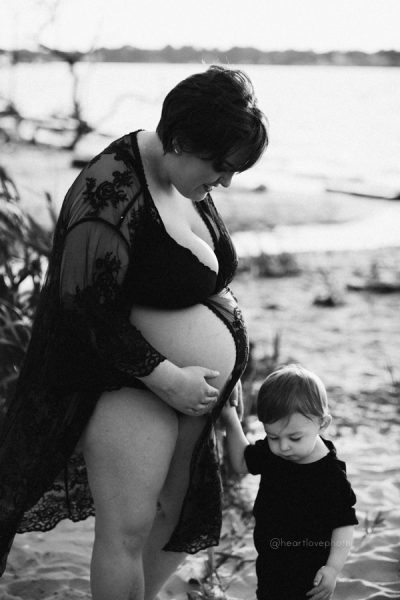
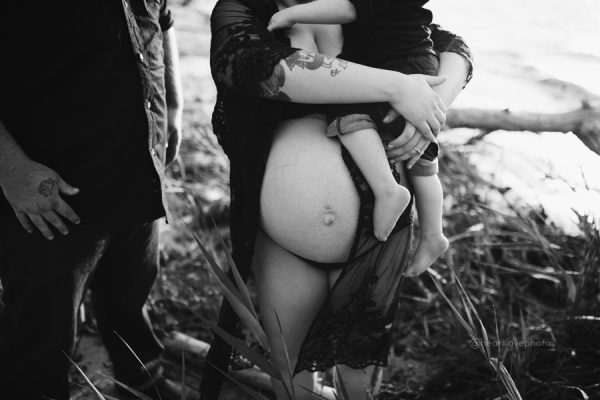
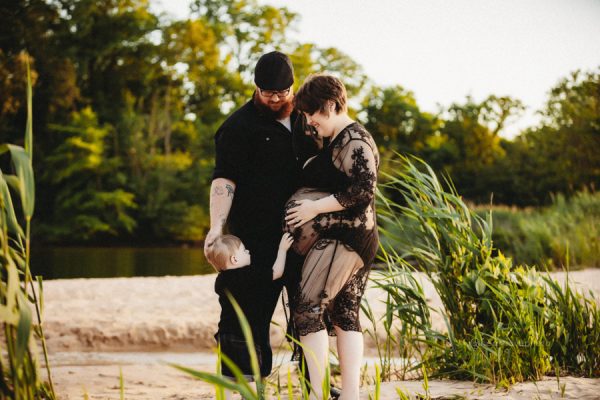
beach pregnancy photography in pasadena, md


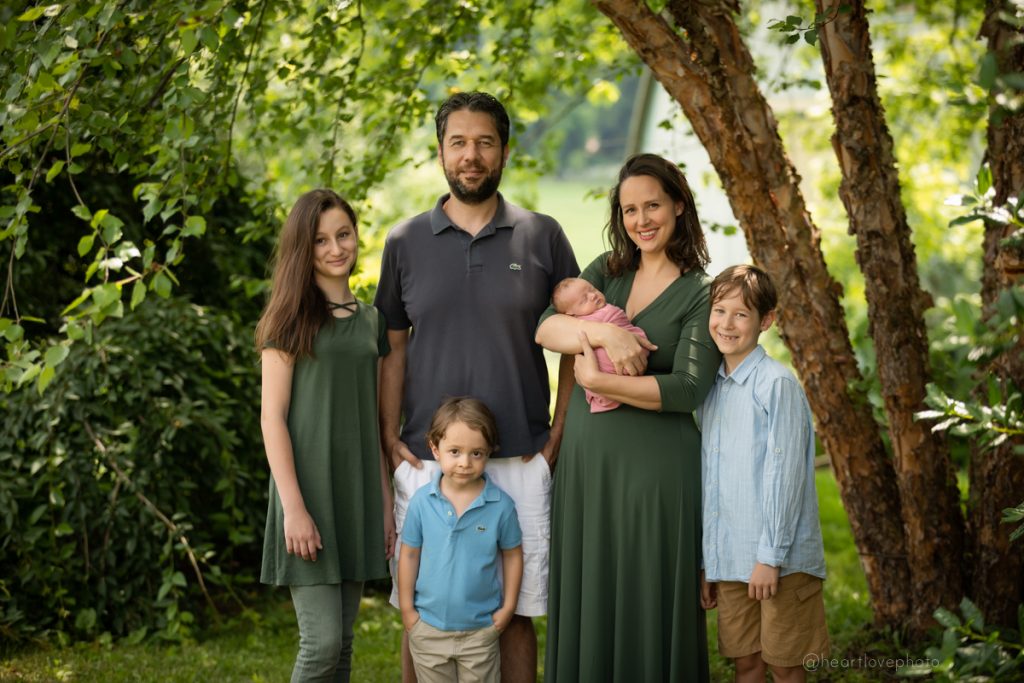
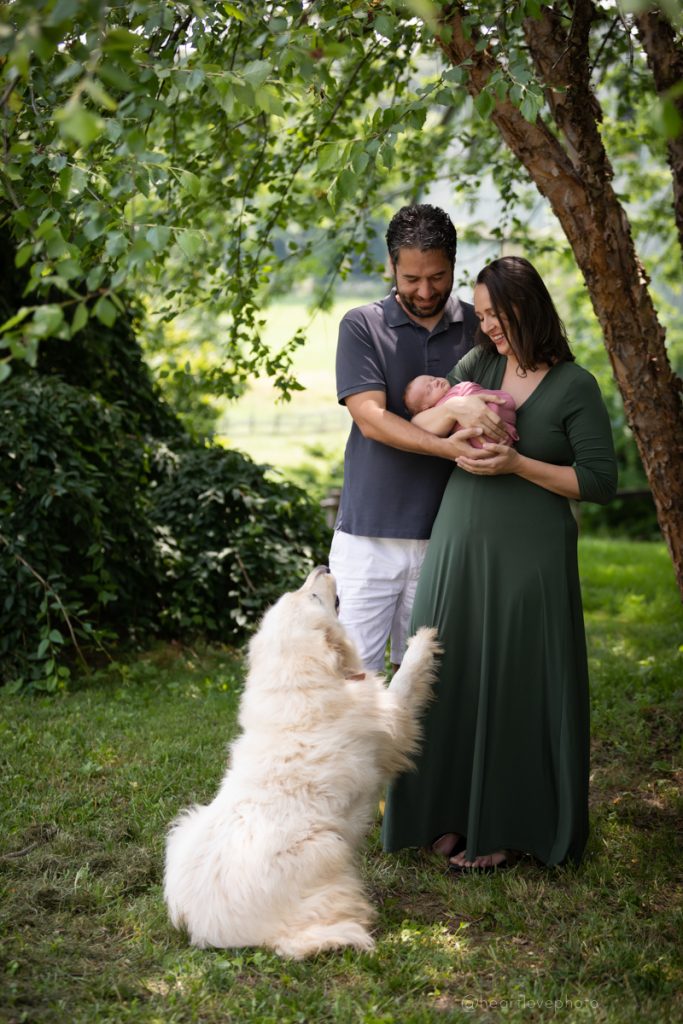
Wildberry Farm Summertime Sessions | Summer Family Sessions
15 minutes + choice of 3 digital images at a private, family-owned farm in Crownsville, MD
$250 – $50 due at booking/balance due date of session
Your session will result in 20+ edited images – you can walk away with your 3 favorites or purchase additional prints and digital images. No additional purchase/minimum purchase required.
We’re expecting wild flowers throughout the summer and sunflowers in late July/early September but we cannot guarantee blooms.
how to photograph your newborn baby during quarantine | baltimore, md photographer
While I’m unable to photograph your new addition for now, I wanted to share a guide to capture this fleeting moment – at home – with your own camera or cell phone.
Here you’ll find a series of tips and photo ideas with suggestions on setting up the shot.
I look forward to being able to photograph your family soon!
How To Prepare:
First off, know that your photos are not going to look the same as professional photos, and that’s ok. You are capturing some precious memories, and that is all that matters. Babies do pick up on your anxiety and frustration, so just relax and go with the flow! Don’t rush – plan on taking a few hours for this process so plan to take all the time you need.
Gather your supplies the day before. You’re a new parent in a global pandemic – plus if you gave birth you’re recovering. Give yourself the opportunity to space out this process so you’re not rushing around with a hungry baby. Babies don’t expire – you can capture these images at 2 or 4 weeks without missing the newborn stage.
About 90 minutes before you expect to photograph the baby, turn up your thermostat or turn on a space heater so the room is very warm. Then give your baby a full feeding, a dry diaper and dress or undress them how you plan to photograph them. Now do your comfort routines – burping, rocking, etc. Most babies will fall asleep at this point but remember that awake baby images are beautiful, too.
Equipment:
Don’t worry if you don’t have a DSLR – any camera will do. Make sure your lens is clean – phone cameras especially get covered in finger prints.
Gather towels, receiving blankets and any items you’d like to include in the photos.
What to wear:
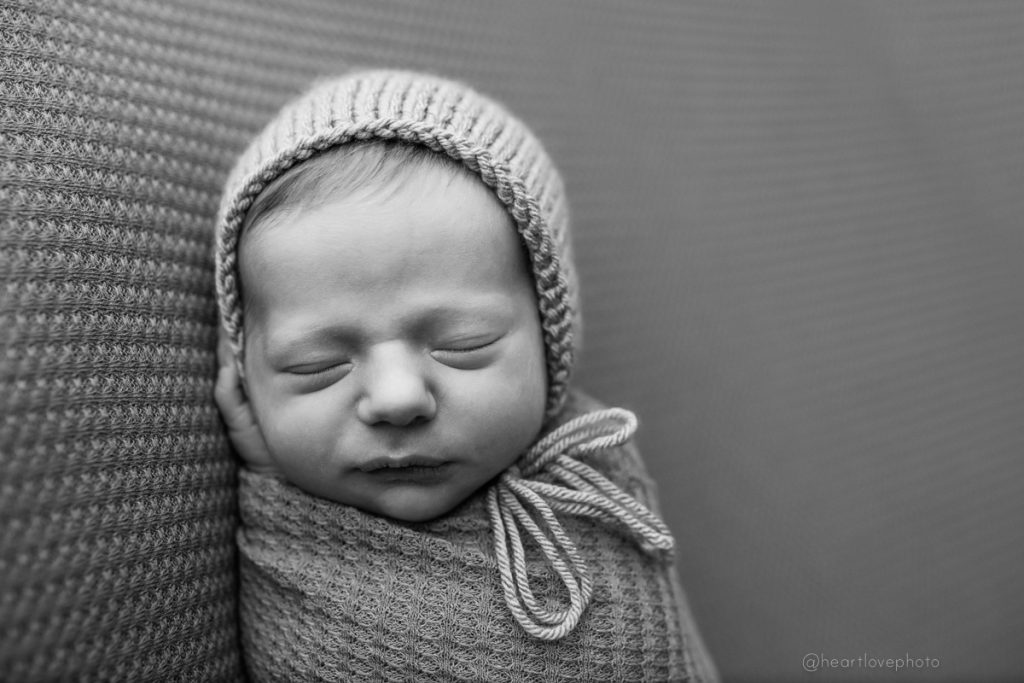
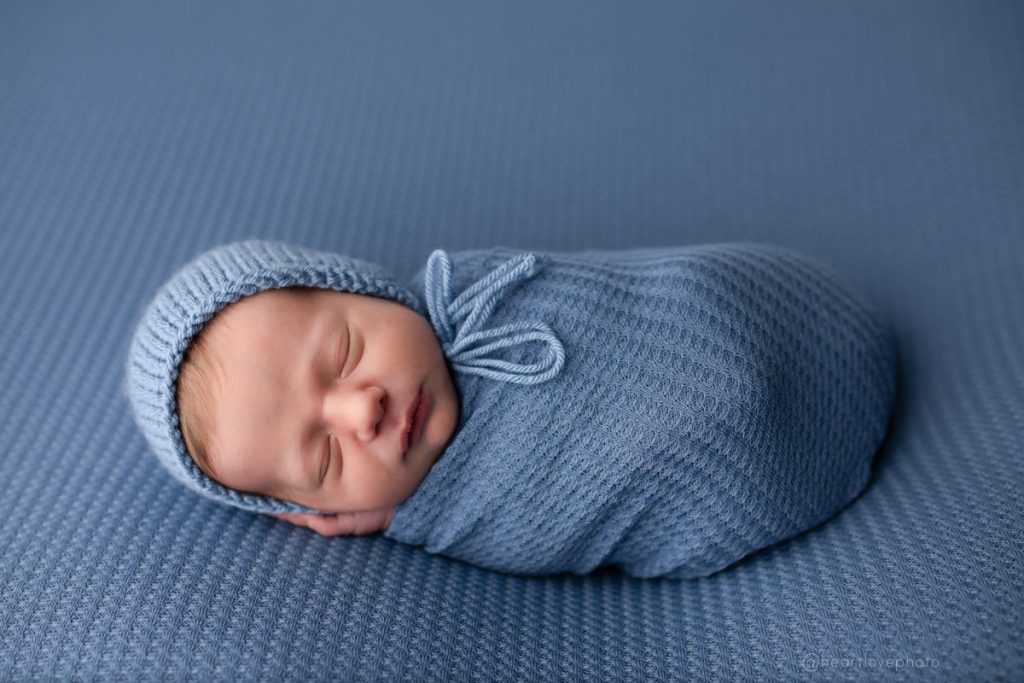
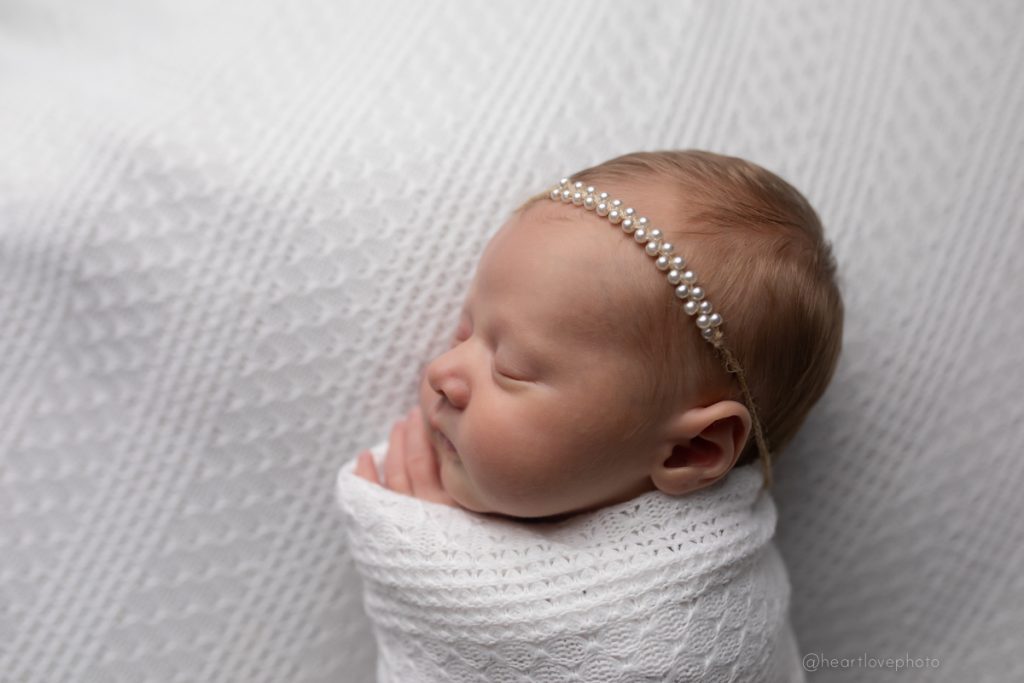
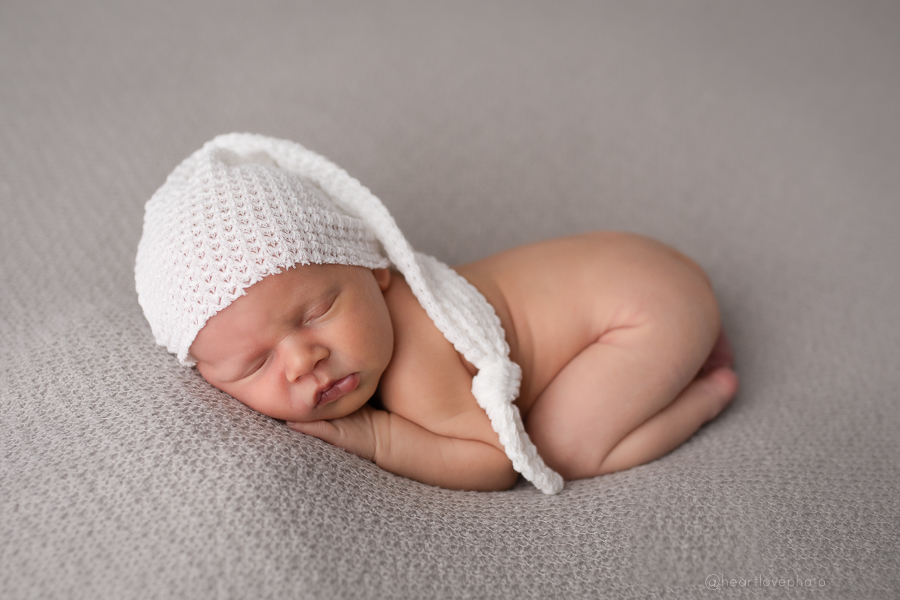
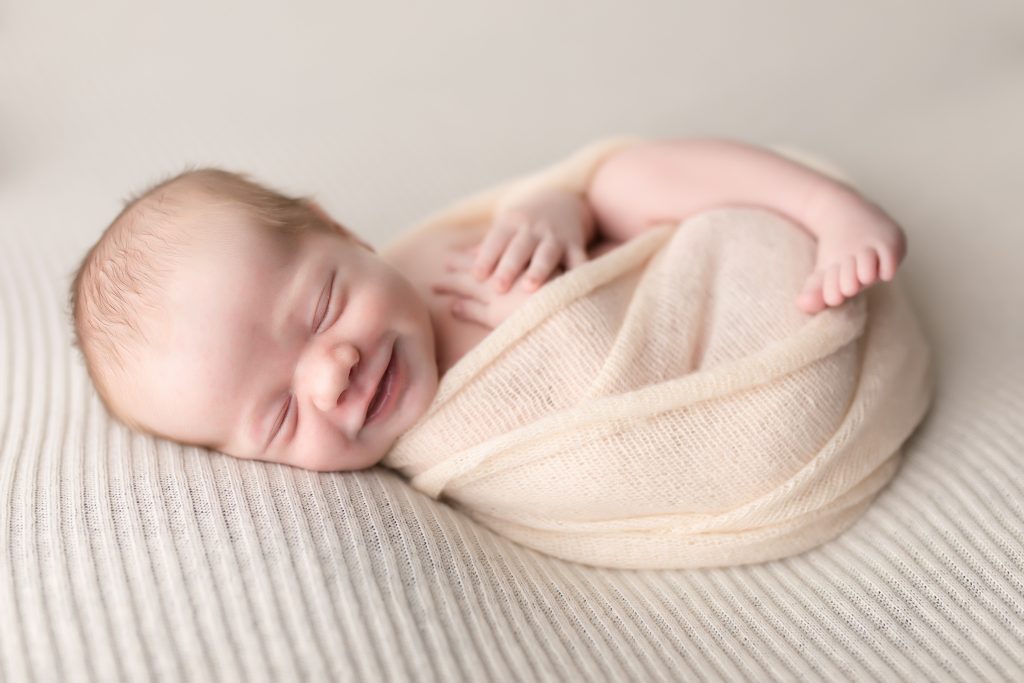
Have the family wear comfortable, simple, neutral-coloured clothing. Stay away from logos, words, and characters on shirts, and neon colours. Newborns photograph best in a simple white onesie or just a diaper. You can add a little hat or headband for variety.
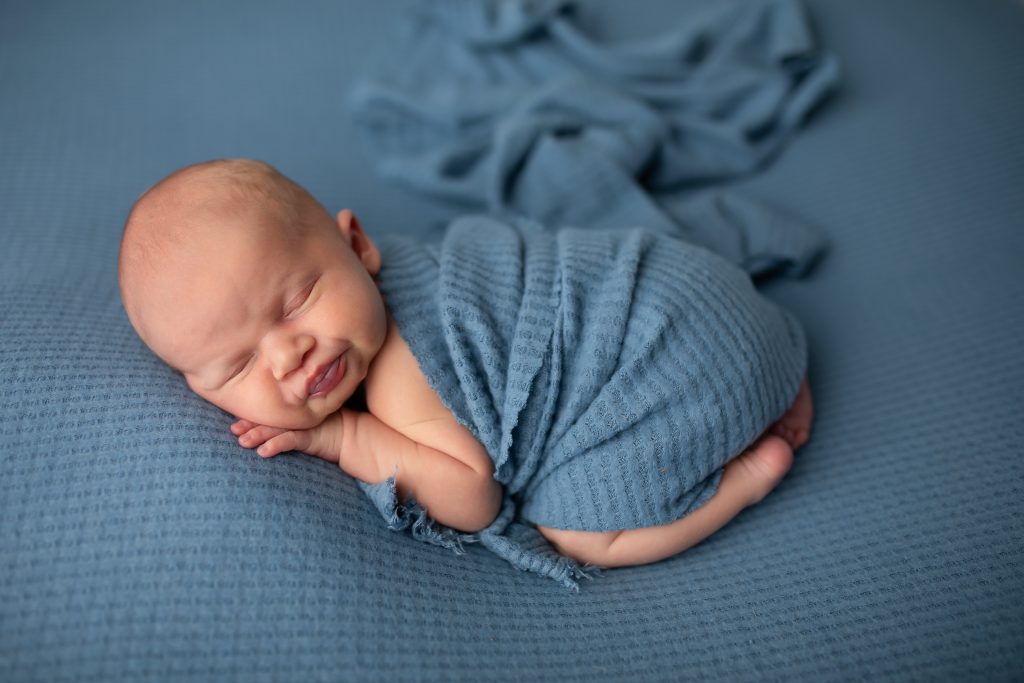
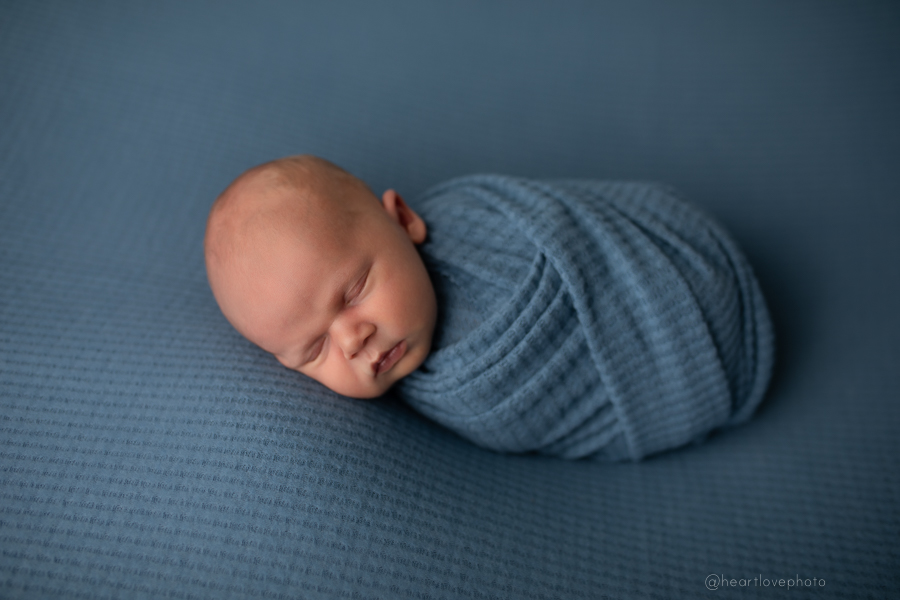
Baby is more likely to stay sleepy and content when swaddled tightly. Try a simple swaddle wrap – learn how here.
Light:
Try to take your photos in the rooms that get the best gentle window light (not direct sunlight). North/south facing windows are great! Turn off other lights in the room.
When positioning baby close to the window, make sure the light is coming from the side or towards the top of the baby’s head.
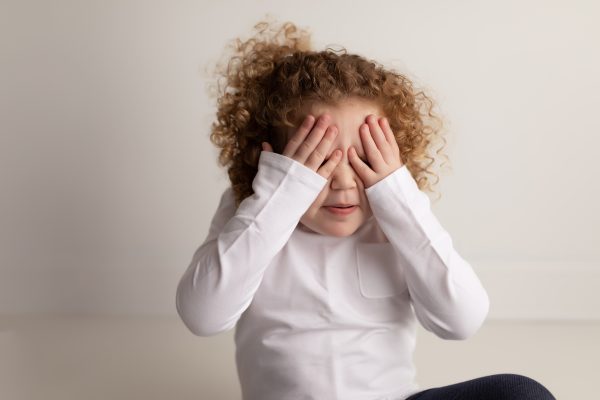
Siblings:
Always have another adult present to be close to baby while taking photos with siblings. Start with low expectations – they may not cooperate and that’s ok. If they lose patience, rather try those photos another time.
Safety:
The safety and comfort of your baby is more important than any photo. Please do not attempt any poses that you see newborn photographers do – they are trained in newborn safety and posing.
Pets and siblings should never be photographed with a newborn without another adult right there to keep an eye (and hand!) on baby. When you are taking photos above baby, always wear the camera strap around your neck.
Listen and look for baby’s cues. Your little one may start to tell you they have had enough. And pace yourself – you just had a baby and will need rest.
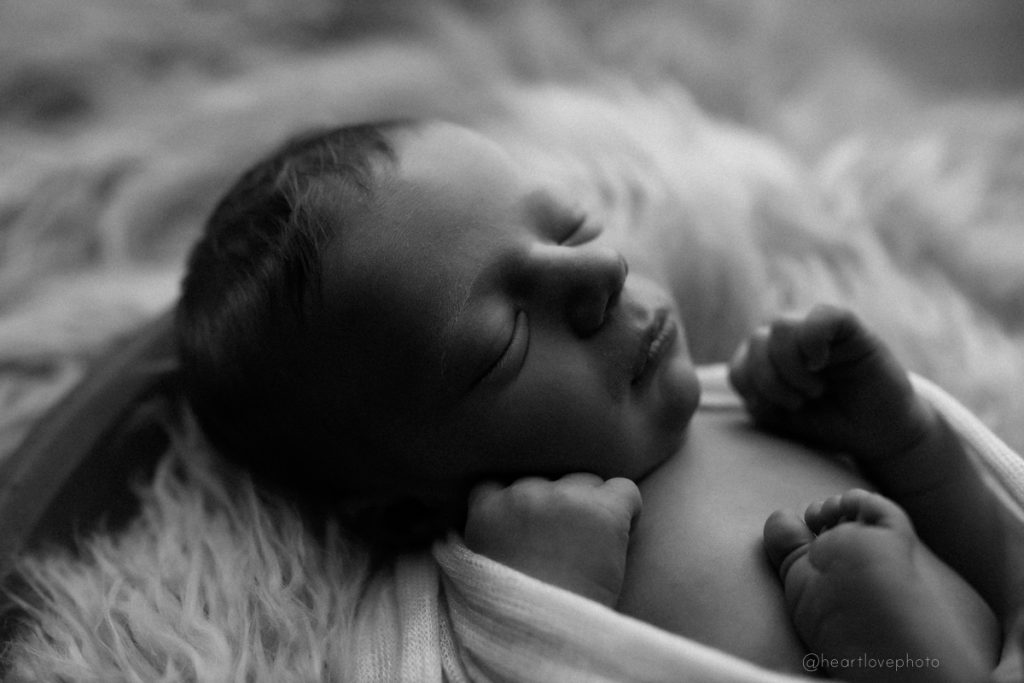
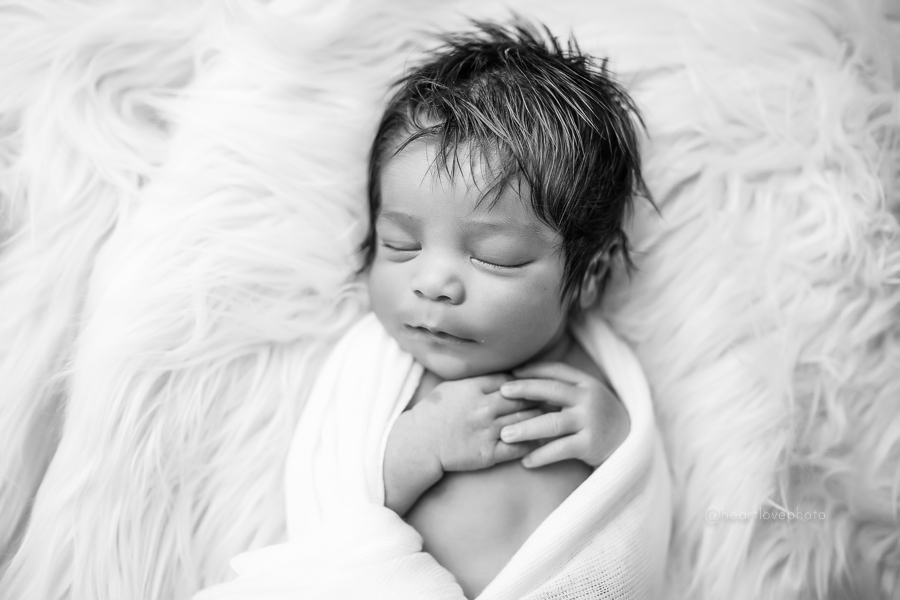
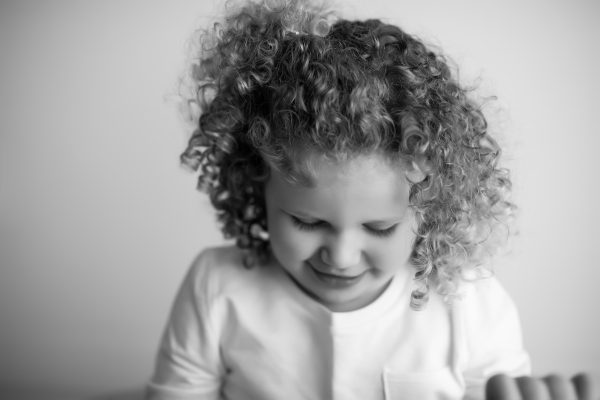
Editing:
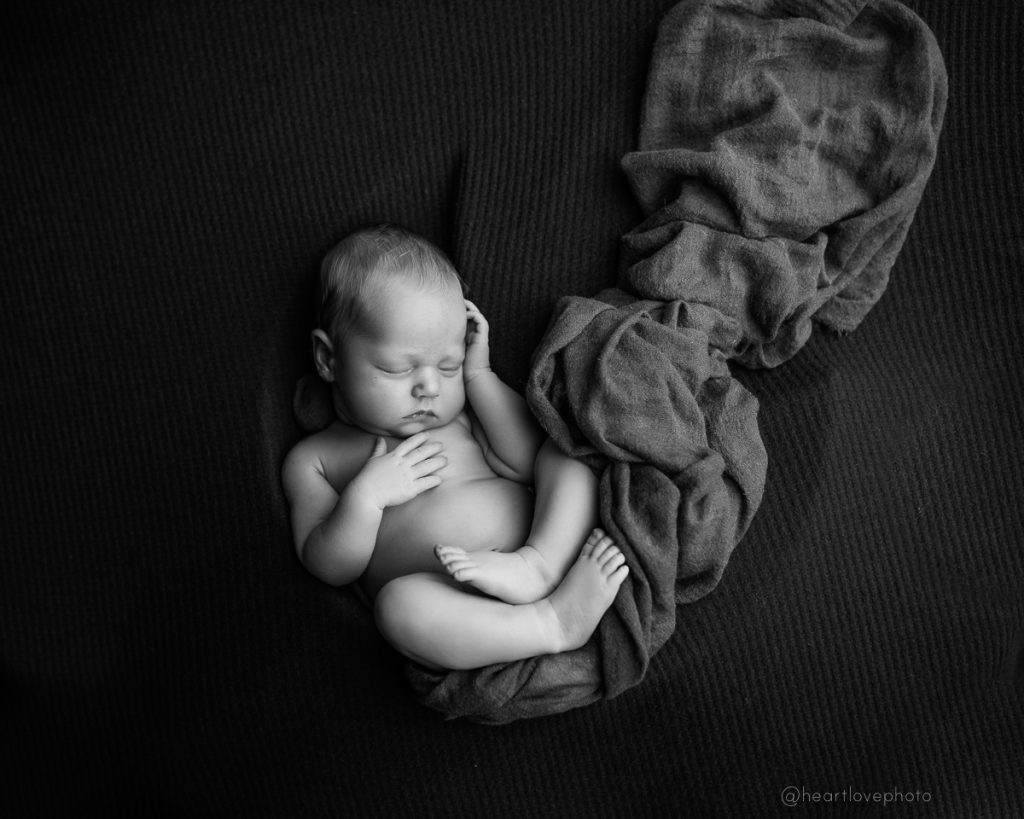
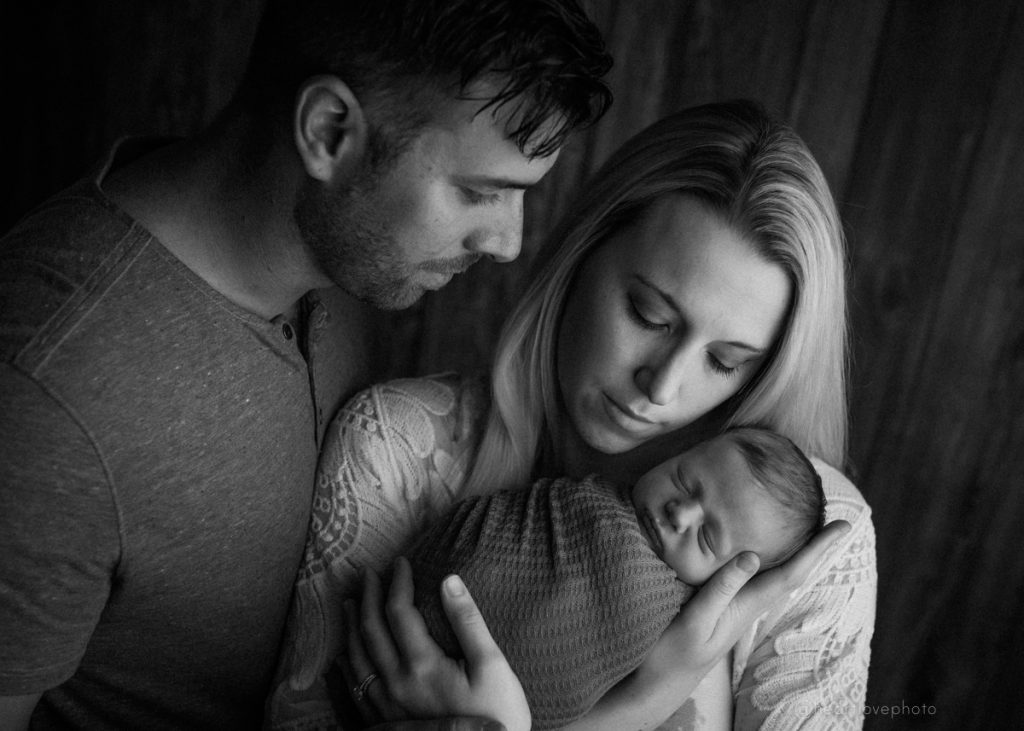
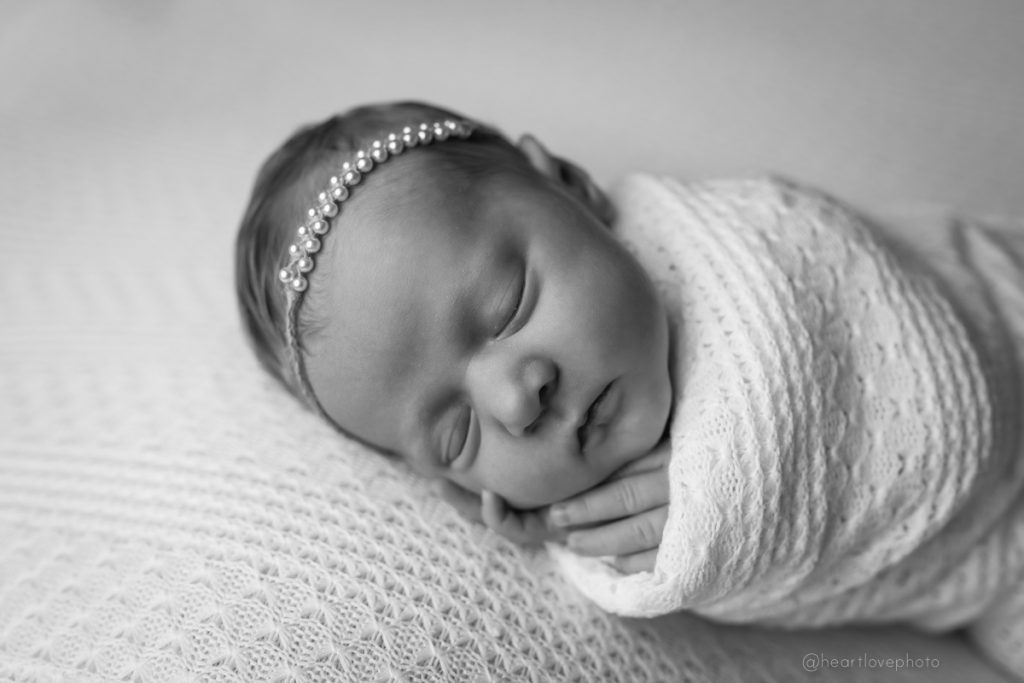
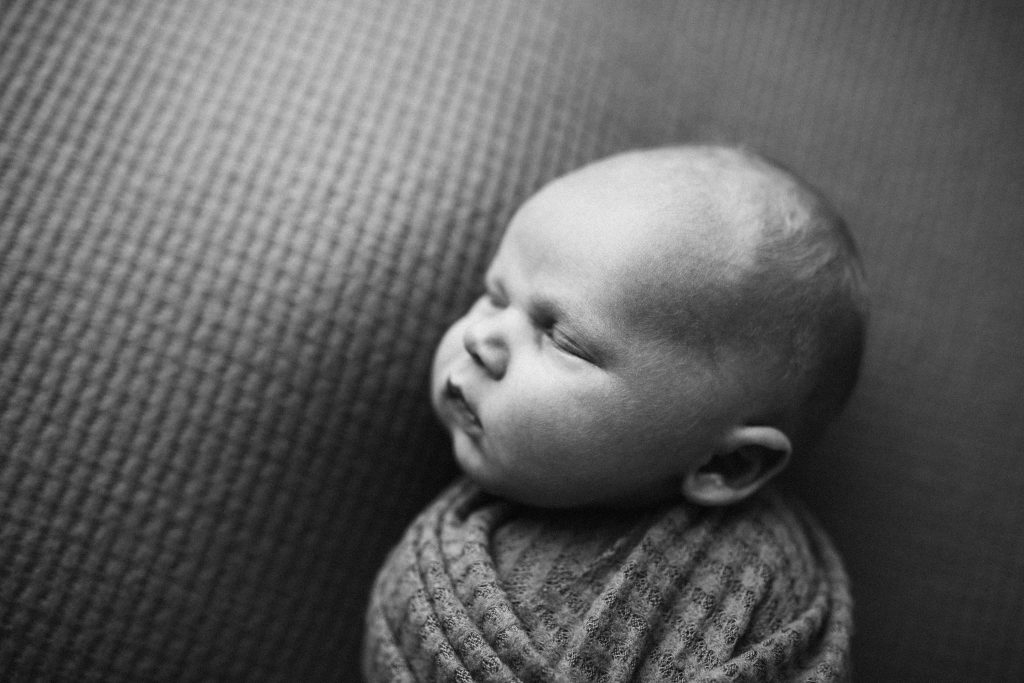
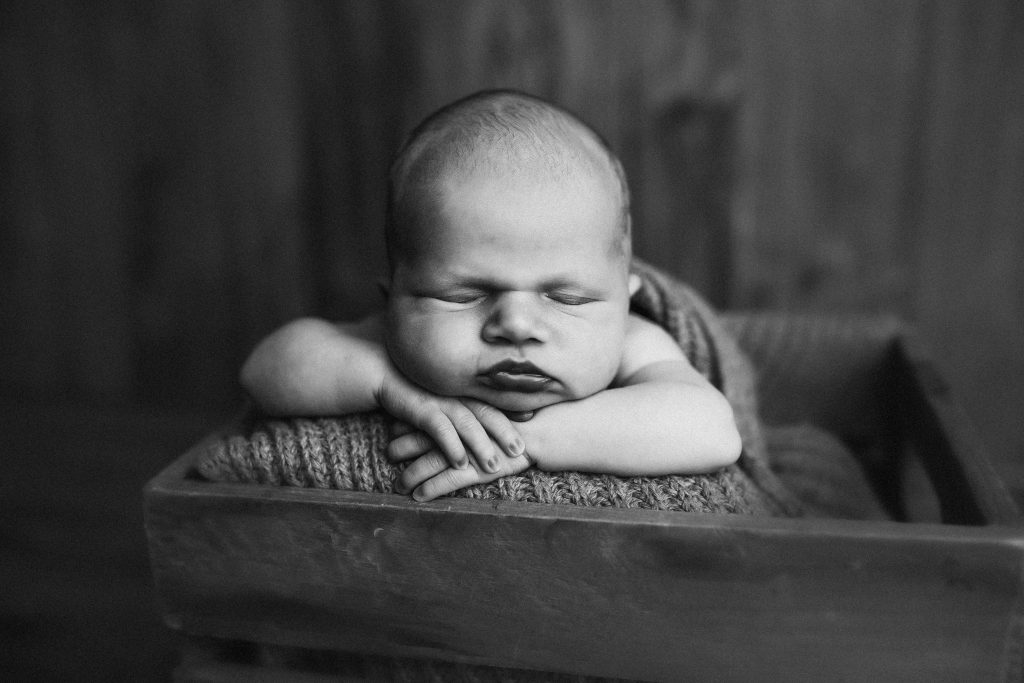
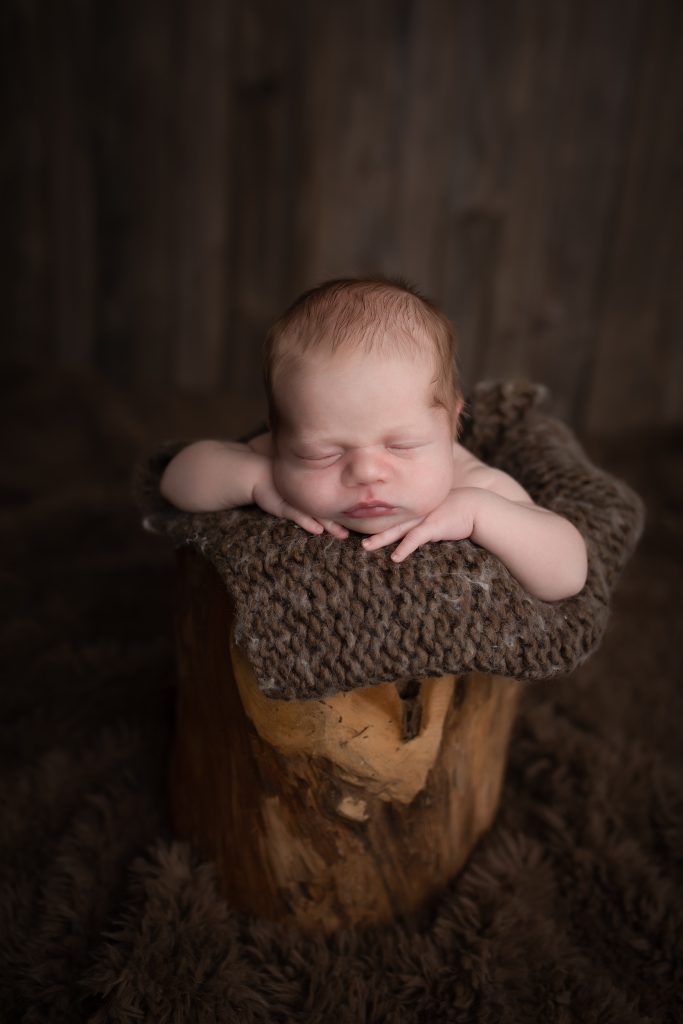
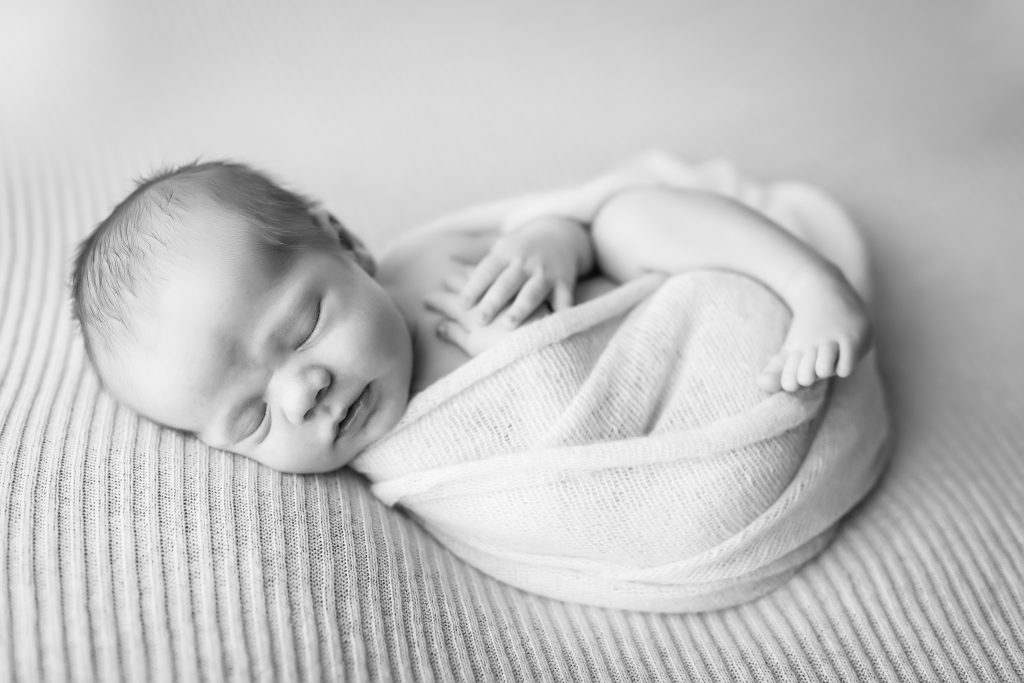
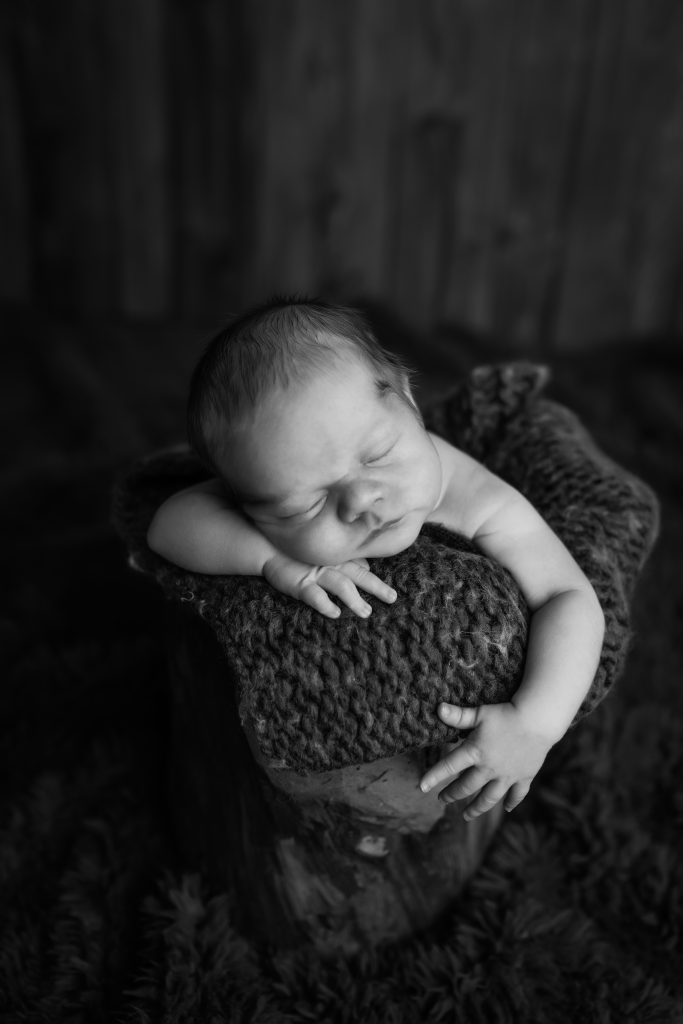
Take loads of images so you can choose the best of the best. Generally you don’t want to heavily edit newborn images because the true to life details are worth remembering – flaking skin, “stork bites” and newborn acne are all normal at this stage. Often converting the image to black and white can help eliminate distractions in the image so you can focus on those sweet details.
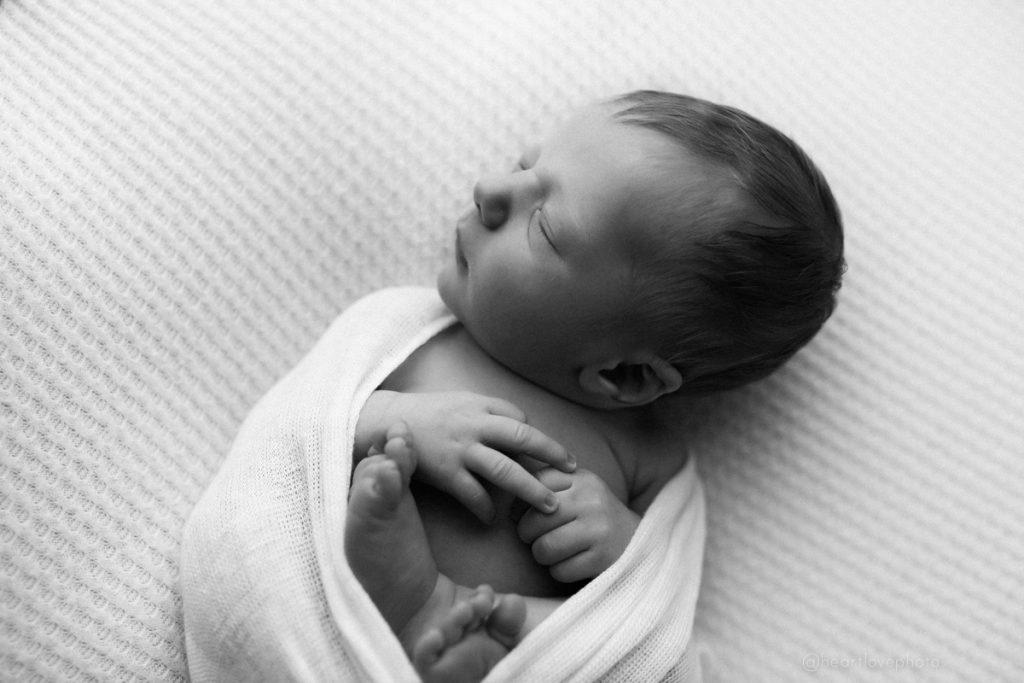
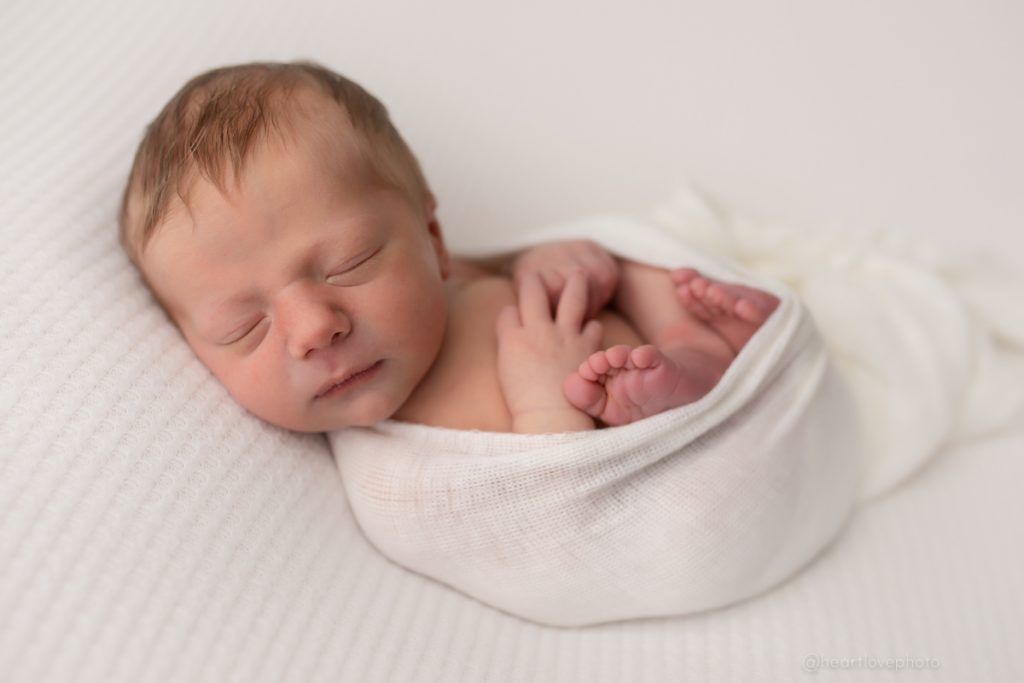
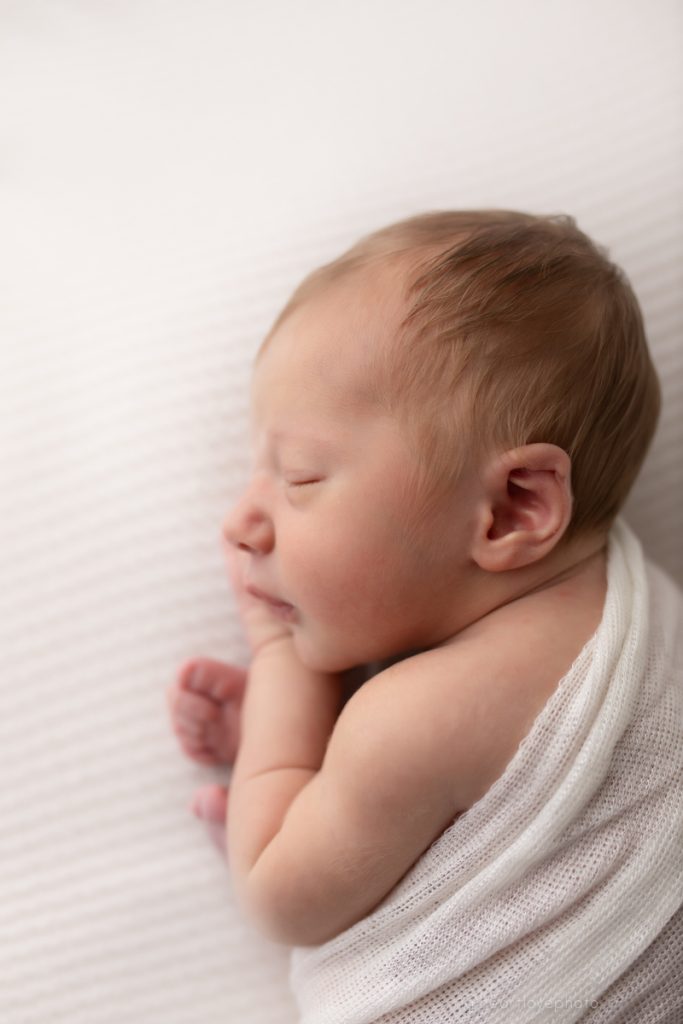
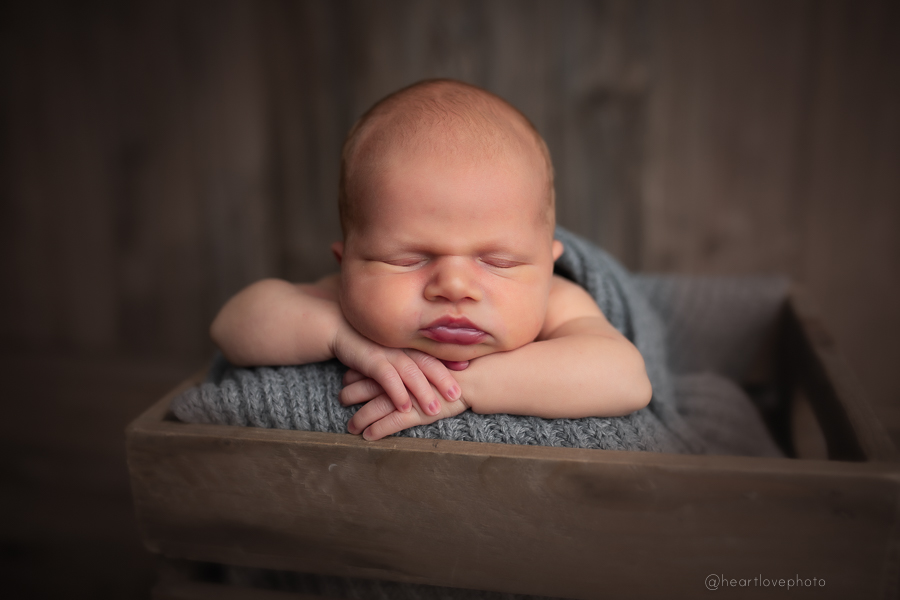
Posing Baby Alone:

- Spread a blanket, swaddle wrap, or sheet on the floor near a window or on a bed. Layer it with 3-4 towels on the bottom and smooth out wrinkles in each layer. The best neutral color, solid white, cream or grey stretchy knit fabric.
- Position baby with light coming from the side or top of baby’s head.
- Take photos looking straight down – do not take photos up baby’s nose.
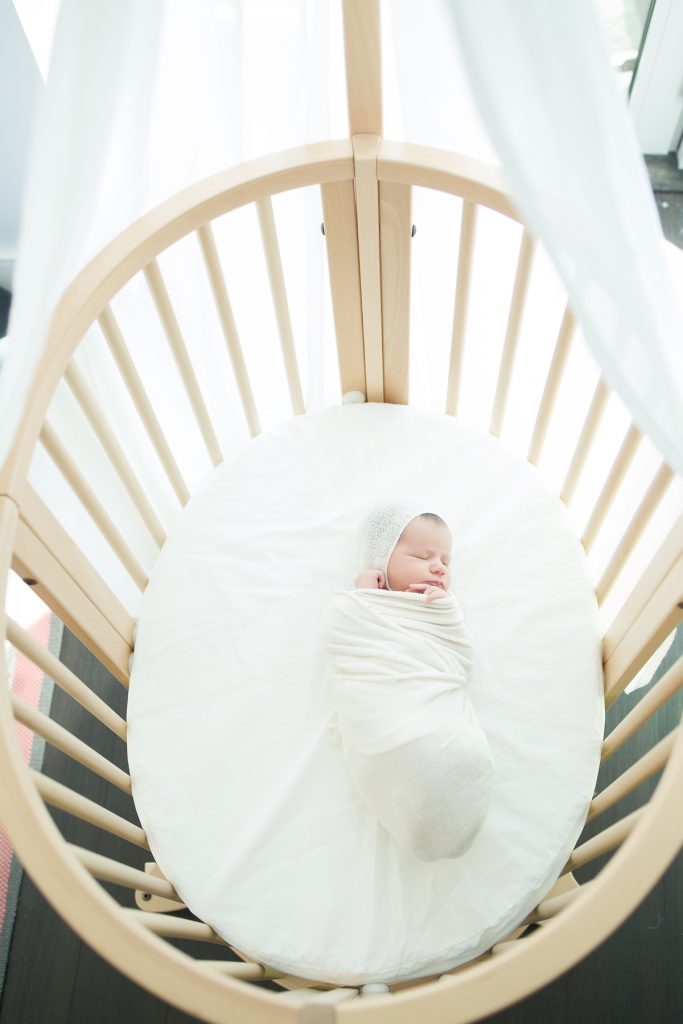
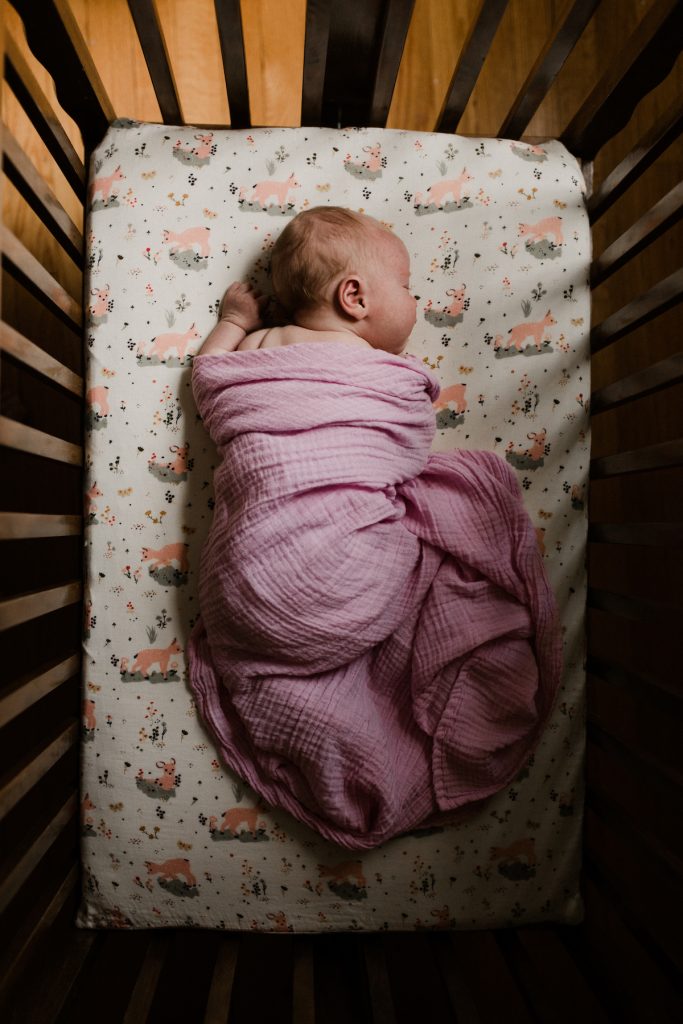
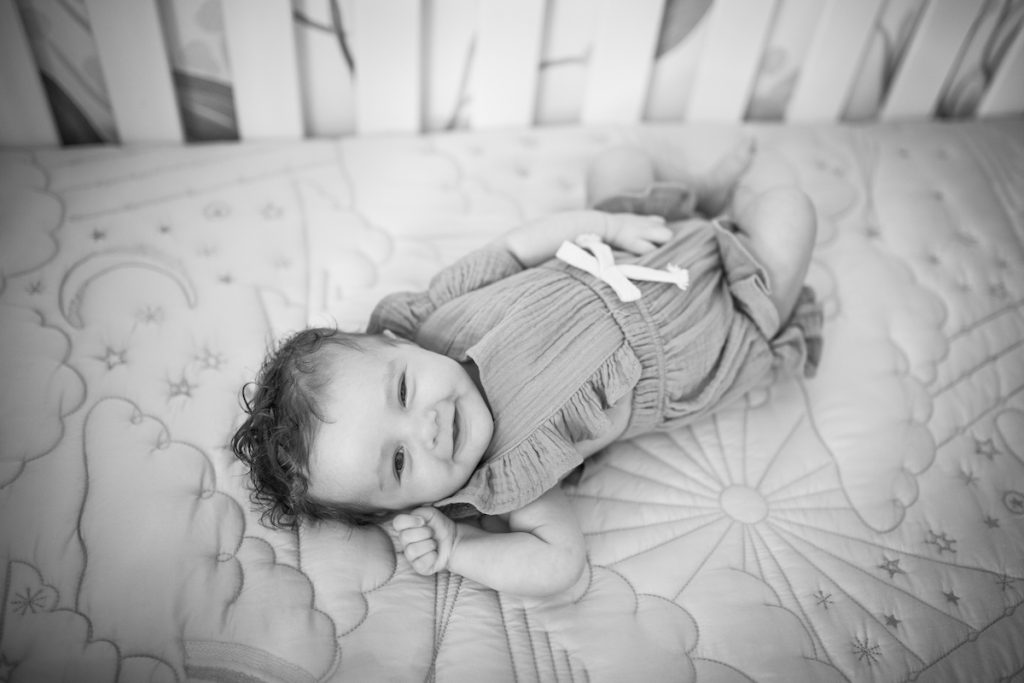
In the Crib:
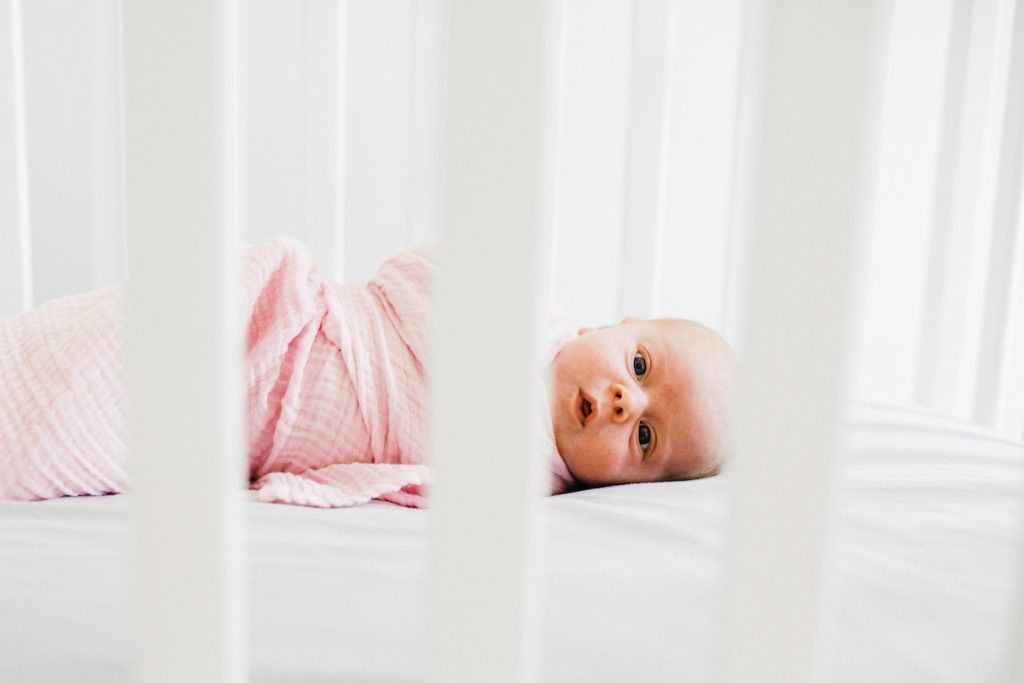
- Lay baby down in crib, head towards the window (move the crib close to the window if practical)
- Take photos from various angles, e.g:
- Looking straight down
- Through crib slats
- With a parent leaning over crib, hand on baby
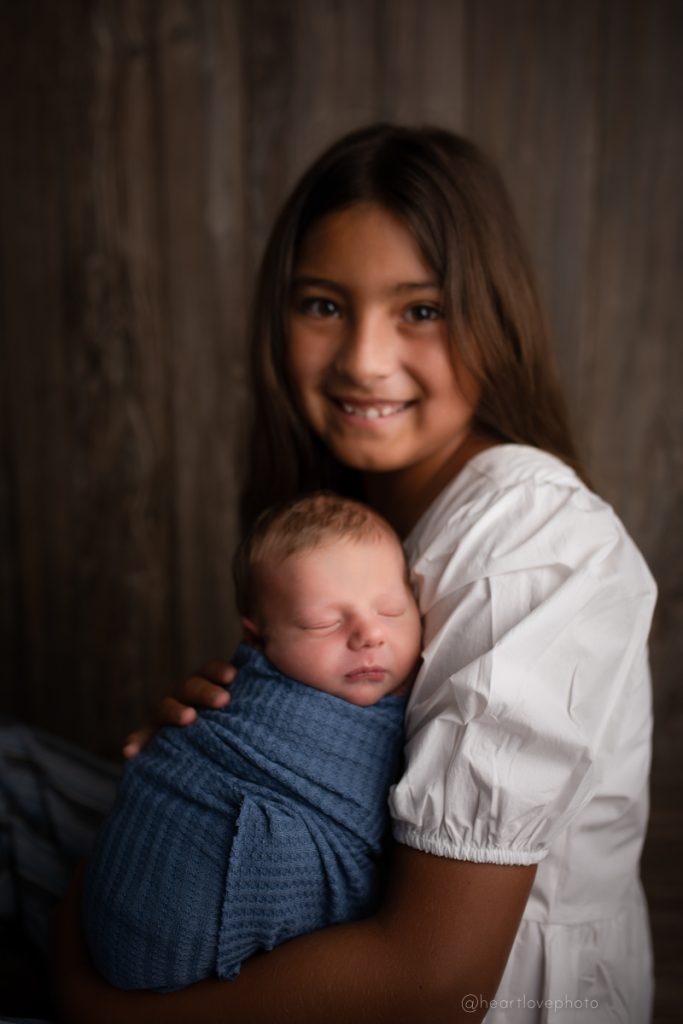
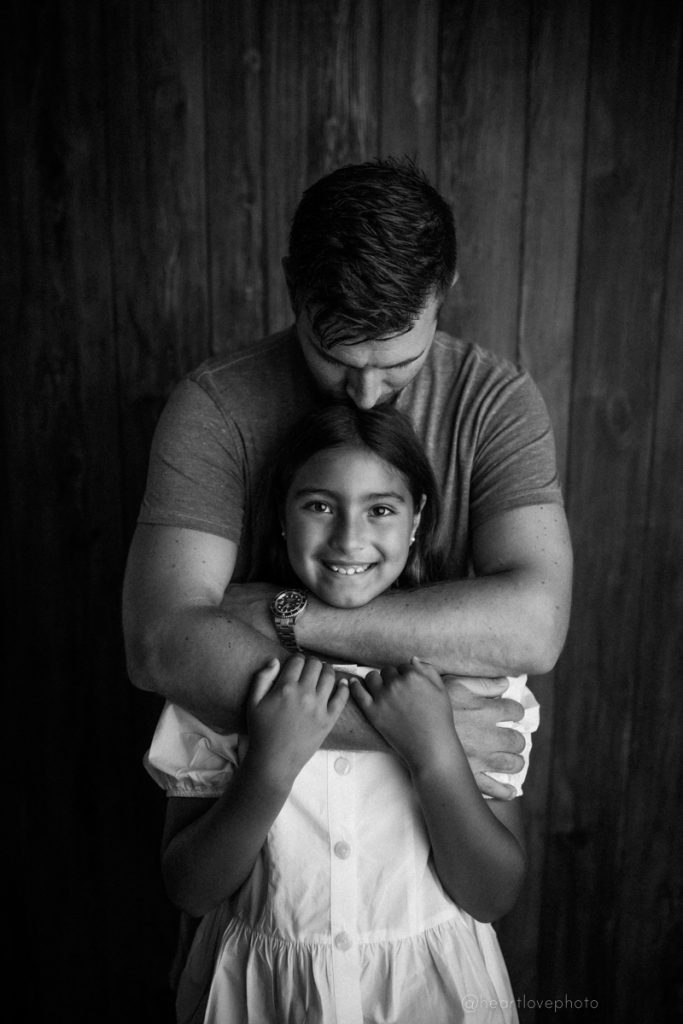
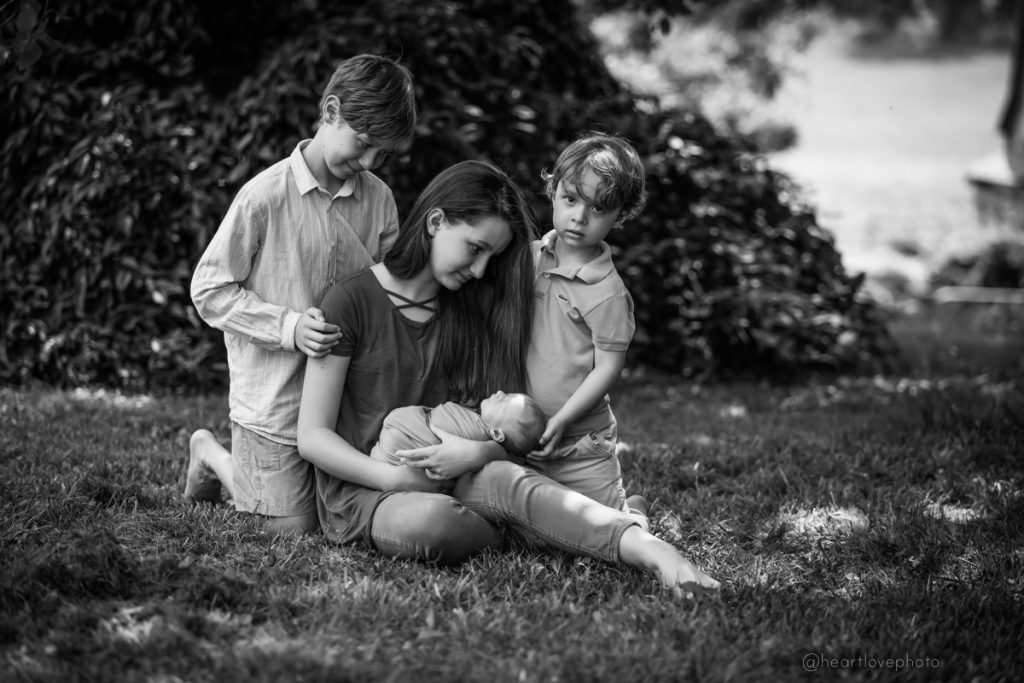
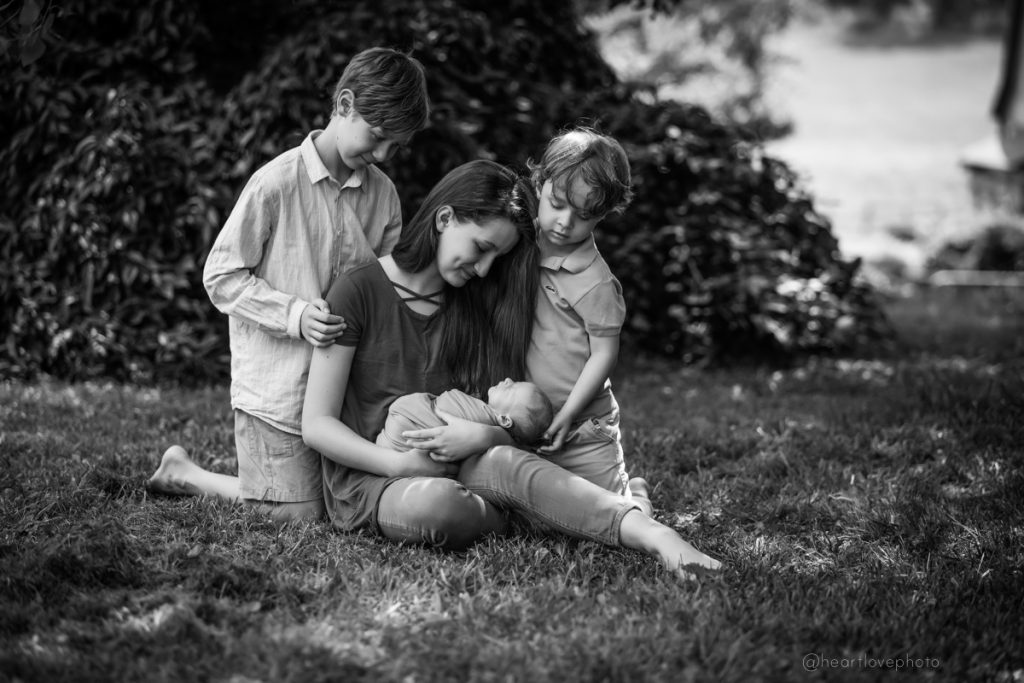
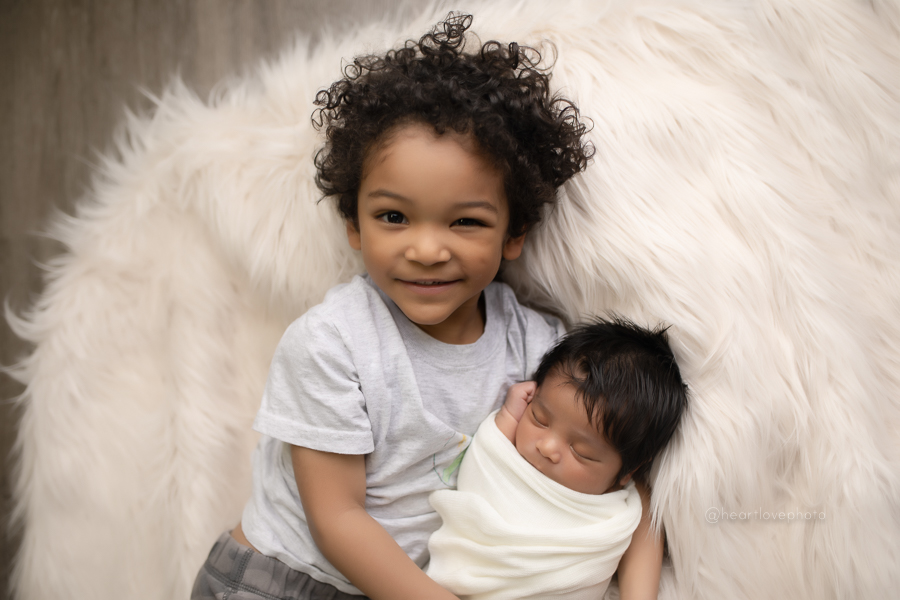
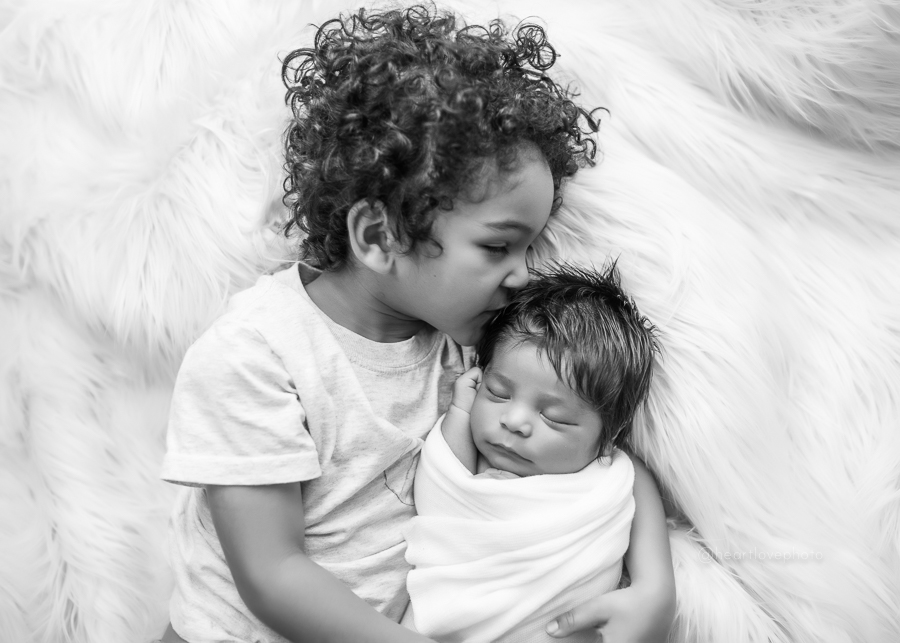
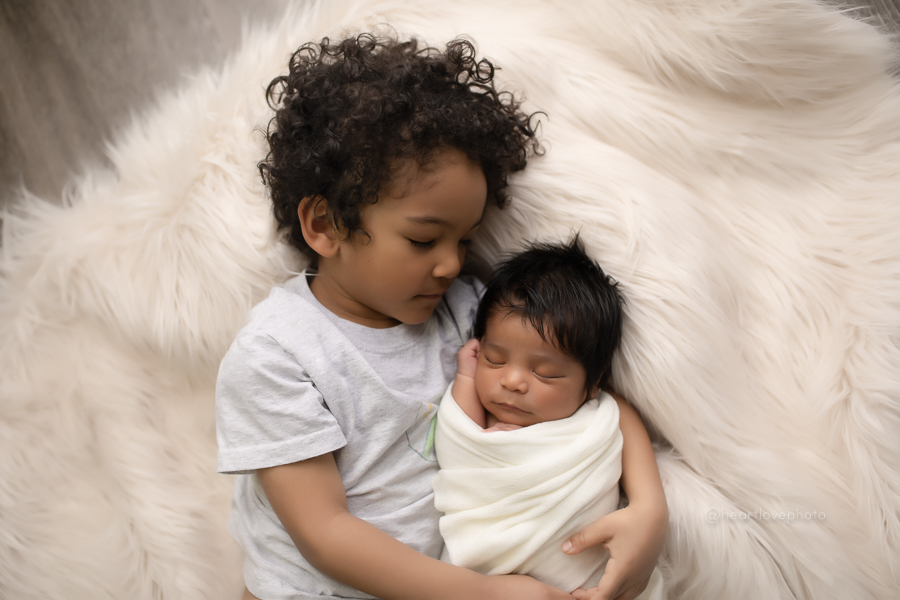
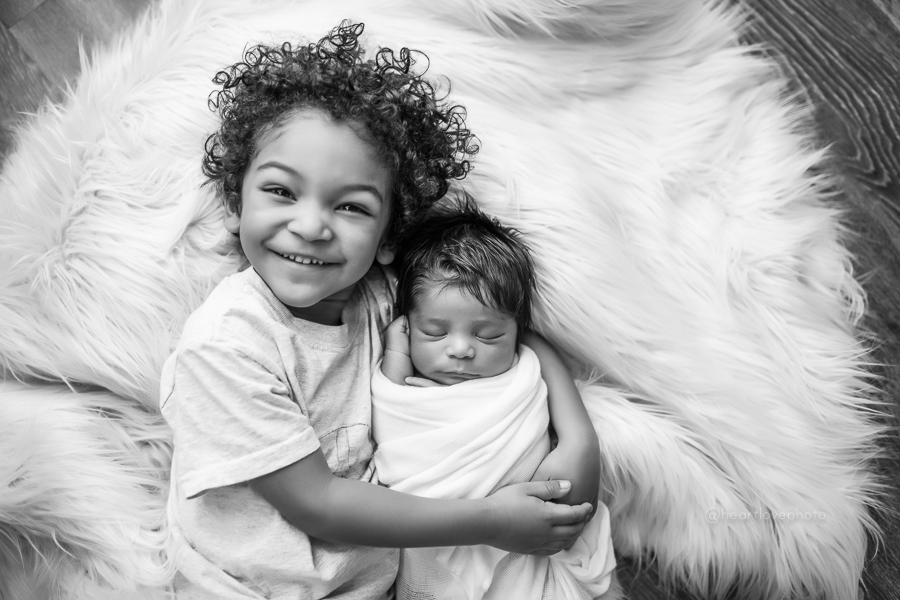
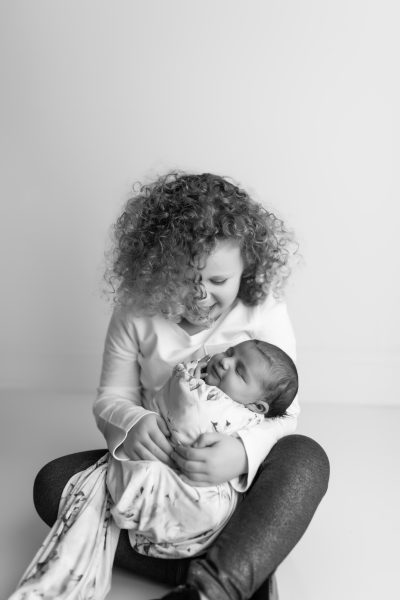
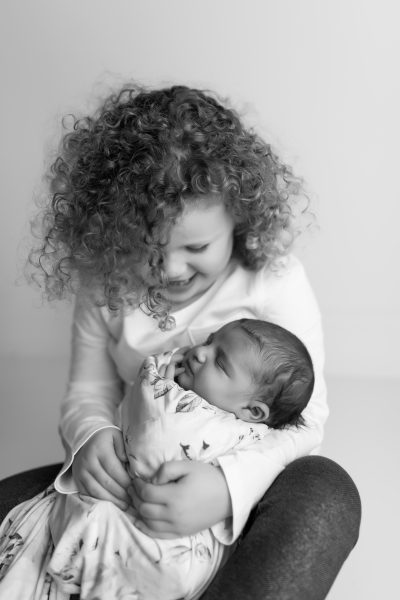
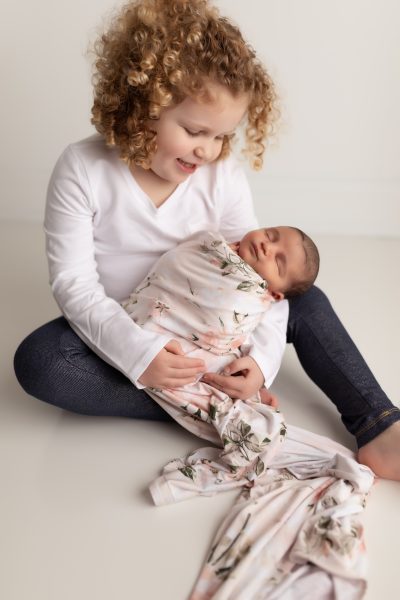
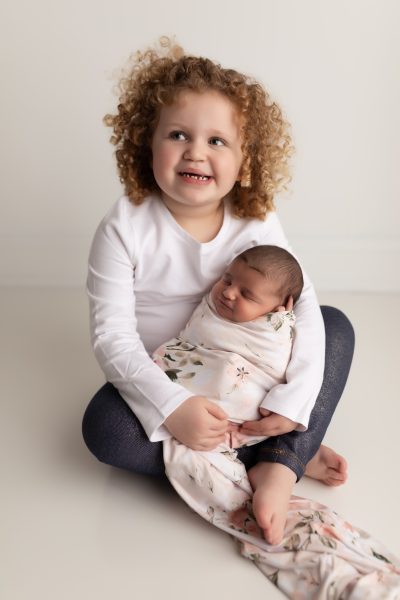
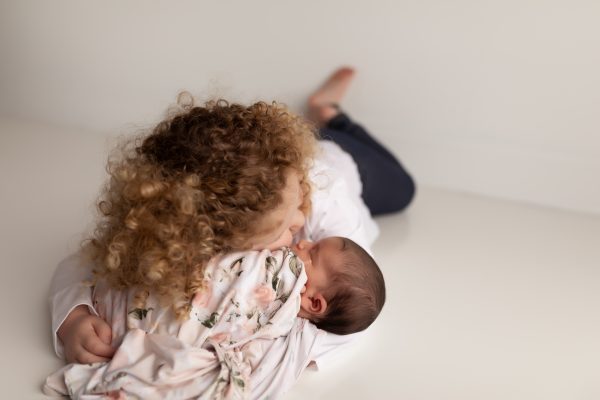
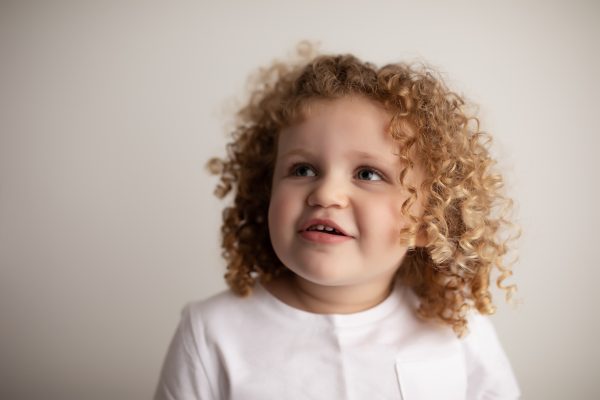
Sibling Images
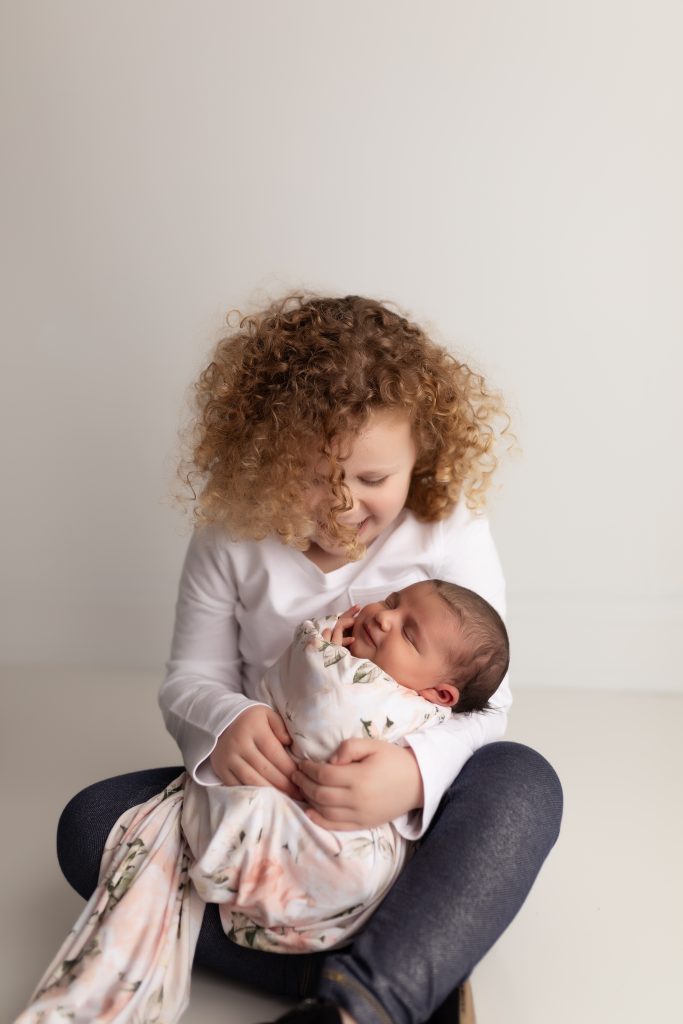
- Let sibling sit down with window light coming from the side, with legs straight out or criss-crossed to create a little pocket.
- Safest places are right on the floor, or propped up against pillows on a bed. An adult should be an arm’s length away at all times.
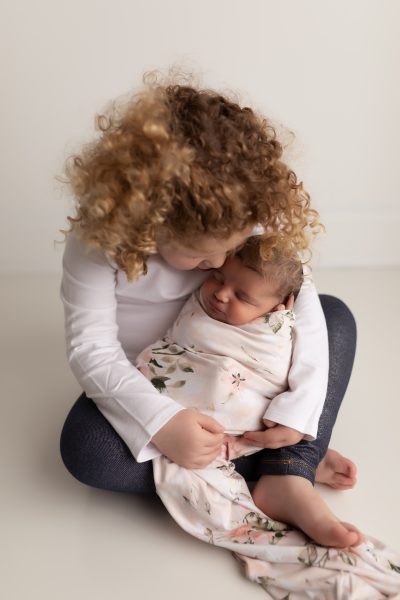
- Place baby onto sibling’s lap, so baby’s weight is supported by sibling’s legs. Have them wrap their arms gently around baby – “Give baby a soft hug around their belly and hold on tight!”
- Top of baby’s head should be angled towards the window.
- Take photos from side, from behind looking down, straight on, etc.
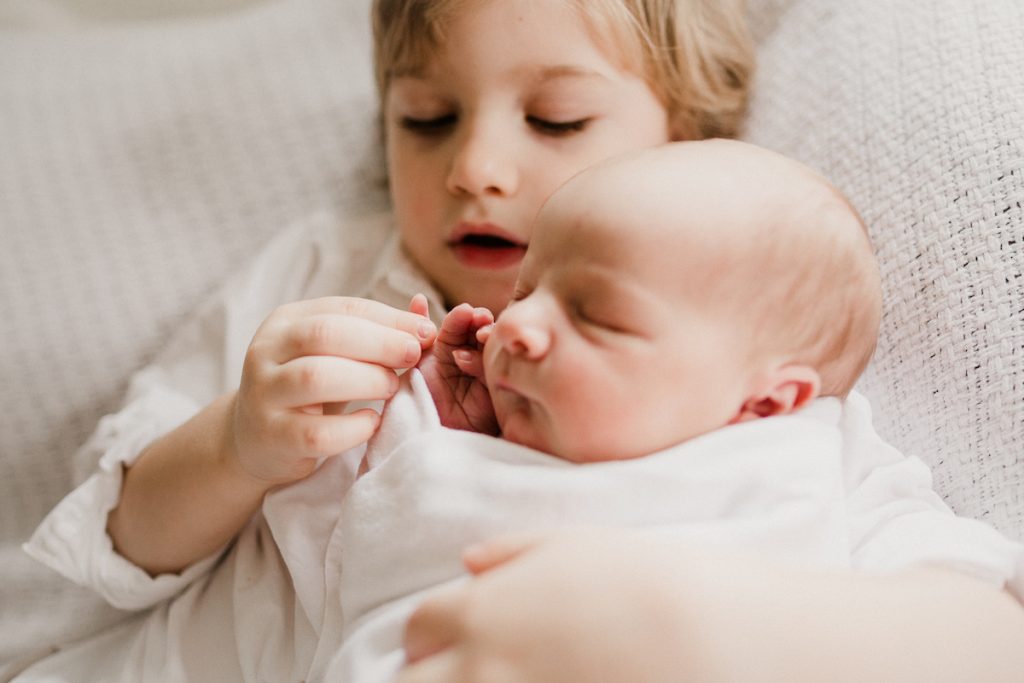
- Spread comfy blanket or rug close to a window or use your bed. Tuck some rolled up receiving blankets underneath to create a place for sibling to rest head.
- Have sibling lie down with top of their head angled towards window.
- Place wrapped baby right up close to sibling, with baby’s head supported by sibling’s arm.
- Ask sibling to place other arm on baby’s tummy or somehow connect.
- Take photo standing over them, looking straight down.

- Encourage calm interaction – look at baby, smell baby, touch toes, etc.

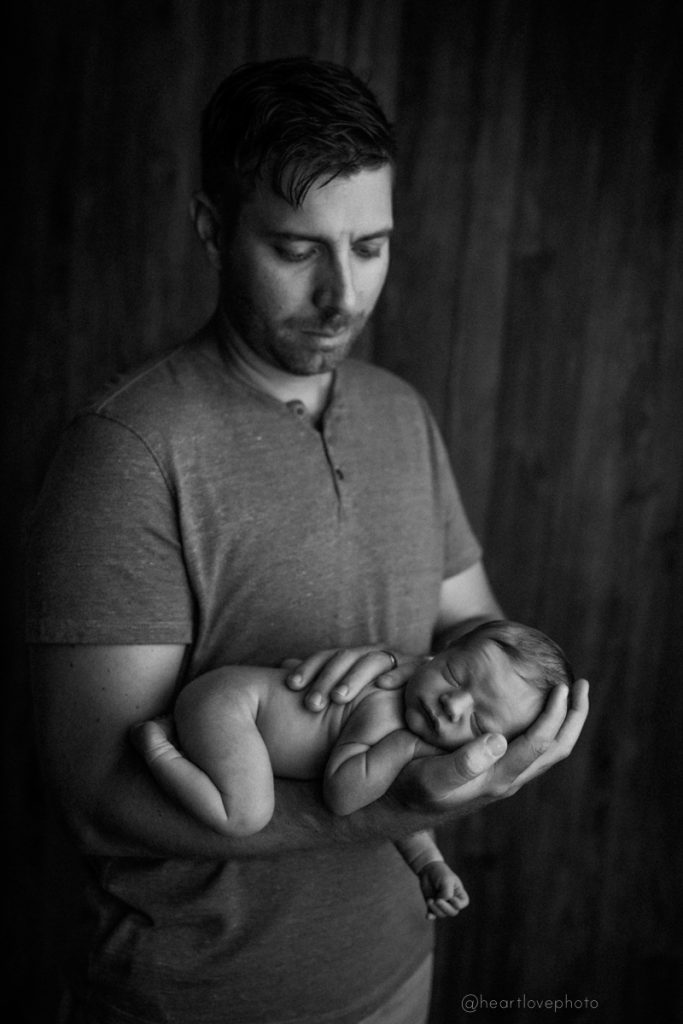
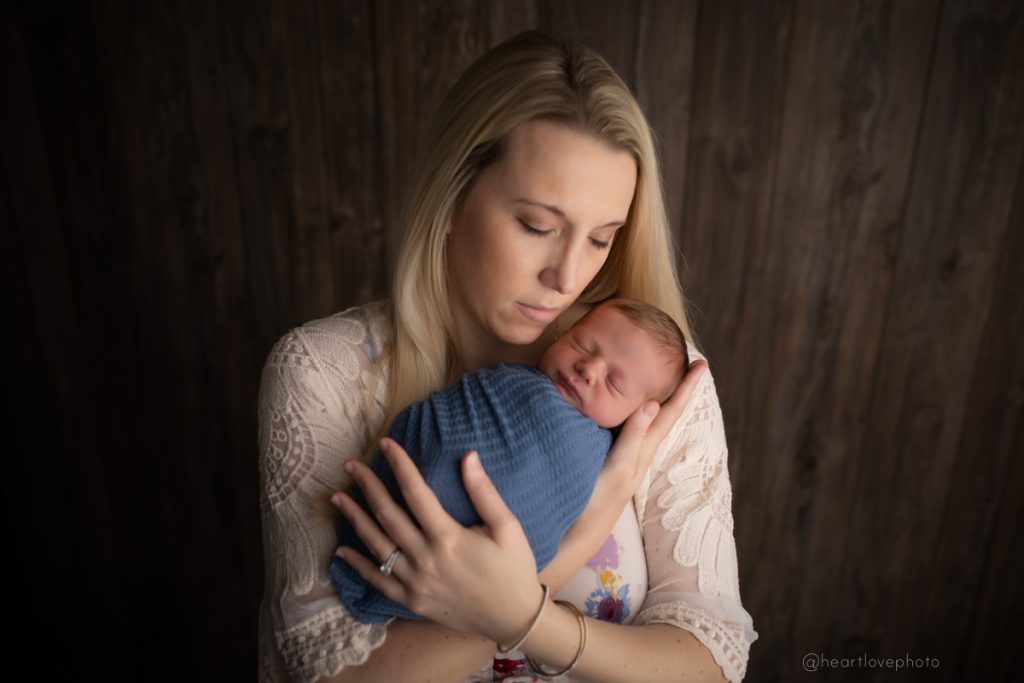
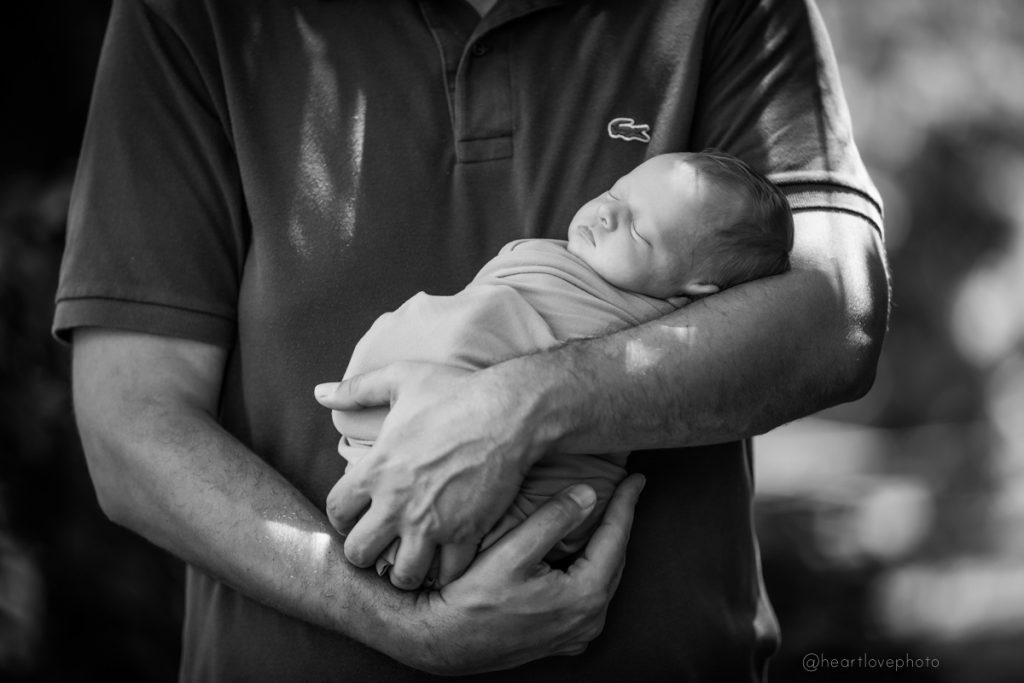
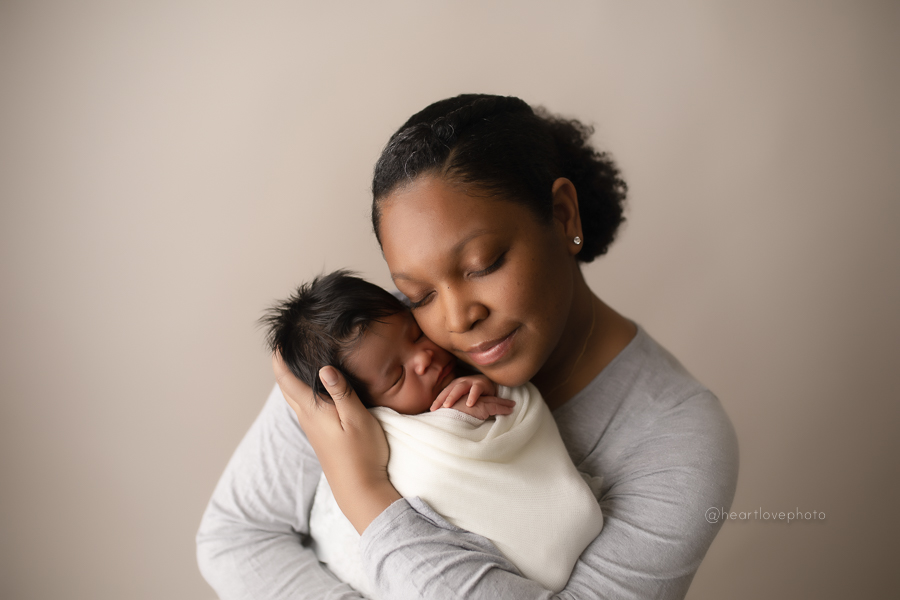
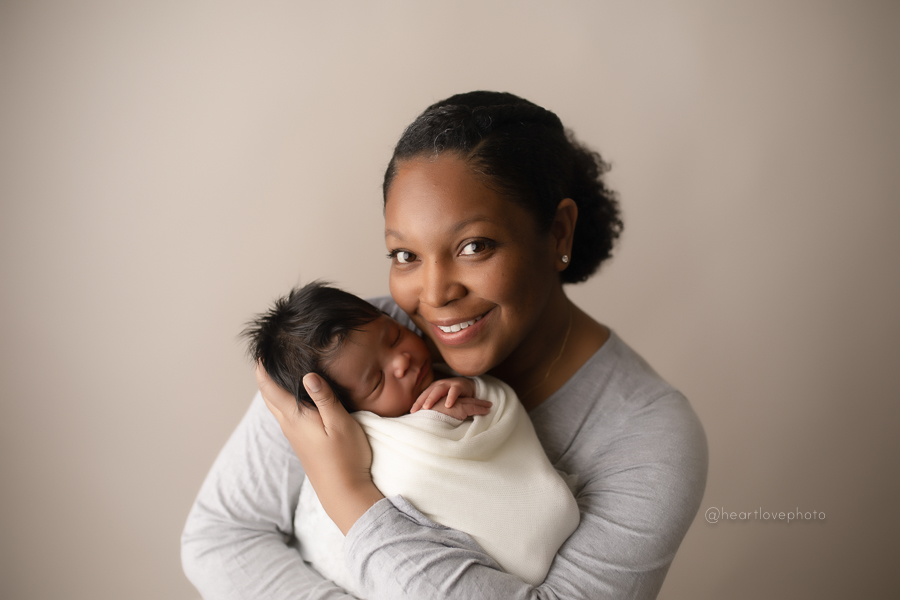
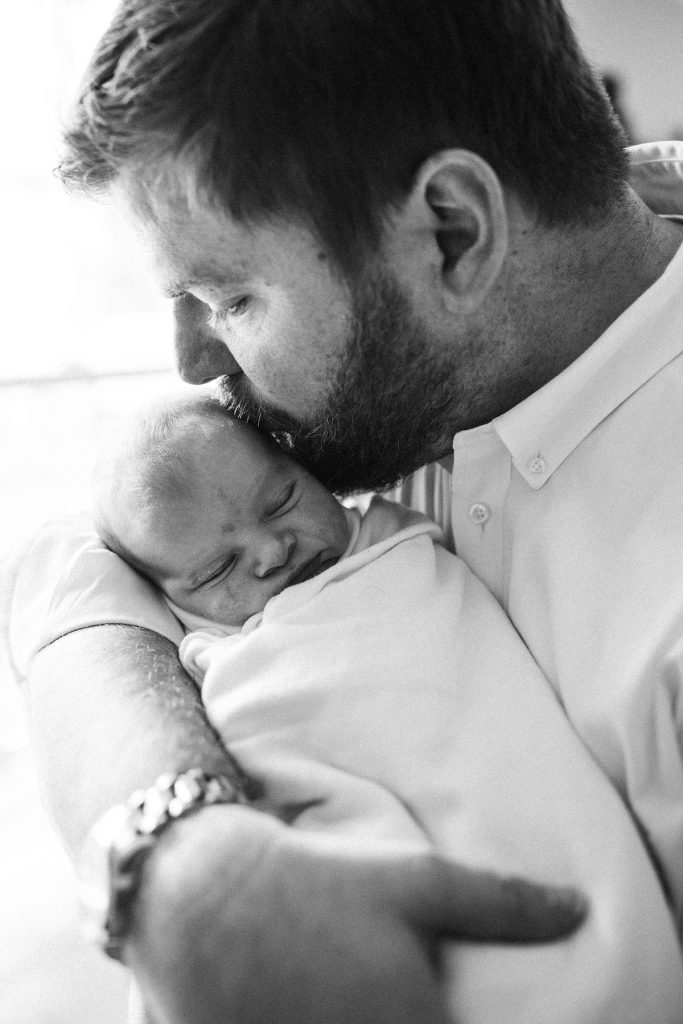
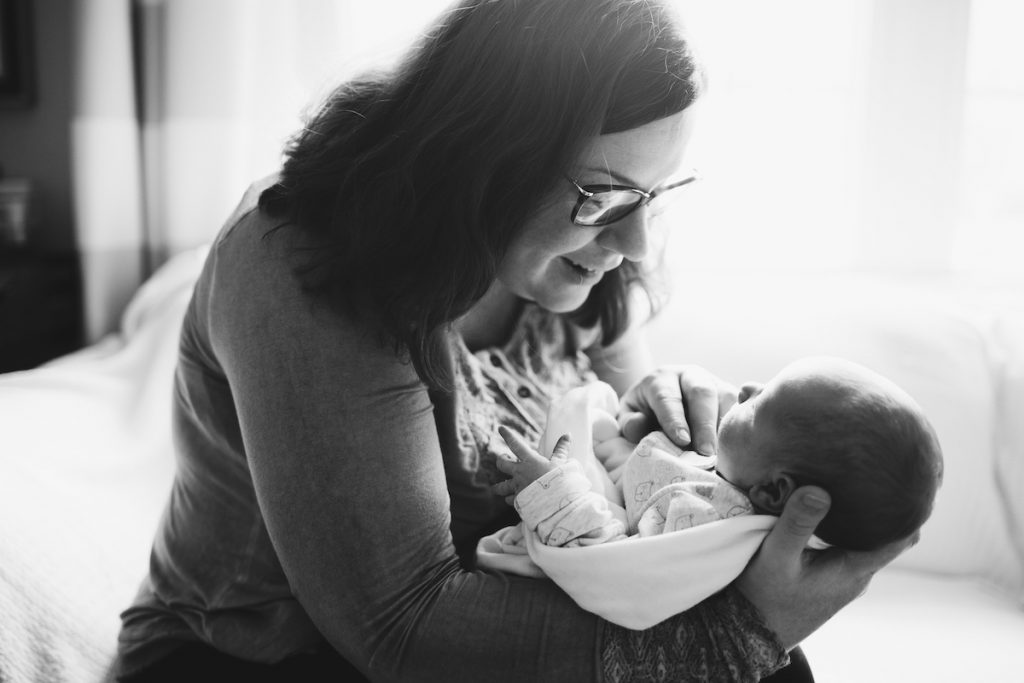
Parent Images
- Have parent sit down near a window, so light comes from the side.
- Parent should hold baby out in front of them, resting on their legs, and baby’s head cupped in their hands.
- Switch it up for photos of baby feet and hands in parent’s hands.
- Also capture the parent’s expression as they look down at their baby.
Thanks to The Milky Way for the inspiration and template to this guide.