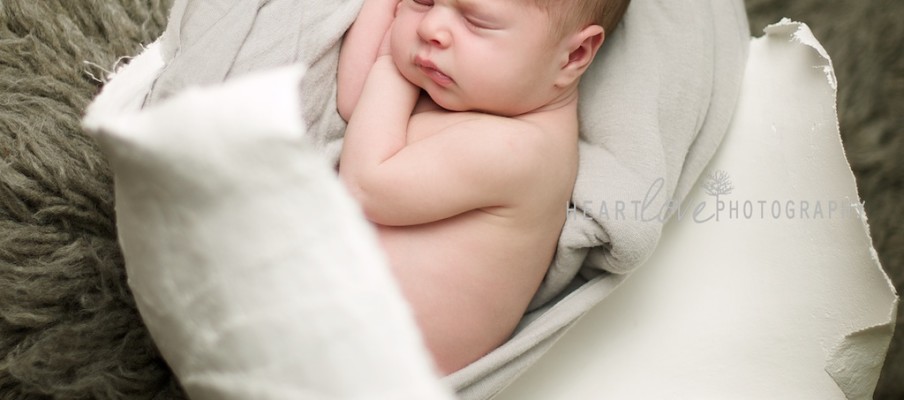
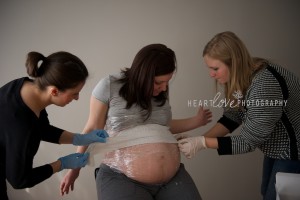
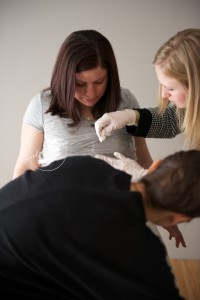
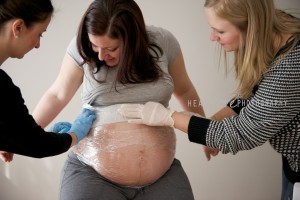
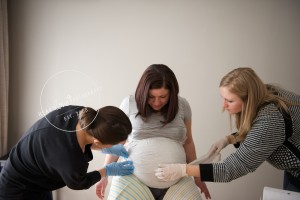
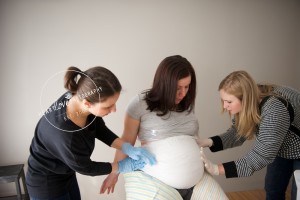
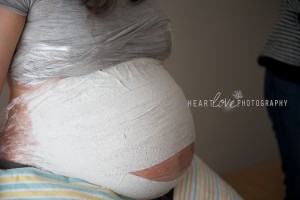
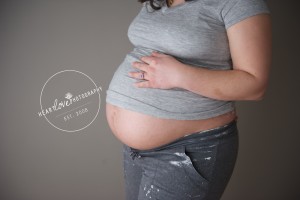
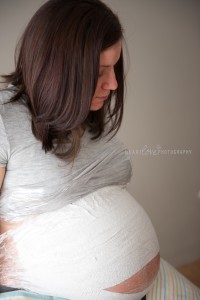
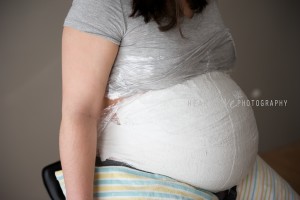
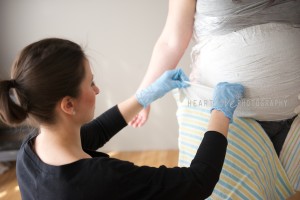
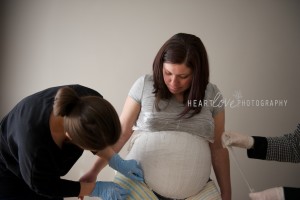
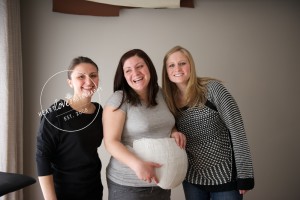
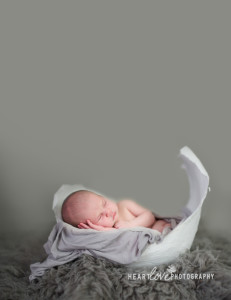
Belly casting is a fun, tactile way to remember the shape and size of your pregnant body. It’s also a beautiful prop to pose your newborn baby. Here’s a quick “how to” along with a few images of one with did in the studio. You need at least 1 other person to help – this mama choose her 2 good friends.

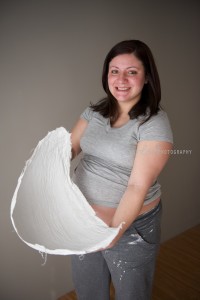
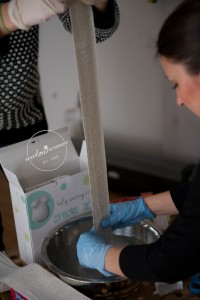
1. Gather the materials: drop cloth/tarp or trash bag, scissors, water, large mixing bowl, latex gloves, 4 “ pre-plastered gauze and saran wrap.
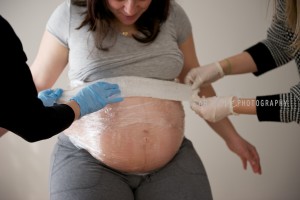
2. Tell mama-to-be to use the bathroom first! Lay down your drop cloth/trash bags/tarp. Fill bowl with water. Have mom dress in comfortable bottoms that can get messy. Cover belly with saran wrap, keeping it as smooth and wrinkle-free as possible – you can also use petroleum jelly as a barrier instead of the saran wrap. Put on your gloves!
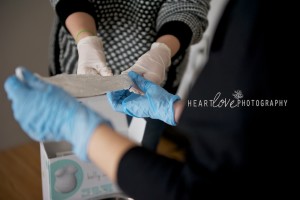
3. Cut gauze into strips of varying lengths, you’ll need some long enough to cover the widest part of the belly and a few shorter for smaller stretches. Dip them in water then layer them evenly with overlapping edges. I’d recommend 2-3 layers deep so the cast holds together well. Add extra to the edges. Work quickly, smoothing the strips as you go along.
4. The gauze will begin to dry in about eight minutes, but as you are applying additional layers, the cast will need to stay in place until it starts to get warm, feel heavier, and eventually separate after 20-30 minutes.
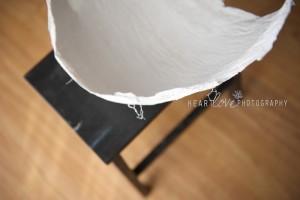
Optional 5. Sand and paint your cast then use a gesso medium to seal it. I love the look of the raw plaster, buy you can “finish” your cast by decorating or painting it!

